Low-light photography is unavoidable for photographers. It is not just relevant for shooting at dawn or dusk. Shooting inside can often provide a challenging environment for photographers. Like most elements in photography, it’s all about balance. A balance where you sacrifice as little quality as possible.
Today we will look at techniques to help shooting in low light. These range from camera settings to small steps you can take to improve your photographs.
The better you become at taking pictures in low light, the more confident you will feel on location or even on a job. Let’s dive in and have a look at 12 techniques for shooting low-light photography.
1. Changing your ISO for Low Light Photography
A good rule of thumb is to photograph with as low of an ISO as possible. When shooting in low light, your first reaction should be to raise your ISO to a higher number. But a larger ISO will add noise to your images, especially in dark areas.
For older cameras, check to see how your camera can handle these larger ISO numbers online. Newer DSLRs can handle huge ISO numbers without much distortion to the image. Again, it’s all about balance. You will want to zoom into these dark areas to check that the noise doesn’t ruin the photo.
A helpful point to remember is that noise is better than blur. You can reduce the noise in the post-process, but blur will be a lot trickier.
2. Reduce Your Shutter Speed
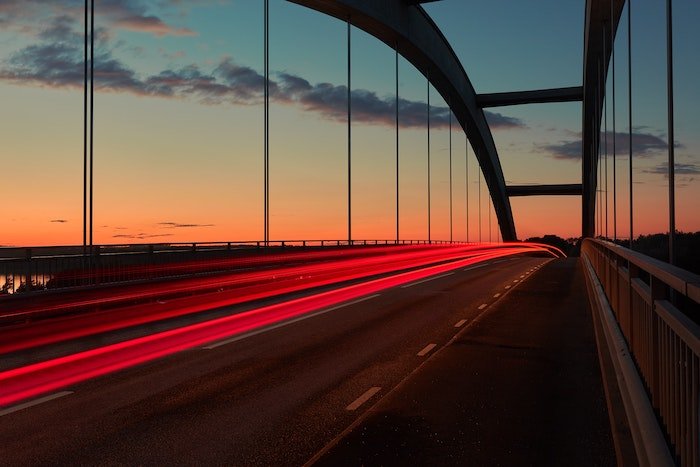
The longer your shutter speed, the more light goes into your camera. It seems simple enough, but when you extend your shutter speeds, you allow more camera shake. A rule of thumb when holding your camera is not to go lower than 1/125th of a second. This is due to the tiny movements your hand makes.
The simple solution for this is to use a tripod. When using a tripod, you can reduce the shutter speed as much as you like without worrying about losing sharpness. (As long as you have a nice, sturdy tripod!)
3. Use A Wider Aperture
Another quick in-camera setting change you can make in low-light photography is to change your aperture. A wider aperture in your lens will allow more light to pass through. Ideally, you want to pick as low of an f-number as possible.
Keep in mind that you are changing the depth of field of your photograph when adjusting the aperture. Changing the aperture could ruin this if you have a particular style that you need to stick to.
As I mentioned at the start, it’s all a balance. Especially between the top three tips I have given. If you have a specific style you want to stick to, make sure this is not compromised through your actions. If not, use all 3 of these settings to control your environment as best as you can.
4. Add A Flash
Adding a flash is an obvious option, but it often gets overlooked. This could be due to the harsh light it produces, especially in very low-light settings. Harsh light produces a particular style that many photographers use to their advantage. But this technique will not help you if you have a specific image in mind. For instance, in a space where the subject is far from the lens.
Where style isn’t an issue, a flash can eliminate the need to compromise your camera settings. You will be able to photograph fast, sharp images. Just be wary of the shadows the flash creates.
5. Bring A Light In (Or Reflector)
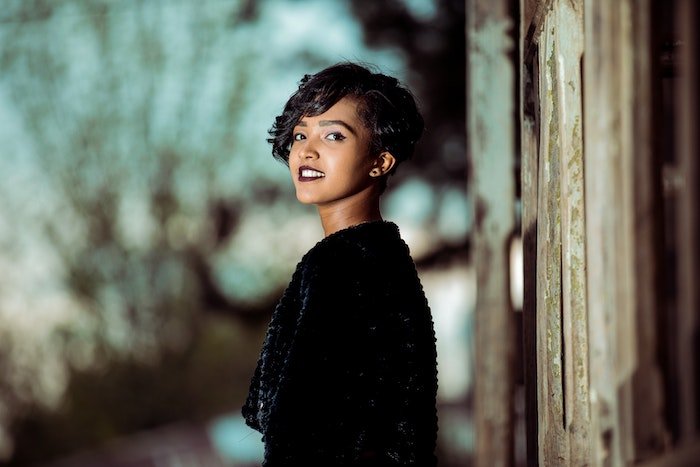
If the room you are photographing in is too dark, see if you can bring a light into the room. Be careful though, bringing in another light source can create new shadows. This changes how the room will look.
A good idea is to put your added light source near the primary light source. This keeps the shadows as similar as possible. Remember that different lights are different colors. Bringing another light in can cause clashing colors, so keep an eye out!
If you need a little more light, a reflector can go a long way. In low-light situations, try to identify where the primary light source is coming from. You can position a reflector to bounce that light back into the subject.
6. Use A Faster Lens
Fast lenses are a godsend when dealing with low-light photography. The extra stops of an aperture can change a setting enough from an unusable photo to a usable one.
Most fast lenses can go to f/2.8 and push wide apertures such as f/1.4. These extra stops mean more light gets into your lens. This gives you the option to increase the shutter speed. This reduces the chance of camera shake.
7. Stabilize Your Images
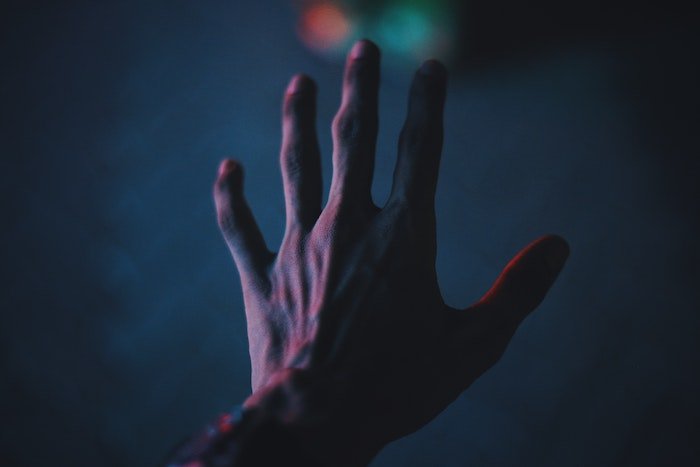
Modern lenses have image stabilization features that reduce camera shake. Most big-name companies have lenses with this feature. And it’s a technology they are constantly improving. For Nikon users, look for lenses with VR (vibration reduction). For Canon users, look for lenses with IS (image stabilization).
This lens-based stabilization is a feature inside the lens that has a floating lens element. This element is electronically controlled and counteracts any camera shake. Image stabilization is useful in low-light situations. It will allow you to drop your shutter speed a considerable amount.
8. Shoot In RAW
If you haven’t started already, shooting in RAW will give you a lot more forgiveness in your photography. This fact applies to low-light photography as well.
In RAW files, the camera retains a lot more information than your standard JPEG. And having more information is most helpful in post-processing. The more information there is, the more you can make clear.
9. Edit in the Post-Process
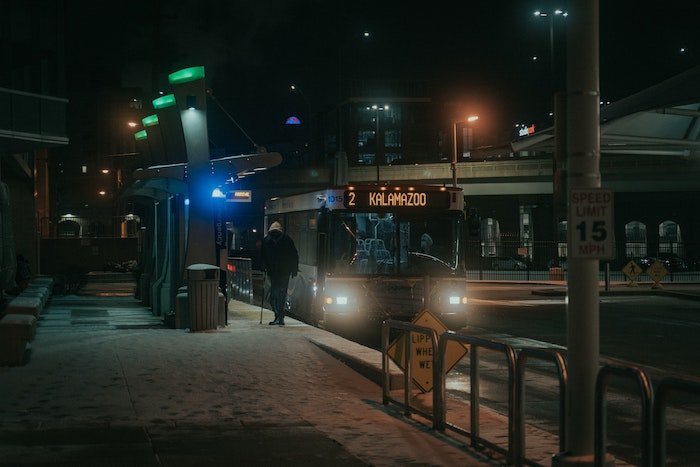
Occasionally, you will push your settings as far as possible and your photograph will still be lacking. Here you can use post-processing software to bring out the details. The software can give you a stop or two more light, but can only work if the information is there in the first place. This is why it is beneficial to shoot in RAW.
In post-processing, you will be able to control the light, shadows, and noise. Make sure you don’t push the image too far, as it will start to look unreal and ruin the image. I recommend Adobe Lightroom for adjustments like this. The program gives an easy approach to adjusting particular sections of an image.
10. Find the Focal Point
One of my most significant issues with low-light photography is when the autofocus starts to fail. If there isn’t enough detail for the autofocusing system to latch onto, you will hear your lens adjusting and readjusting. This is the lens attempting to find a focal point.
A helpful technique is to put the camera on a tripod and light the subject with an external light source. Even if it’s just a phone light. With this small amount of light, your autofocus system should be able to find the focal point. You can switch the lens to the manual focus setting so the focal point won’t change.
11. Adjust the White Balance
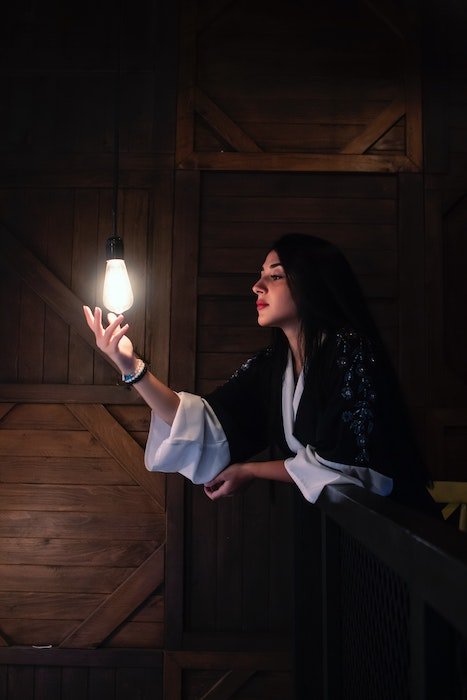
Another element you want to be wary of is the light temperature of an image. If you are shooting in low light outdoors, you may notice the street lights giving off an orange color cast.
Adjusting your white balance setting to your appropriate environment will help the issue. This is also an element that you can adjust in post-processing.
12. Practice!
As I have mentioned, it is all about balance. There are a set of compromises you will be making when dealing with low-light photography. These compromises will only become clear to you when you try them out for yourself.
This is due to the many ways to approach low light without changing the style of images you want to take. So find out which compromises work best for you. And try out some others as they may come in handy one day!
Conclusion
Photographing in low light can be challenging but extremely rewarding. You might think it could be better to wait until the next day before taking the picture. But if you are drawn to a particular light, then stick with it!
Now that you have these 12 low-light photography tips for the camera settings, you have a range to choose from. One (or more) of these tips will help you make the most of your low-light shooting environment while also sparking some new ideas.
So go out and get practicing! These skills will come in handy in a critical situation, I can almost guarantee it.
Take our Quick Capture Cheat Sheets with you for photograph tips on the go!

