Scanography is a technique which uses a flatbread scanner to create photography. It first became popular in the early 2000s.
It is an interesting method that can help you create unique images. And it doesn’t require a lot of equipment!
Read on to find out how it works.
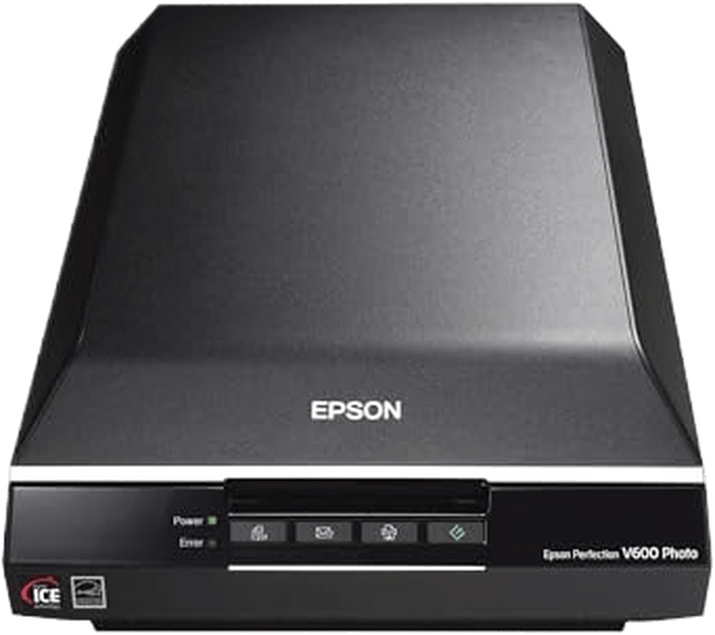
What Do You Need for Scanography?
To make a scanner photograph, you arrange objects on the scanner’s glass flatbed with the lid propped open or removed. You are using the scanner as your camera to capture whatever you place on the glass.
So what do you need for a scanography project?
- a flatbed scanner;
- a computer;
- objects to scan (the flatter, the better);
- a cloth and glass cleaner.
Traditional vs Scanning Photography
Scanography has some unique attributes and advantages when compared to shooting with a camera.
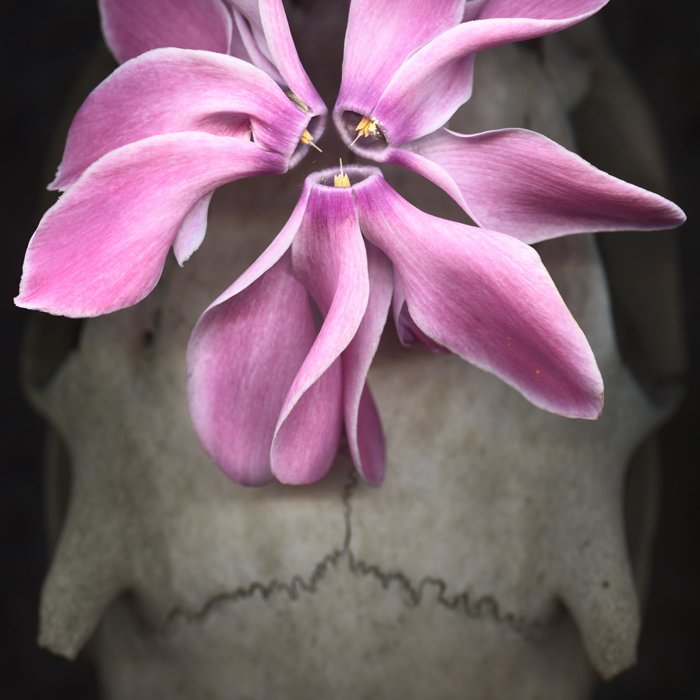
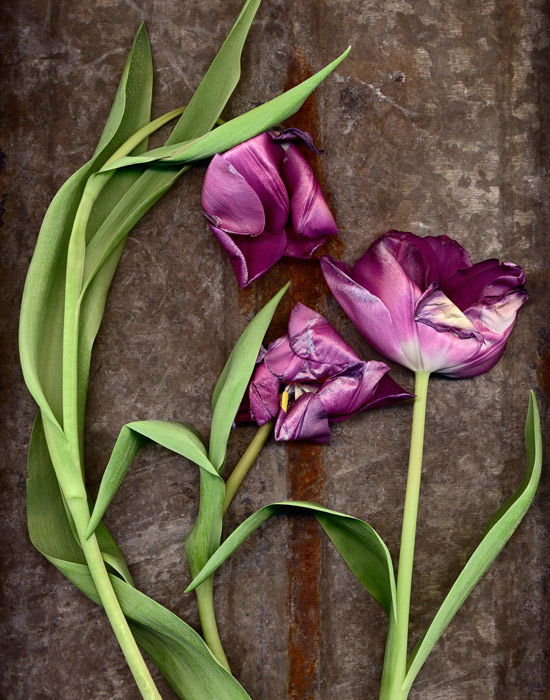
Objects are sitting on a transparent glass surface so they can seem to float, suspended in space. The image below looks like an exploding flower captured by high-speed flash. It is the result of careful placement of each tulip petal onto the flatbed glass. Gravity seems defied, and it’s resulting in a surrealistic effect.
Depth of field is limited to less than half an inch from the glass surface. Think of the glass as your macro focus point. As you get farther from the flatbed glass, the focus gets softer.
Use this to your advantage. Place the subject you want to be the sharpest right on the glass flatbed.
This can be a challenge with complex 3D objects. One solution I have used with flowers is to remove petals to reveal the interior parts. This allows the inside of the flower to be in contact with the glass. This way, it is visible and sharper.

Should You Use CCD or CIS Scanner for Scanography?
There are two types of scanners popular for scanner photography. CCD (charged coupled device) and CIS (Contact Image Sensor).
The type of scanner used, CCD or CIS has a big effect on sharpness. Understanding that sharpness is not the only thing that creates the illusion of depth in a photograph is also important. Tonal differences, lighting, leading lines, the arrangement of space can work along with the amazing resolution to give scanner photographs more depth.
Here are a few practical things to know about each type.
A CCD scanner will always be more expensive. Most scanners over $400 are often CCDs. And the most inexpensive scanners are CIS. A CCD scanner has about ten times more depth of field than a CIS. This means that about 10mm versus 1mm above the glass will be sharp.
When using CCD, the subject illumination will be more even and brighter as you get farther from the glass. If using CIS, it falls off rapidly.
Sharpness is much better with CCD. So is the ability to capture larger tonal and color ranges.
Many CIS scanners can be used upside down or on their sides. CCDs often need adaptations to work in different orientations.
It would seem that CCD is the clear winner, especially if you are after maximum detail and sharpness. But consider we are talking about technical details here that may not matter to some people. And don’t forget, it is the photographer that creates the photo NOT the camera (or scanner in this case).
So remember, equipment quality is important. But it is not something to stop one from producing a great scanner photograph. Use any scanner you have on hand.
Any software will do the job so you can start using the software that came with your scanner. If you want something better, look into Silverfast or Vuescan.
At the moment, I use Epson Perfection (CCD) scanners, three different ones, and Vuescan software.
Tip: Check for dust when scanning. Everything will be enlarged along with your subject matter, including dust specks. Begin by thoroughly cleaning your scanner glass. Otherwise, you will become very good friends with Photoshop’s Stamp and Healing Brush tools.
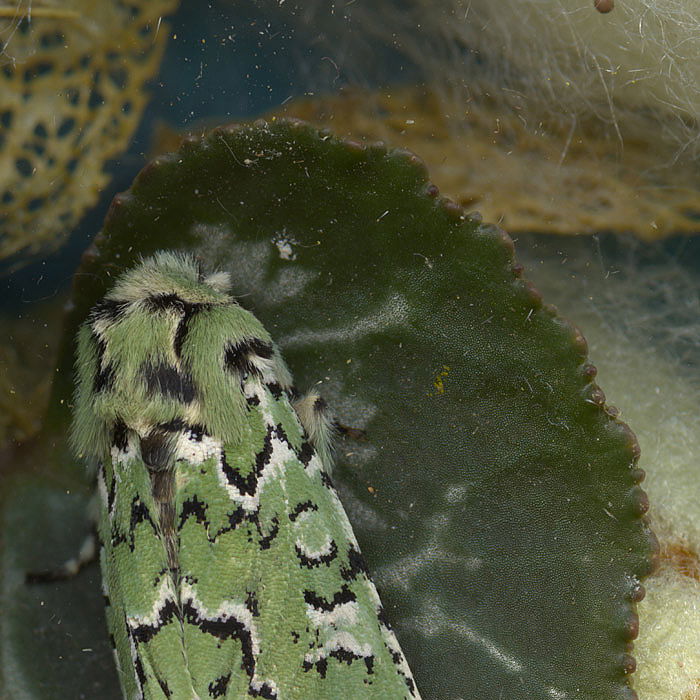
How to Understand Resolution in Scanography
Scanography has one more advantage compared to traditional photography: the high resolution. Twenty years ago, digital SLRs had a very limited resolution.
When I saw what a scanner could do, I was hooked. Think of a scanner as an 8.5×11 inch sensor. Even today’s DSLR’s cannot compete.
It’s all in the numbers! File sizes can be upwards of 500 MB depending on the selected scanner DPI.
For example, a 5×7 inch area scanned at 2400 DPI in16 bits makes an 1150 MB file (over 1 GB)! When printed at 300 DPI, the subject can be enlarged eight times. The higher the scanning DPI, the more pixels you have to work with. And the greater your enlargement can be.
Often scanner specs are quoted as two numbers like 3200/6400. The lower of these two is the actual optical resolution of the photography scanner. Using a DPI setting above this only results in the interpolation of information.
So best not to use a DPI setting above the true optical resolution.
How to Use Light in Scanner Photography
The light coming from the scanner bar has a unique quality. It’s different than lighting something with a single burst of flash. Or with natural light coming from the sun on a clear sky day.
It’s more akin to that softer light you experience on an overcast day from many different angles. Your subject is being lit by a moving bar of light. And the light seems to wrap itself around objects as it passes by.
The farther these objects are from the scanner glass, the darker they will be. White objects placed right on the glass can turn out too light and lack details. Things farthest away from the glass will be quite dark. It’s possible to recover some of the blown-out highlight detail after scanning. But best to capture maximum highlight detail in the original scan.
You can control this through the scanner software. A scan that is too dark will still contain most of the dynamic range of your subject that you can recover later. One that is too light will lack adequate highlight detail.
Scanned objects also may look too flat, lacking in contrast. To enhance depth, dimension, texture and color, you can balance additional lights with the wraparound soft scanner lighting. I use various light sources, often diffused/filtered through Mylar or color gels.
Any continuous light source will work, even flashlights. Tungsten will tend to give a warmer reddish cast, while LED will give a cooler color.
If your scanner has a built-in transparency adapter to scan slides, you can even use that as your primary light source. This will result in more transparent x-ray quality or backlighting effect.
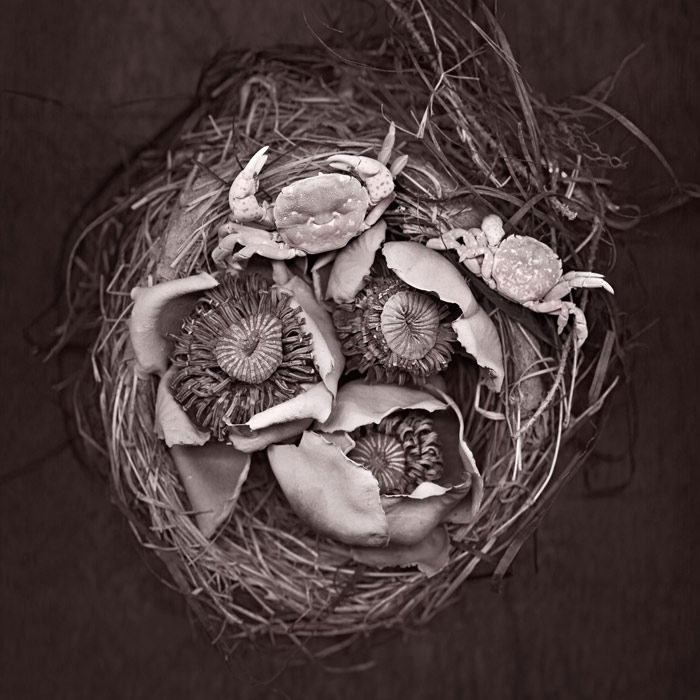
How to Choose Backgrounds for Your Scanography
Unless you are planning to scan something very thin, you will need to prop the scanner lid out of the way. Or you have to remove it to accommodate your 3D subject matter. Some non-removable lids adjust for the thickness of a book. But the weight of them pressing on fragile objects like flowers would be an issue.
For a solid black background, try working in a darker room. Cover the objects with a black cloth or build a black box around the edge and top of your scanner. Black adds contrast and drama. You see this background used often with flowers. A different look can be achieved by suspending other background materials above your objects.
For a softer look, handmade paper or natural materials work well as backgrounds. Other backgrounds I’ve used include tiles and slate, large leaves and other flowers, photographs, aluminum, large pieces of bark, translucent mylar, glass mirrors and reflective objects.
Also, consider the foreground. You could place a translucent material like lace or thin rice paper directly on the glass and your subject on top. Scanning through can add interesting textures and depth.
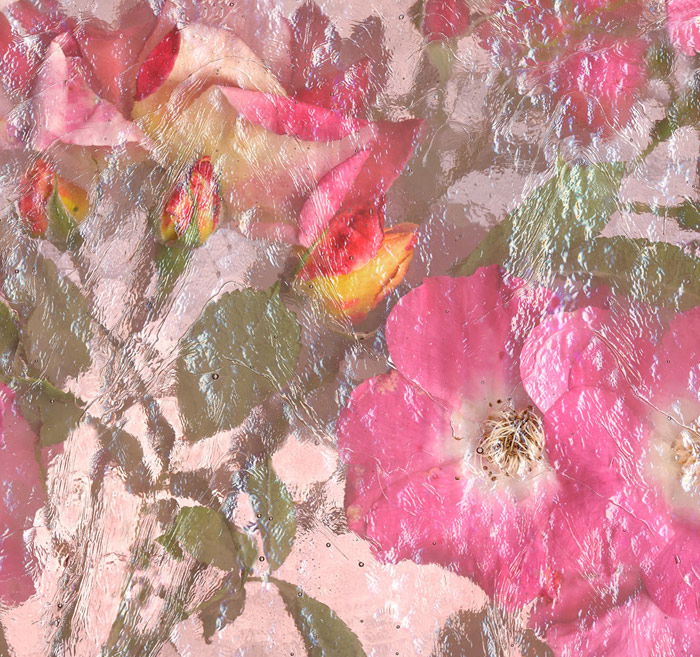
To achieve a painterly or underwater effect I have experimented with scanning through the textured glass as in the example “Rose Bouquet”.
The background needs to be a few inches bigger than the flatbed glass. Especially if it is suspended several inches above the glass.
How to Scan 3D Objects For Unique Results
My working method is to use the scanner software’s ‘Preview’ option at lower resolution (300 DPI) to check placement. I rearrange the subjects until the image on the computer screen matches the one I’ve envisioned. Or it looks like it is worth capturing.
I use tweezers and chopsticks and cotton swabs to move things gently and carefully. So they don’t smear or scratch the glass. Some folks have suggested caulking the edges of the glass with clear silicone to keep dust and pollen out of the inside.
This is a good idea if you are putting water on the scanner for sure. Clear tape is easier to remove, but you lose a bit of image area.
I have taken scanners apart to clean the inside glass surface. This is necessary every few years. All these things void any warranty that might apply, but if you are careful, it’s worth the risk.
Buying a used scanner might be a good place to start. There plenty out there for less than $100. If you decide you like scanner photography, you can invest in a more expensive device.
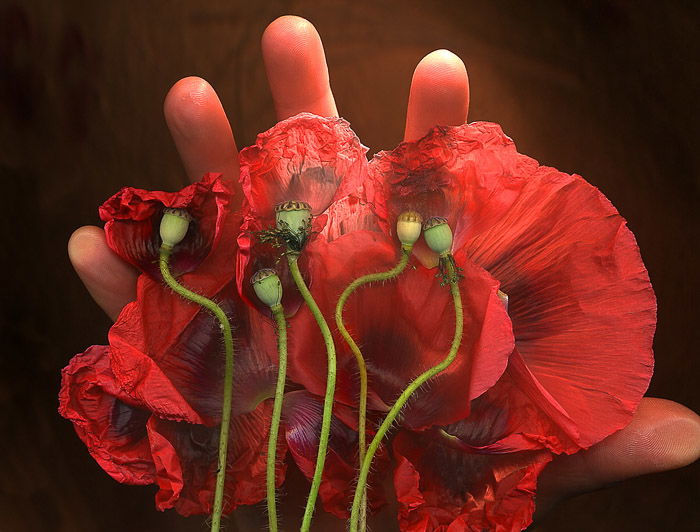
When the preview scan looks good, it’s time for high-resolution scanning! Be sure to view all of your preview and final scans at 100% magnification to check your scanner artwork.
Look for focus, is there dust that could be cleaned off without moving your subject matter?
Now step back from your computer screen and view the entire image onscreen from 5 feet away.
Does the image have a good flow to it? Are there any distracting elements? Does the composition work? Is there a stronger way to arrange the elements for more impact?
Evaluate your preview composition while you are doing a high-resolution scan. Then you may want to spend a little more time reworking things for an even better result. If not, you still have your original high-resolution scan to go back to.
A simple way to determine the resolution to use for scanning is knowing that 300 DPI is a standard printing resolution. So, if you are scanning an 8×10 inch area on your flatbed with the resolution set to 300 DPI, you will end up with enough resolution to make an 8×10 inch print.
I use a 44 inch wide HP printer and like to print big. That’s why I’m often using 1200 DPI and higher as my final scan resolution.
TIP: Scan at a higher resolution than you require for printing. Downsizing will increase quality, and the day will come when you want to make a bigger print or to enlarge a section of your initial scan.
How to Scan Flower Photography
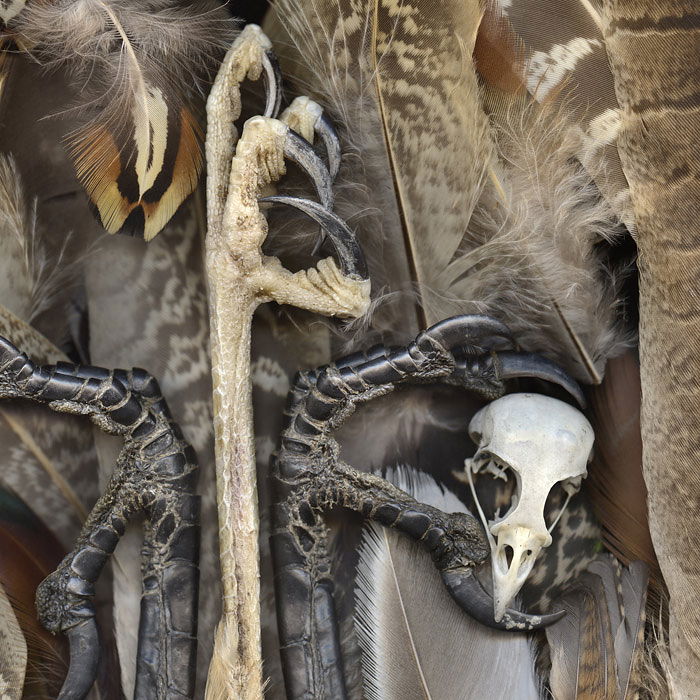
Flowers and plants are popular subjects for scanography. Everyone appreciates their beauty, color and interesting details. Cut flowers would be the logical choice, but I have scanned a potted plant or two.
You must handle flowers with care. They are very fragile, and the petals will crease easily. Try to prop them up by the stems. This way, the foreground petals are not flattening out when they are pressing into the scanner surface.
Store the flowers in a cool place before scanning. Keep the cut ends wet while working with them. A florist’s water pick can keep the flower from wilting quickly.
If keeping flowers for several days, give them flower food to extend their life. Keep the water in their vase fresh and cool.
Perhaps starting with flowers that are flatter or more sturdy would be a good place to begin. Dahlias, pansies, miniature sunflowers are easy to handle (compared to orchids).
Have everything you might need on hand. Scissors, tape, props, lighting, background material etc. Have the scanner ready to go before you start placing the flowers.
Have a starting composition in your mind. You can even draw a sketch before starting the scanner photography.
A successful image has both a mysterious quality and the ability to ignite people’s imagination. When setting up the flowers and other objects, I pay close attention to the placement that will imply gesture, action or emotion.
Structural parts of flowers and plants often mirror human or animal physiology. Use this for your advantage.
How to Use Live Insects for Your Scanography
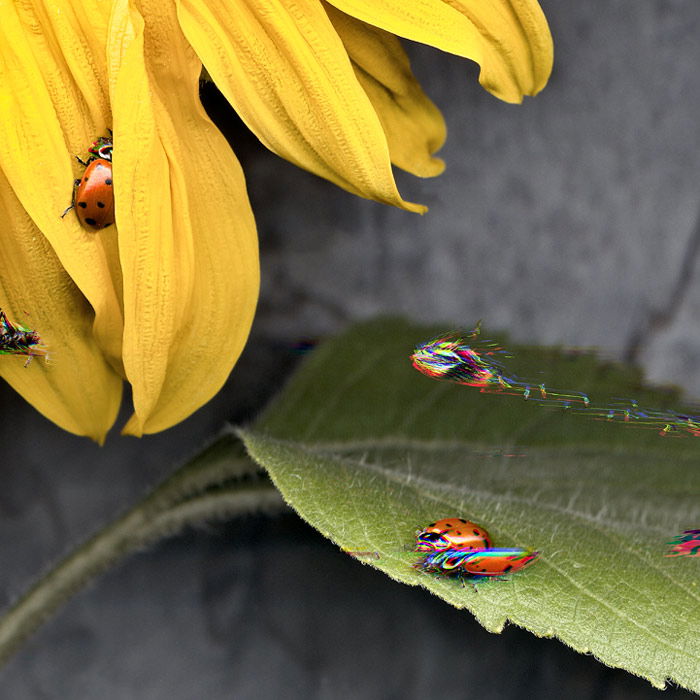
I use live critters in my scanography work for effects that break into new photographic territory. When living insects move during scanning, they create colorful digital tracks.
If you keep your live insects in the fridge for a few minutes before scanning, it slows them down. Try different DPI settings to capture their movements. A small brush works well for gentle wrangling.
My best scanography image involves over 300 spiderlings that bound a flower to the scanners glass with their dense webbing. I’ve also worked with moths, caterpillars, silkworms, ants and a newt. Be careful not to harm these little critters or keep them posing for too long.
How to Use Ice in Scanography
I have a continuing series called ‘On Ice’. This captures flowers and other organic subjects frozen into a block of ice or cubes. You can scan these as they are melting for some very interesting effects.
DO NOT put ice directly onto a scanner. Or you will be disassembling your scanner to clean condensation from the interior of the glass.
What you can do is turning your flatbed scanner upside down. I have adapted one of my Epson scanners to work upside down, but it comes with its own challenges. I hold it by a large camera stand and use it to scan ice.
The potential for icy textures is appealing. While the ice is melting, its texture is changing. For a more transparent look, you should light the ice from below.
The composition is tricky when scanning ice. The flowers can move somewhat as they freeze, and you have to hurry because it’s melting.

More Creative Scanography Ideas
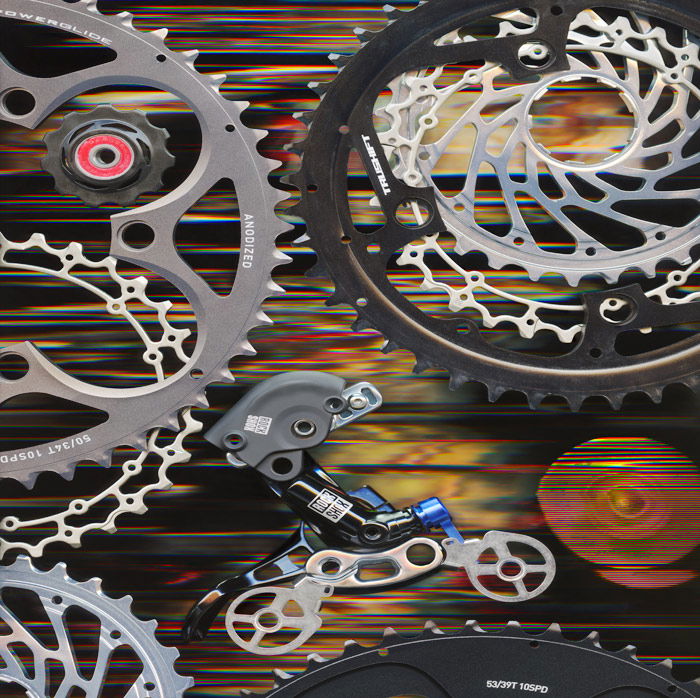
You don’t need to limit your subjects to natural ones either. As part of a fundraising exhibit, I was asked to create a scanography piece using 100 bicycle parts.
“Rock Shox Rider” was the result of a day of placing and moving metal bike parts on the scanner. I managed to get colorful streaks in the background. It was due to waving reflective bike parts in the background during scanning.
The circular sun shape is a bike part I spun while the scanner passed under it. I was very excited about the result. It ended up being the most high-resolution photo of my career.
How to Edit Your Scanography
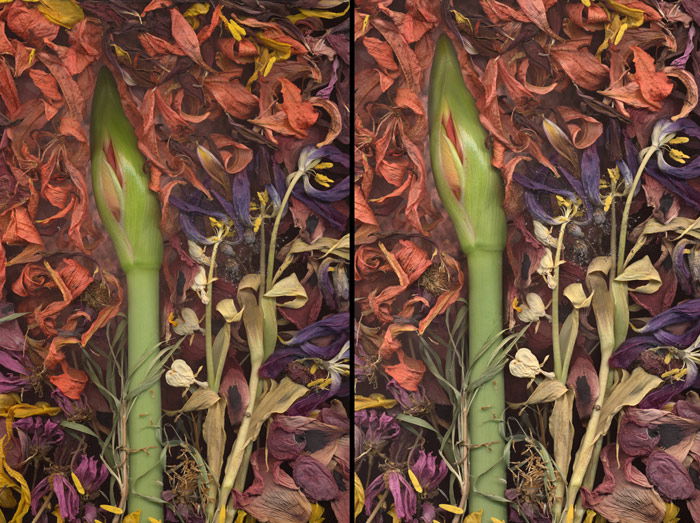
After the scan is complete, I use Photoshop’s Curves to control contrast. I’m always looking for a pleasing range of tones with good detail in Highlights and Shadows. I fine-tune color in Photoshop with Hue/Saturation tool or locally with the Sponge tool.
I often use the Dodge/Burn tools to compensate for imbalances. Successful dodging and burning go a long way to create more depth in the image. The dodge and burn tools are important to understand. Play with the Range Settings (H/L Midtone Shadow) for more control.
If the color is affected in an unwanted way, duplicate the background layer. Do your dodging and burning on this layer Then set the layer blend mode to Luminosity.
The photos below show the original scan on the left, and reworked using Photoshop. I ended up with a tonally balanced result thanks to Dodge and Burn tools.
Conclusion
Photo scanography has allowed me to observe and record nature in a unique way and opened up new creative opportunities.
Perhaps there is an imaging tool on your desk masquerading as a document scanner that calls to your imagination?
Use the above tips to try it out!
Eager to learn more about new and creative ways to shoot still life? Why not check out our ebook The Creative Photography Cookbook next!


