Glitch art is a cool trend these days. You can find glitch art anywhere from music videos to social media posts.
But what is a glitch effect? This is when you create a visual glitch on your image or video. It creates unusual visual effects.
In this article, we’ll show you how to create glitch art photos with an added Wow factor!
Exploring Glitch Art: What is a Visual Glitch and How Does It Happen?
A visual glitch is an error in a still or moving image. When a camera malfunctions, or is faulty, it can create a glitch. It can also occur in post-processing. These create errors in the image and tend to be undesired.
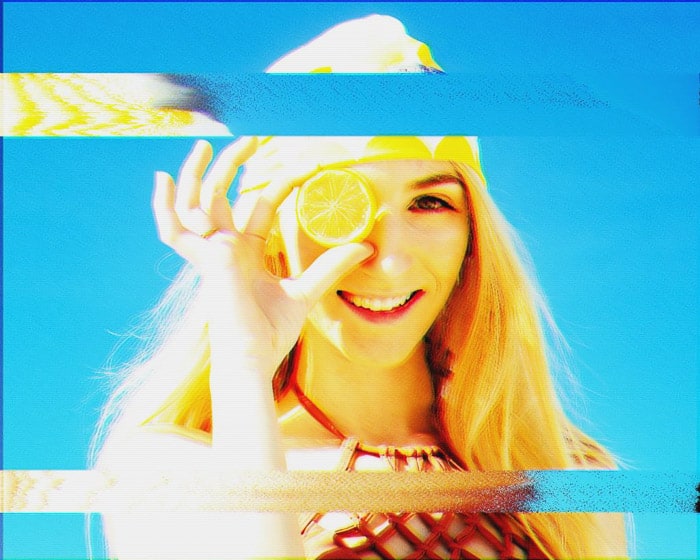
Some examples are pixelations, color distortions, RGB shifts, and elongated images. But you can also create cool glitch art by creating a glitch on purpose.
Visual glitches used in media by artists can be traced back to the beginning of the 20th century. It was used in films, art, paintings, and even photography.
What Is Glitch Photography?
Glitch photography is intentionally creating glitch-like effects on your photos. This glitching effect is easy to produce when you corrupt digital data.
There are also many apps and tools that make it easy to create this effect.
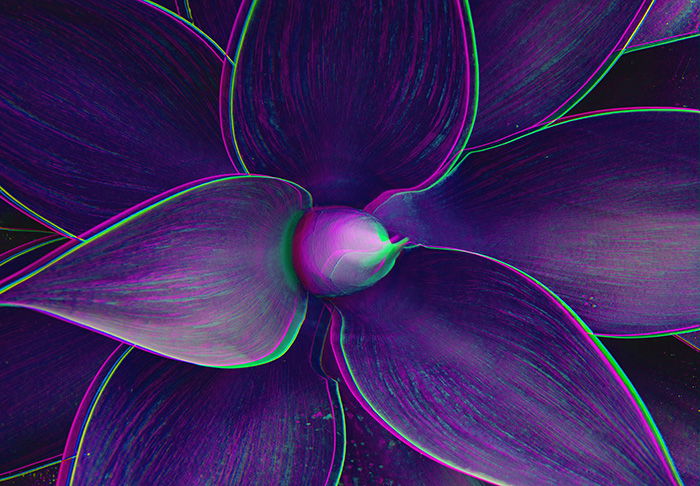
Choose the Best Photo for Awesome Glitch Art
The base photo is the first vital element for great glitch art. Here are some factors to consider when choosing your images.
Look for a photo with a clean background and one or two subjects. When you glitch a photograph, a lot of visual elements will be distorted. If your photo isn’t too busy, you’ll have a better chance of making your subject stand out.
You should also look for images that only have three to five colors. More than that and the result might end up too distracting.
Try using photos with strong geometric shapes. Lines are more likely to yield cleaner results. And they can also make your image look futuristic. This works well for abstract glitch art.
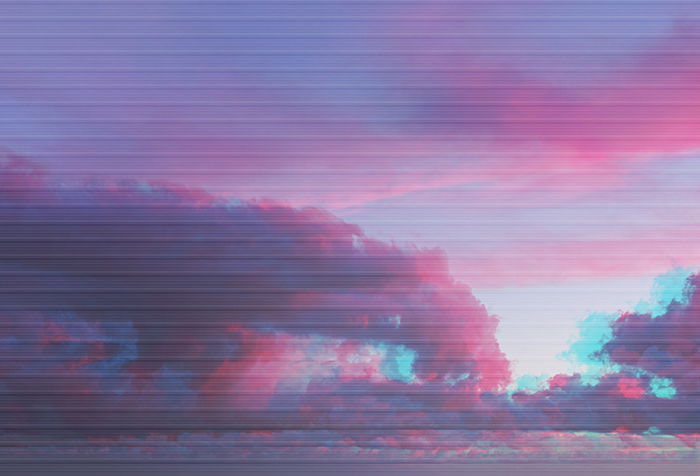
Create Glitch Art on Your Phone
The quickest way to create a glitch photo is by using apps on your phone.
If you want the classic RGB shift effect associated with glitch art, look no further. The Onetap Glitch photo editor app is what you want. It allows you to adjust different settings such as Random Seed.
This generates distortion in different sections of your photo.
Apart from that, you can also move and separate the colors via RGB Shift. Then you can select the effect’s Intensity as well as Thickness.
The next on our list is Glitchr, which is a fun-to-use glitch photography generator. Take a photo or download one from your gallery and choose the effect you want.
It has a few exciting filters, including Glitch Art, ASCII, and 3D. It can even replicate visuals from Gameboy and NES gaming consoles.
Finally, there’s Mirror Lab, which is a perfect editor for serious glitch artists. It has plenty of customizable presets. These include fractal art, glitch, planetoids, and even kaleidoscope effects. Once you upload or take a photo, all you have to do is choose the filter you want. You’ll see the results right away.
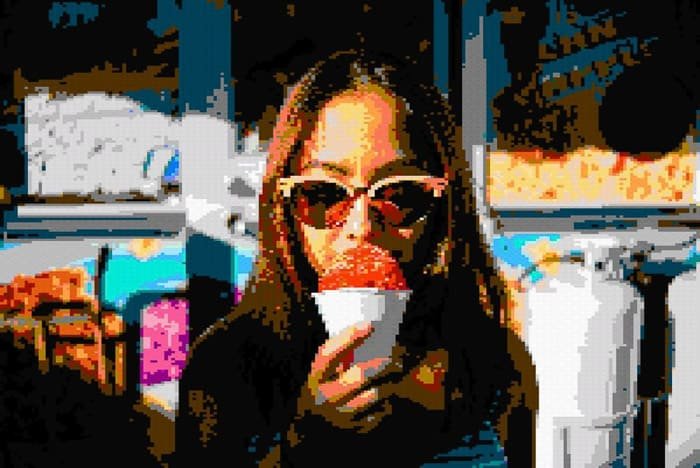
Make Glitch Art with Computer Software
Free Online Programs
Apart from phone apps, there are also free programs you can use online. In most cases, they offer more options for glitch artists than their mobile counterparts. And they allow you to work with bigger file data.
Some of the best ones we found are Glitcher, Image Glitch Tool, and Photomosh.
Glitcher has a small module in the upper left side of the frame where you find a few buttons and drop-down menus. Once you upload your photo, click Add Module and select the effects you want.
It has dozens of selections including Slice Glitch, After Picture, and Scanlines. You can then move the toggles to tweak the effect you chose. You can save your work either as a GIF or an image.
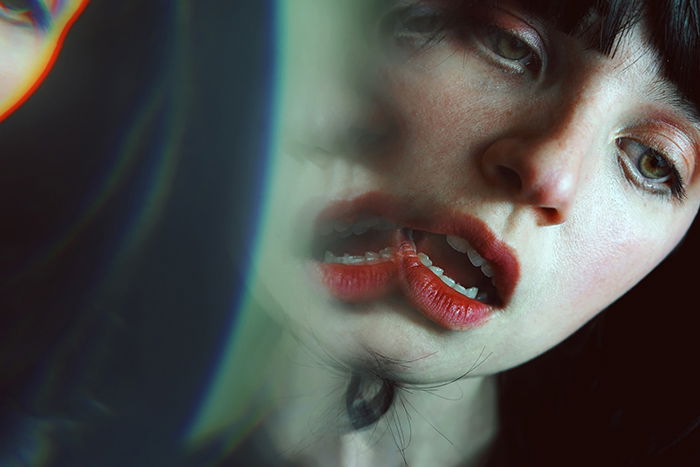
Image Glitch Tool combines several effects into one photo. Don’t be surprised if the first part of the image is solarized and the other sections look pixelated or distorted.
It even has controls that let you change the Amount, Seed, Iterations, and Quality. If you hate adjustments, you can also click the Randomize Button instead.
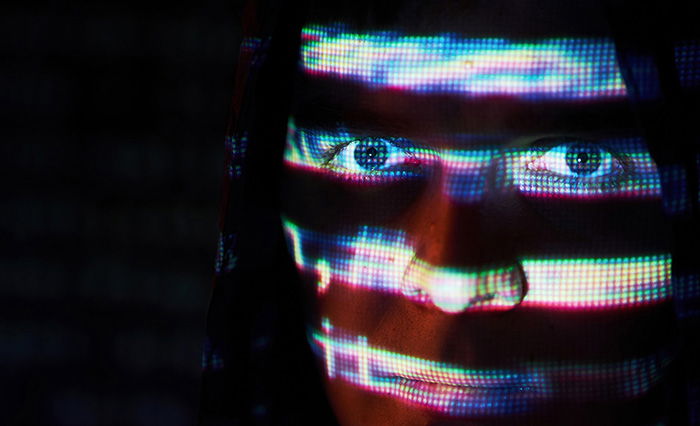
Then we have the user-friendly Photomosh. It turns your image into animation but also lets you save your work as a JPEG. All you have to do is load your photo, and select from the 27 effects the app offers.
It has more than the static glitch photography filters like Scanlines and RGB shift. It also features moving effects such as Jitter and Wobble.
Create Precision Effects With Photoshop
If you want to have more control over your work, we’ll show you how to distort your photo in Photoshop as well.
The first step is to create a blank document with 1500 x 1000 pixel size and place your image inside it.
Then resize. Use ‘Transform tool‘ (Ctrl/Cmd + T) to fit the picture’s dimensions to your glitch photo background. After that, you can go ahead and start editing.
To create glitch distortion, click on the ‘Rectangular Marquee Tool‘. Select a section from the photo. Next, choose the ‘Move Tool‘ and use the arrow keys to move the chosen area to the left or right.
Feel free to add more bars with varying thickness and repeat the process until you’re satisfied.
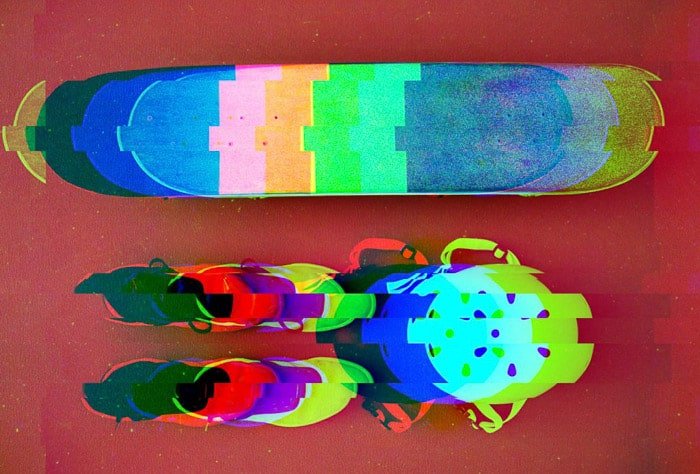
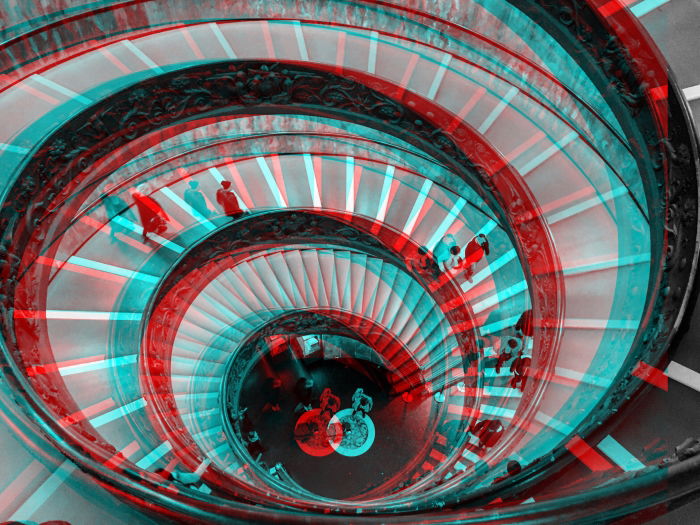
The final step is adding a glitch background that resembles a 3D RGB shift effect. First, duplicate your image three times. Then right-click on the first layer and select ‘Blending Options‘.
When you’re done, deselect the ‘Green Channel‘ under ‘Advanced Blending‘.
Now go to the second and third layer and uncheck the ‘Blue‘ and ‘Red Channels‘. Next, select ‘Move Tool‘ and click on the first layer. Now use the arrow keys to displace it either to the left or to the right.
You then repeat the process with the next two layers. Do so until you see the colors overlapping.
We also created a more in-depth article for mastering this technique.
Glitch Your Photos With Audacity
So far, we’ve offered you different apps that replicate abstract glitch photo effects.
Here are a few more hands-on methods of corrupting file formats to create fantastic results. Let’s start by modifying photos with the free audio editor Audacity.
Since you’ll be “destroying” an original file, you’ll need to create a copy of your photo first. Open the photo on MS Paint (or any simple photo editor) and save it as BMP.
Next, open Audacity and select ‘Import‘ under ‘File’. Then click on ‘Raw Files‘ and choose the BMP picture you want to edit.
Once you select the photo, an ‘Import Raw Databox’ will appear. For ‘Encoding’, select ‘U-Raw‘. For ‘Byte Order’, choose ‘Big-Endian‘. And for ‘Channels’, click on ‘1 Channel‘ (Mono).
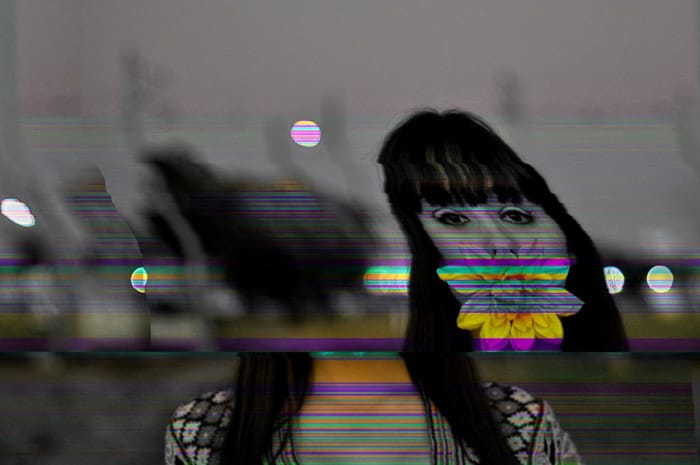
After the file loads, highlight any section after the 5-second mark. Select ‘Echo‘, ‘Phaser‘, or ‘Wahwah‘ under ‘Effects’. The ones we mentioned produce the best glitches. But feel free to experiment with other options as well.
When you finish adding the effects, go to ‘Files’ and click on ‘Export Audio‘. Under ‘File Type’, select ‘Other Compressed Files‘ and hit ‘Options‘.
Once a box appears, click on ‘Raw (Headerless)‘ under ‘Header’, and ‘U-Law‘ under ‘Encoding’. Audacity will then ask you to add metadata.
Press ‘Okay’ and hit ‘Save‘. Keep in mind that when you use Audacity, you won’t see the glitch art effects until you save the data file and view the picture.
Experiment With Notepad
A few years ago, some creative people discovered that you can manipulate image files with Windows Notepad. Unfortunately, the current version corrupts the entire file and renders your photo useless.
Thankfully, you can still glitch photos using the open-source text glitcher Notepad ++.
First, you’ll need to open your image on MS Paint (or similar editing software) and convert it to BMP. It will help a lot if you resize the photo because big files tend to crash Notepad ++.
After converting your picture, open it in the app (expect to see a lot of random symbols once it loads). Now scroll down about halfway and copy a random patch of symbols. Paste the random patch somewhere else in the document.
When you’re done, hit ‘Save‘, and you’ll have a glitched result.
A word of warning: Learning how to create abstract glitch art with Notepad can be a bit challenging. There’s no way of knowing how your final photo is going to look. Keep copying and pasting symbols until you find the result that you like. It involves a lot of trial and error, but the random process is what makes it fun.
Go Analog for Truly Original Glitch Art
Of course, image glitches aren’t just limited to digital platforms. You can also create them using analog gadgets such as VHS tapes and camcorders.
Instead of emulating effects with editing software, you can create real glitches with these devices.
You can ask your parents or even grandparents if they have an old VCR or camcorder lying around. If not, you can always find plenty of these gadgets at thrift stores for cheap. It may take a lot more work, but when it comes down to it, nothing beats the authenticity of real noise and distortion.
Using a camcorder, you can record yourself or another subject as the basis for your glitched image. When you have enough footage, fast forward and rewind the tape until you see static all across the screen. You can apply the same process to your VCR as well.
You can digitize the footage through your computer using video capture software (like Adobe Premiere). You can also take a photo of the screen with your digital camera. This method will give your shot an even grittier look.
Bonus Tip: Distort Your Image With Scanning
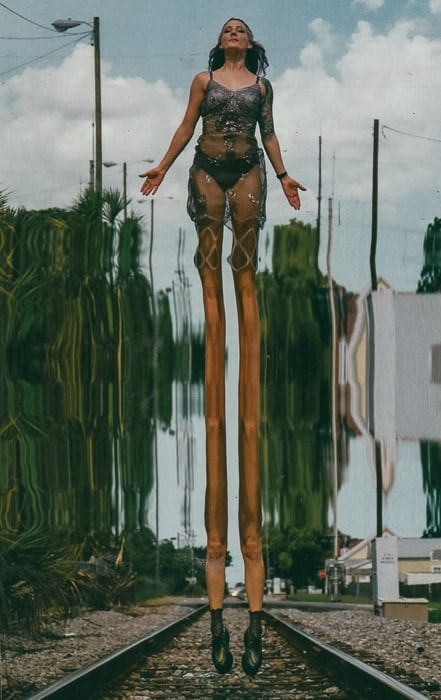
A flatbed scanner is another creative way for artists to produce glitch effects. Your subject could be anything from flowers to old photographs as long as they fit in the scanning tray.
Drag your object around while scanning. Your photo will end up looking elongated, and you’re likely to see scan lines in some sections.
It’s simple, it’s fun, and there’s no editing necessary. Check out our scanography article for more creative scanner ideas!
Conclusion
The whole point of abstract glitch art is experimentation. Feel free to set the technical aspects aside and embrace the randomness of the process.
You can always use Photoshop and other editing apps to control elements of your photo. But there’s nothing like the surprise of intentionally corrupting data files.
In the mood for more creative tutorials? Check out our posts on steel wool photography, or spiral light painting.