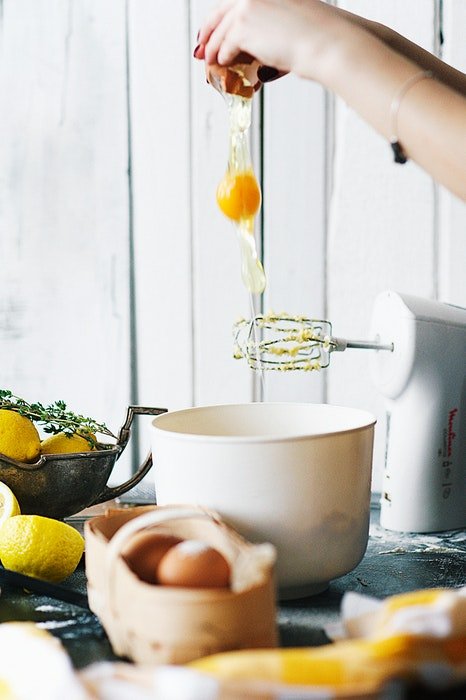
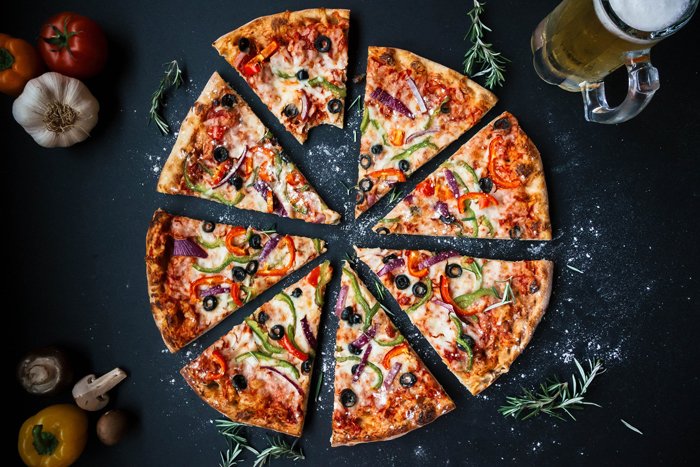
Food action shots make any food photography dynamic and more realistic. In case you’re taking photos for a cookbook, you should involve lots of movement: pouring, stirring, sprinkling.
Everyone loves the sight of fresh doughnuts getting sprinkled with icing sugar.
But how do you take action shots in food photography? Read our 8 tips to improve your cooking photography in no time.
Cooking Photography: 8 Tips for Avoiding Camera Shake with a Tripod
A tripod is essential in cooking photography. You need to avoid any camera shake to freeze the movement. You might have a very stable hand, but trust me, you still have to use a tripod.
The good thing about tripods is that you have to set up your camera only once for a scene. You can leave your device on the tripod while you adjust the food and nothing will change.
You might want to capture the scene before you start taking action shots of the food. The splashes or sprinkles will make a mess.
Having a backup shot about the original scene comes handy if you don’t manage to clean up everything. You can use the first shot in post-processing to correct some mistakes.
7. Set the Shutter Speed First
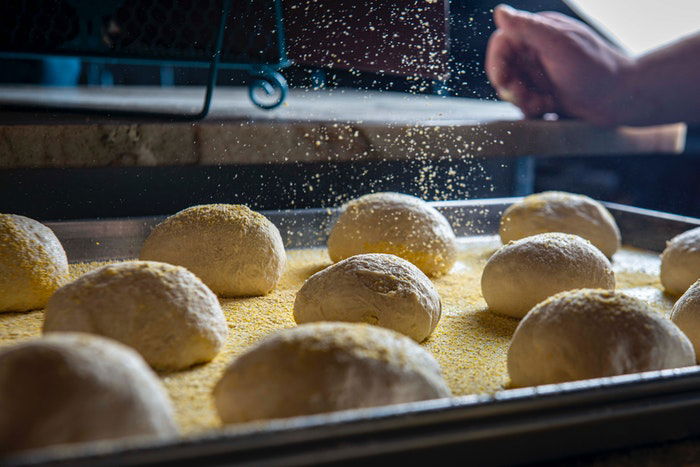
How can you capture the creamy chocolate syrup slowly being poured? Or the flour being dusted?
You need to freeze the movement with fast shutter speed. Shoot in manual mode with a shutter speed of 1/125 or 1/160 at least.
The faster the shutter speed, the easier to freeze the motion. Keep in mind that you need enough light for this condition.
Then set your ISO. Try to shoot with ISO 400 or 800 to get enough light but avoid noise.
Adjust your aperture at the end. You can use live view to set the depth of field you wish to achieve.
6. Use Natural Light for the Best Colors
You need natural light to get impressive results in food and cooking photography. You might want to use flashes or artificial lights. But they can ruin the colors of your food subject. Or they can create reflections in the middle of the dish.
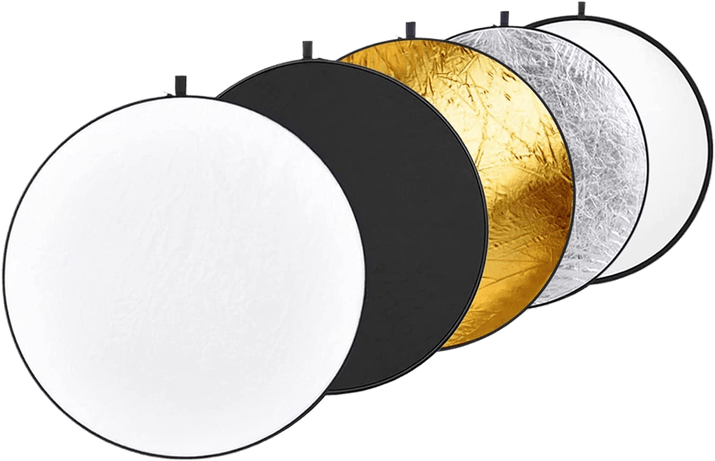
Shoot close to a window or outdoors if you can. Natural light will result in realistic photos. If the light is too bright, you can use a piece of paper or reflector to soften it.
5. Shoot in Manual Focus
The motion might trick your camera’s autofocus during action shots. Use manual focus instead.
You have two options to set your manual focus. You can put an object around the same place where the sprinkling or pouring will be. Then focus on the object and remove it from the frame.
The other option is to focus on the spot where the food in motion reaches the non-moving subject.
4. Experiment With the Motion
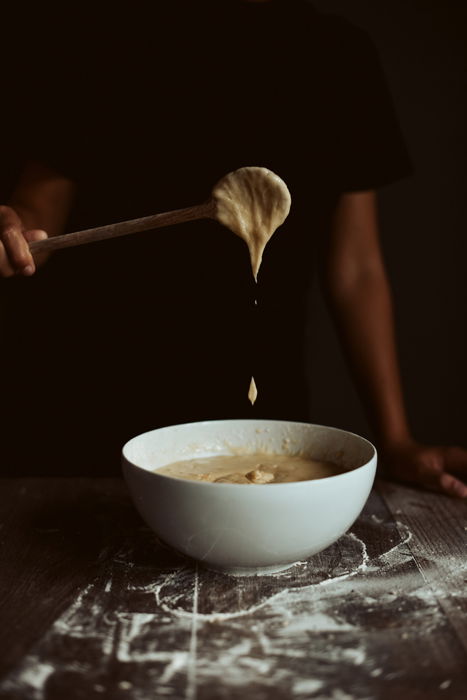
If you are a beginner in cooking photography, practice the motion a few times. See how and where you want to pour the liquid or the syrup. If the sauce is too sticky, add a bit of water to make it more fluid.
You might have an assistant or an actual chef with you. You can direct them to make the motion in different ways, and you can check which one is the best.
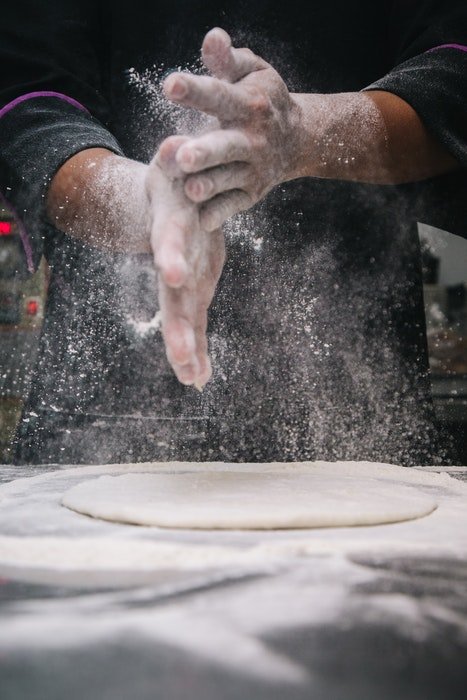
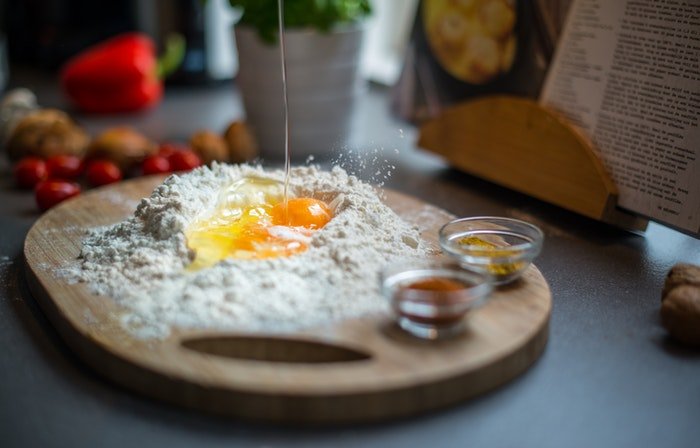
Besides sprinkling, pouring and stirring, you might want to experiment with flour photography. The most popular action shots depict clapping hands with dusting flour powder.
Flour photography can be very messy, so you might want to move the practice session away from your photography set up.
When you are happy with the movement, it’s time to take some action shots!
3. Shoot in Continous Mode and With a Self-Timer
For cooking photography involving action shots, use continuous mode while shooting. This allows you to capture several pictures in a short amount of time.
If you are the one taking the cooking photos and photographing as well, you can work with the self-timer. This will allow you enough time to get into your position.
If you have a remote control, you may use it for action shots in cooking photography. But many food photographers avoid using it and still get fantastic shots.
2. Choose the Best Angle
Choosing the right angle can be a deal-breaker in cooking photography. You have to leave enough space for the motion to get going. But you don’t want to have large empty spaces.
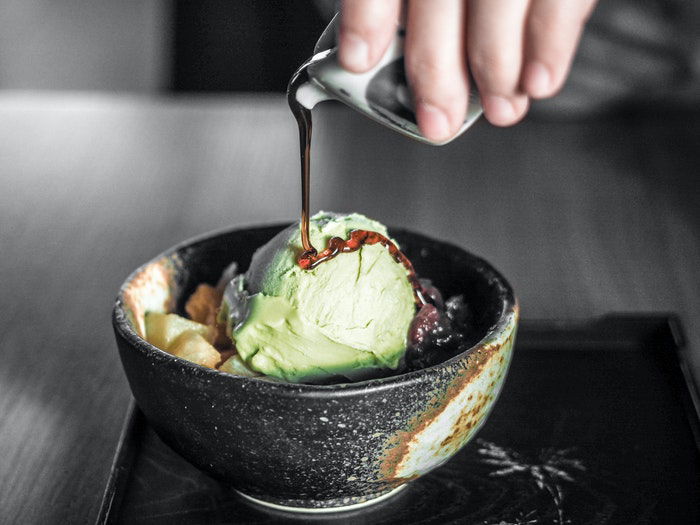
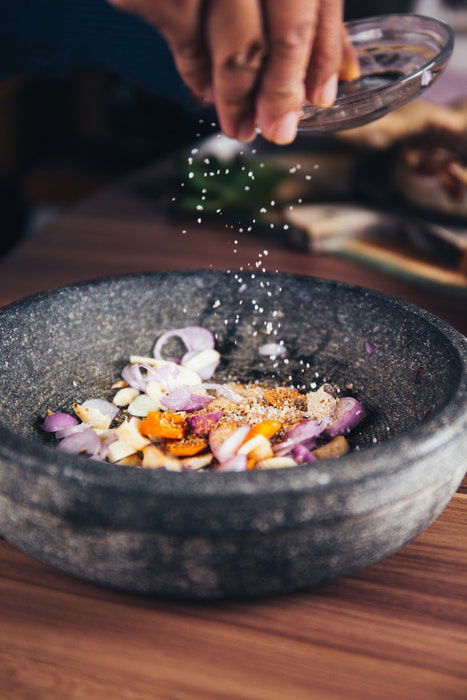
Pouring and sprinkling need different angles. Seeing a caramel syrup dripping from a spoon high up can create real cravings. You can start the pouring from a high spot.
But sprinkling looks better if the flakes almost hit the still subject. If you dust sugar way above a cake, you won’t get mouthwatering results.
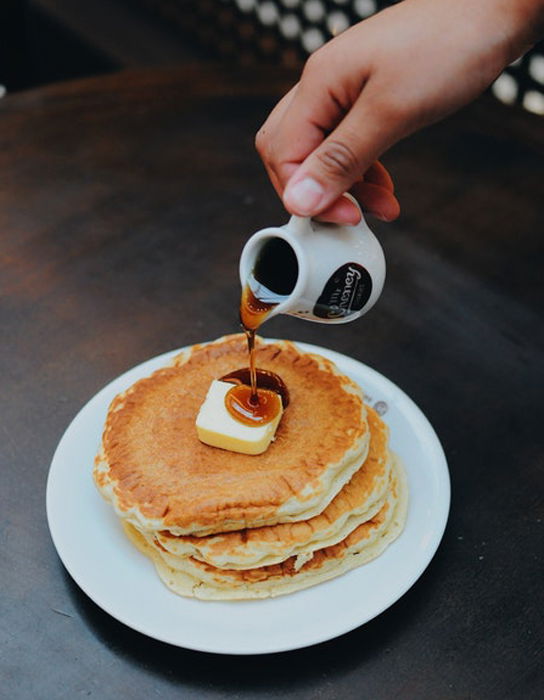
Check out the pancakes getting drenched with syrup below. The container is too close to the pancake pile in the first picture. There is no space to create a longing in the viewer. The pouring happens without arising excitement.
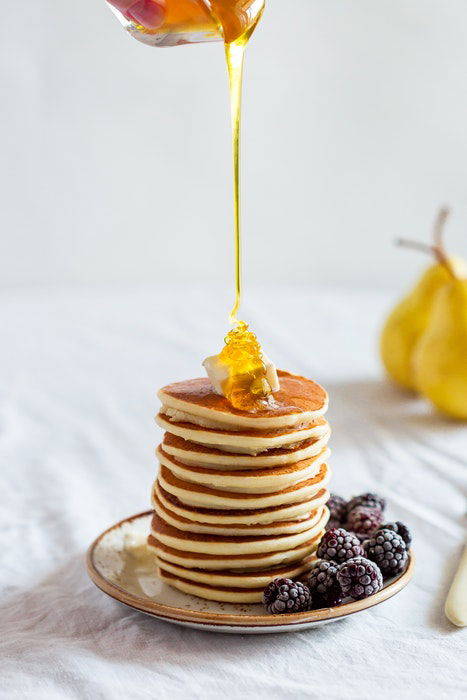
Take a look at the second photo. This looks much better as the syrup is dripping from a higher point.
I find the flow a bit too long, to be honest. It is nerve-wracking to see how long it takes while the syrup hits the pancakes. But that’s just a personal opinion.
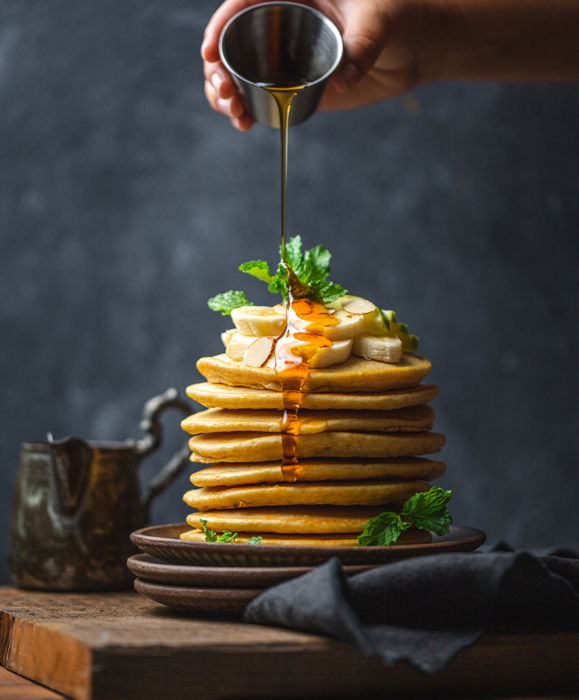
The third picture below is perfection. It has enough space for the golden liquid to create an elongated drop. But it doesn’t create too much tension with a long stream.
Make sure that you also think about the background when you choose your angle. A messy or vivid background can draw the viewer’s attention away from the motion.
An untidy kitchen with equipment lying around is also killing the mood.
1. Fake it Till You Make it
In cooking photography, you can also create action shots without actual motions.
You might want to apply implied movements when taking food photos. These are positions that suggest some action or dynamics, but the subjects are still in reality.
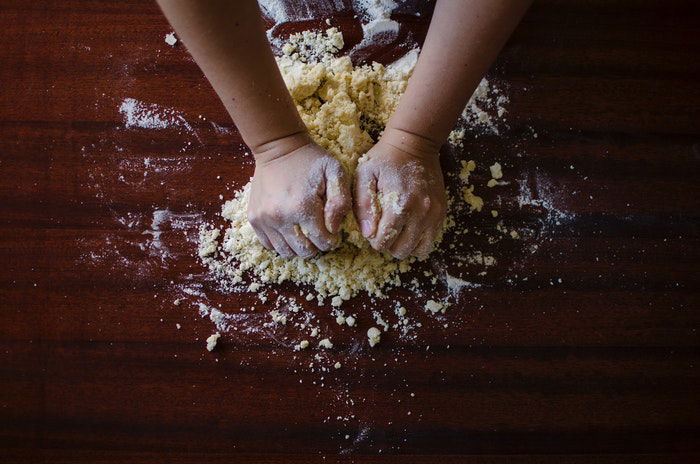
Implied movements can be cutting vegetables, spreading butter or kneading dough. It can be any cooking-related scenario that creates the illusion of motion.
This can be a good stepping stone for action shots in cooking photography. Once you have the composition right, you will feel more comfortable to capture actual movements.
Conclusion
Cooking photography action shots can be tricky, but the results are worth it. Dynamic pictures are more engaging and relatable than still food photos.
Practice and don’t be afraid of making a mess! A good chef can create fantastic meals in chaotic kitchen conditions – a good food photographer capture amazing pictures.
Check out some great recipes on one of our favorite food blogs here.
