I am a traveller, I like to travel as much as I can. Combining photography and traveling was a natural thing. My two passions united at the same time.
It is natural to come back from trips with thousands of shots, calculated by heart, to be developed and edited in Lightroom.
Over the years I have learned to apply some basic steps for the management and editing of my travel photos to be faster.
In this article, we will talk about these photo editing tips.
Import Your Images to Lightroom
If you are traveling with a laptop, one of the most important things to do when you have a few minutes is to import your images into Adobe Lightroom.
This will not only allow you to save the shots on your computer’s hard drive but also free up your memory cards for the next shooting session.
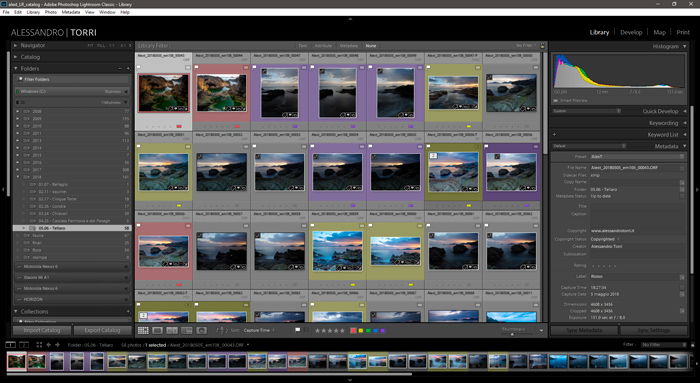
In this way you can start to see and select those shots that you consider good and you want to process. And, of course, you can start deleting or marking those shots that you do not like.
Set pick, unpick, rejected to mark those photos you want to keep or delete. Set from 1 to 5 stars to make ratings and color labels for a further subdivision.
After this step you can try to schedule another shooting session to improve those shots that don’t please you.
Culling is the name of this process of viewing and selecting the shots. It is a very important step to speed up the post production process.
Then you will be able to export your shots for the web or for printing. Or any other destination, in a matter of minutes.
Another Lightroom structure that comes in handy is a “Collection“. You can use these to separate, categorize and give priority to those shots you prefer.
Don’t Forget the Metadata
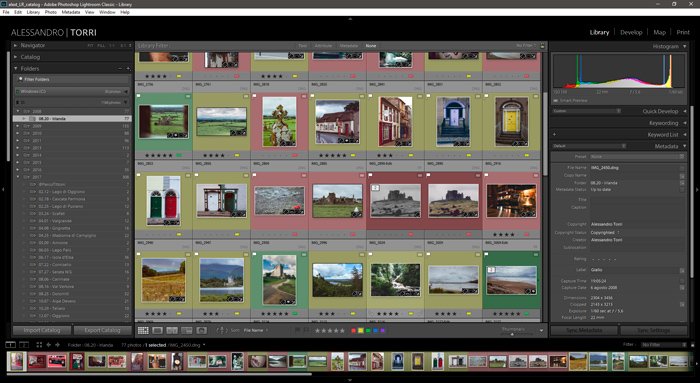
Applying metadata is something that I find important and closely related to the process of importing and culling images.
It is a good practice to apply metadata when the information is still fresh in your memory.
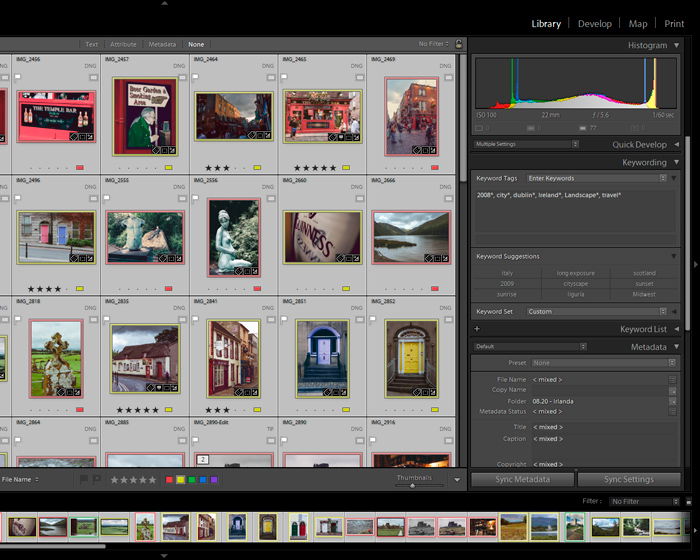
Metadata will let you to recognise and search the catalog for the right image. It needs to be precise and meaningful.
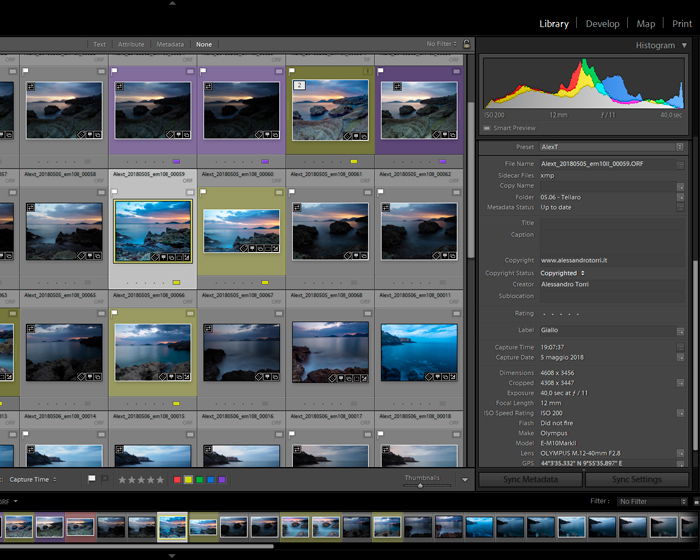
You need to pay attention not only to the folders’ subdivision but also to filenames, shooting data, copyright values and keywords.
All these values will be saved in the photo’s metadata and in the Lightroom database.
In this way the “Library” module of Lightroom CC Classic becomes a perfect tool for managing your images.
Make Use of Maps
How many times do you visit a beautiful place, where you made dozens of great shots, and once home you do not remember the name of the place where you were?
This is especially true when visiting places in countries with a language totally different from yours.
Do you remember any Iceland beach, waterfall or lagoon? Their famous and strange names are not easy to recall if you are not icelandic. I’m also thinking about some lovely places in Scotland with gaelic names.
You won’t have another chance to remember them if you don’t write them down.
This is where the “Map” module of Lightroom is very useful. And here are the steps: you go for import photos then you do the culling process. Next you set all the relevant metadata.
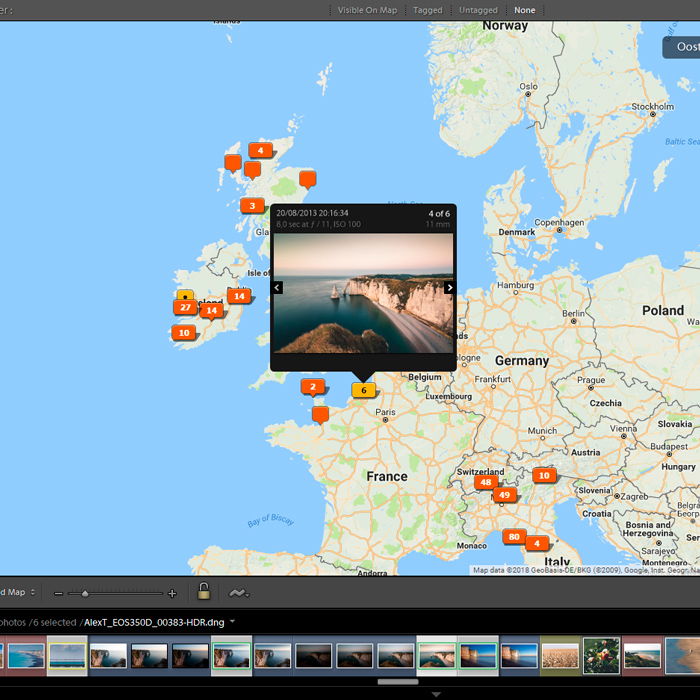
And the last step is to place your photos exactly where you were a few hours before on the map.
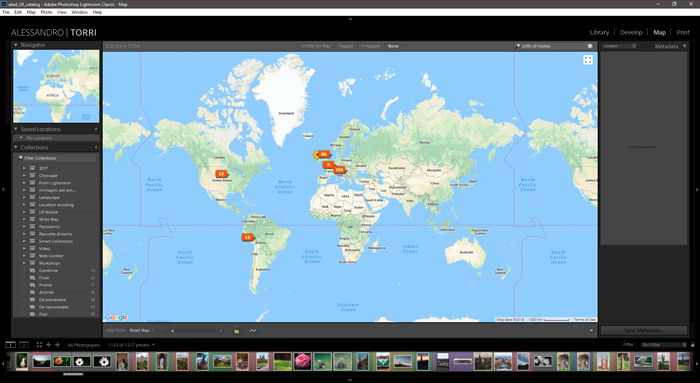
This way, it is still fresh in your memory that you can recall the place and the name.
Once again, this will allow you to find your shots with ease in the future
The “Map” module of Lightroom can also be used in another way. You can import shots made with your mobile phone and then place them on the map. This is almost like having a location scouting list and you will be able to plan your next shots in detail.
Add Lightroom Presets
Once you’re done with the previous steps, it’s time to move on to the photo editing phase.
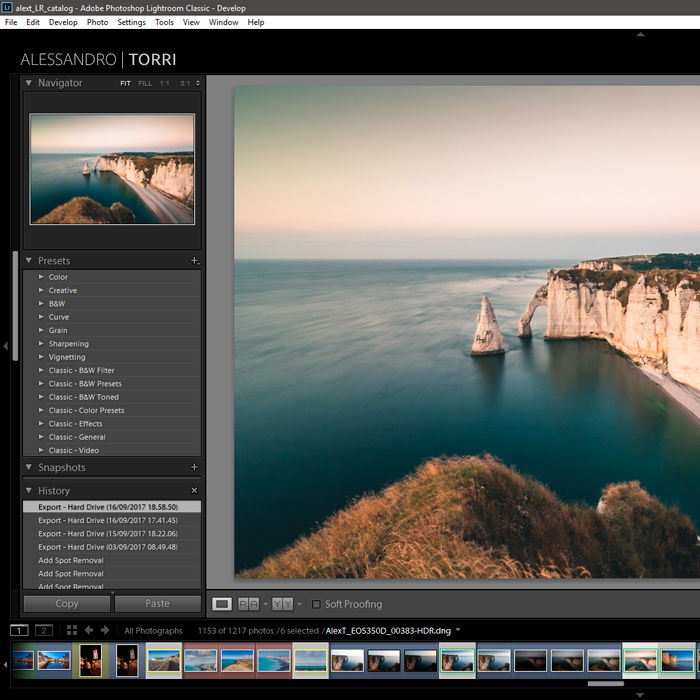
To speed up the editing process of all travel photography made during a trip, one of the most effective tools to use is the presets panel.
What are presets? Well, you can think them as a long list of values, that tell Lightroom how set every slider of Develop Module.
Everything you can do in the Develop Module is mapped in a preset.
So you can apply the same settings to 10.000 photos in one second and one click.
Some basic presets are included in the Lightroom installation, or you can find some for free on Internet. You can also buy them according to your tastes.
The real power of Lightroom’s presets is that you can create your own set, according to your usual workflow.
So you could have the same style applied to all your photos.
Once you have chosen a preset to use, you will only need specific fine tuning to finish off an image.
Presets in Lightroom have another huge advantage: the ability to give the same style and the same mood to your photos.
This becomes very useful for having consistency in your photography style and telling the same story with your photos.
So for example you can push bright colors and strong contrasts for a trip to South America. Or exalt cold tones and low contrasts to describe to viewers your rainy trip in Scotland.
Don’t Forget About Lightroom’s Publish Service
One of my favourite Lightroom tips is the underrated ability to publish or save your photos online.
You will need an internet connection, but now any bed and breakfast or hotel provides it for free to its customers.
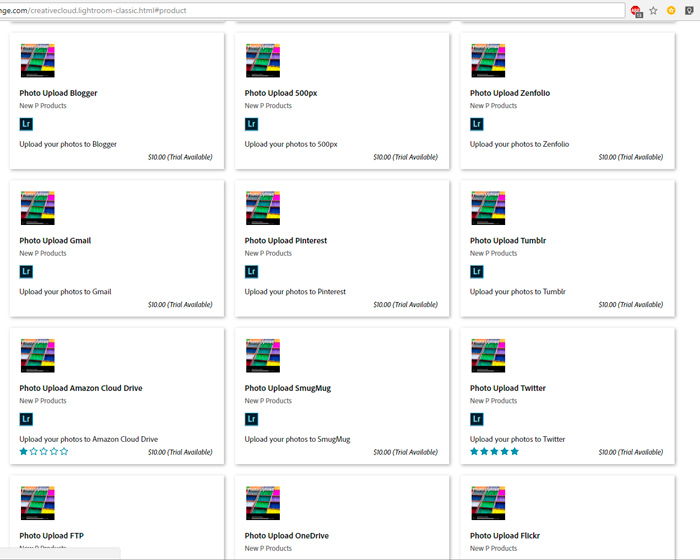
At the bottom left of the Library module you will find the “Publish Services” section. It will allow you to publish your newly developed photos on your social media and online gallery. And it will allow you to create backup copies on your cloud services.
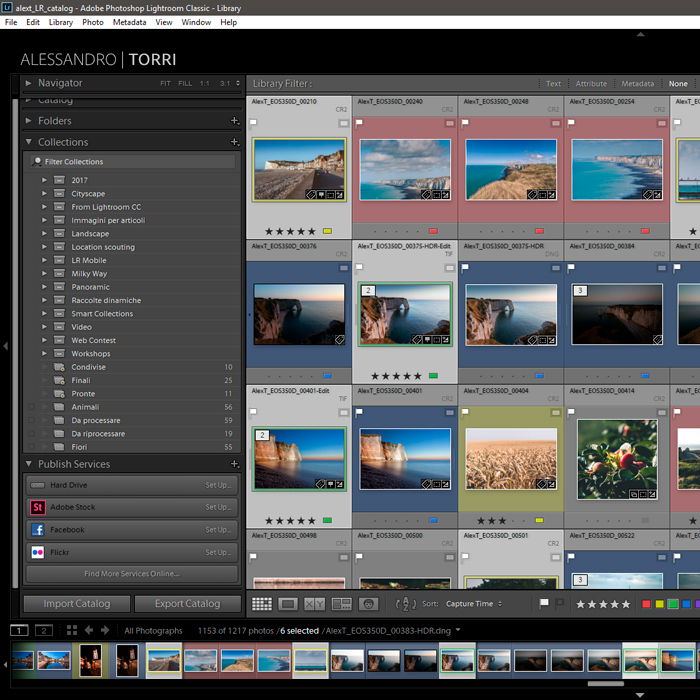
For example: you can find publishing tools for 500px, SmugMug, Flickr, Facebook and Instagram. And you will see Google Drive photos, Dropbox, One Drive cloud integrations for backups.
In this way you can update your social media almost in real time and you will have the security of backups for your shots.
Be careful: your camera’s raw files may be quite large, and they could use different space in your cloud service plan and take a long time to upload.
Lightroom Mobile
In recent years Lightroom has exponentially expanded its user boundaries.
I am speaking about Lightroom CC Classic and Lightroom CC and Lightroom Mobile and Lightroom Web. Check our article for more Lightroom tips on the different versions.
If you enable the synchro features you will be able to work on the same image across all platforms.
So you can take a picture with your phone and start postproduction in the Lightroom mobile application (here for iOS and here for Android). Later you can continue work in Lighroom CC Classic and find all steps and settings done on your mobile phone.
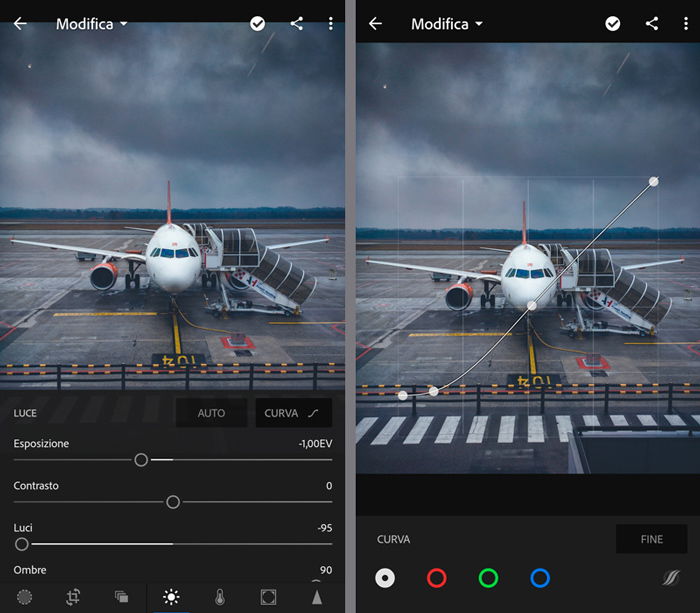
Or continue to work on a photo on your phone as you move from one area to another. The same photo that you started to develop the night before on your computer.
This possibility of “sharing” photos requires an Internet connection and to have space on the Adobe cloud.
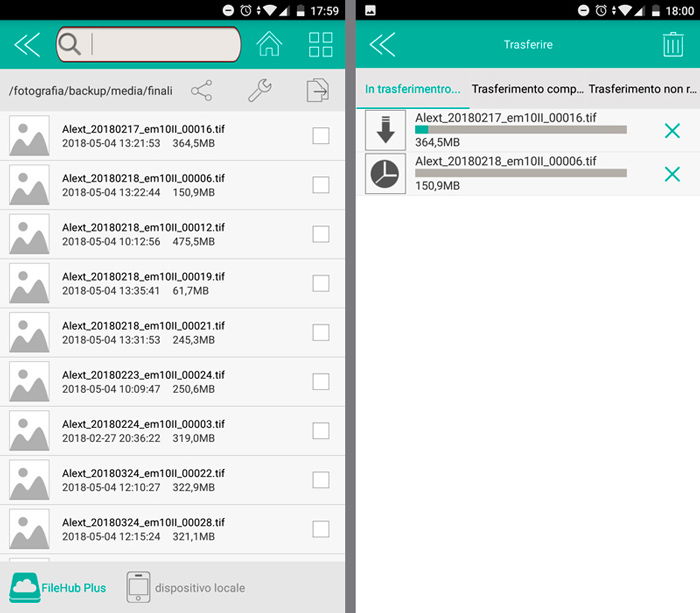
And if you do not have an internet connection or you do not travel with a laptop? No worries: you can use an accessory like the SanDusk portable SSD. This little gadget will create a Wi-Fi connection so you can connect your phone. You can insert your SD card and connect your USB drive.
With the mobile app you can view all the files on the SD card and transfer those files to your drive.
Conclusion
Travel and photography live together. It is a natural and beautiful thing to see new places and take thousands of pictures.
It can be overwhelming going through developing all of them but I hope I gave you some good Lightroom tips and strategies to make the process easier.
If you’re interested in trying a Lightroom alternative, check out our Capture one vs Lightroom article!