Adobe Lightroom has included a clone tool since version one. Post-processing using cloning in Lightroom has continued to become easier and more efficient with every new Lightroom version.
Lightroom processing is ideal for photographers who prefer a non-destructive editing environment. This includes cloning in Lightroom. No matter how much you clone, or how many cloning actions you make, your original file remains intact.
The Lightroom clone tool can be used to edit out small or large portions of your photo. Here are 8 best tips for cloning in Lightroom.
How To Use the Lightroom Clone Tool
The clone tool in Lightroom is known as the Spot Removal tool. It is not limited to only removing spots from your photographs. You can also use it to clone larger areas of your photos.
The Lightroom clone tool is found in the Develop module.
8. Use the Speed Key to Select the Clone Tool
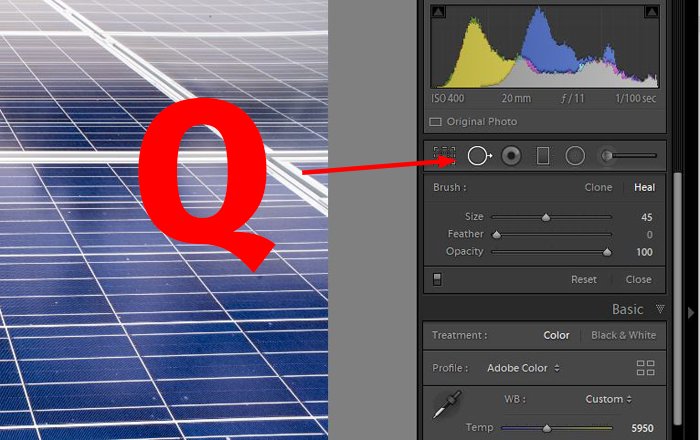
Once you are in the Develop module in Lightroom tap the Q key to bring up the Spot Removal tool. You can also click on the icon for this tool in the right-hand side panel.
To find this panel press F8 or click on the triangle in the middle of the right side of the window.
7. Zoom In to the Precise Area for Cloning
Once you have the Lightroom clone tool selected it is best to zoom into the area of the photograph you want to work on. This allows you to be much more precise with your photo editing.
To zoom precisely hold down the space bar on your keyboard. You will see your cursor has become a magnifying glass icon. Click on the part of the image you want to use the Lightroom clone tool.
The image will zoom to one hundred percent. Now you can see more clearly the area you will work on. You may also notice more spots which need removing.
6. Custom Select the Area to Copy From
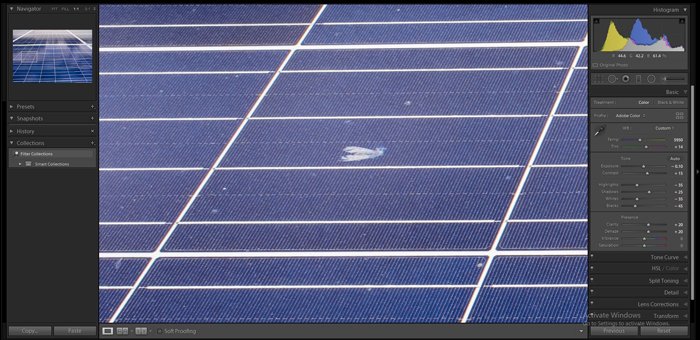
When you click on or paint over an area of you image Lightroom will choose another part of the photo to clone from. This is not always accurate and may not provide you with the best results.
Lightroom processing with the clone tool allows you to alter the location that will be copied. Once you have made the selection of the part of the image you wish to clone Lightroom will display the area the copy is made from.
Click inside this area and drag it to a different location that will give you a better result.

5. Hide Your Pins Using the H Key
When you have a lot of post-processing using cloning in Lightroom you will end up with a lot of marker pins showing the areas you have worked on. These can become distracting.
To hide them you can just tap the H key. To have them appear again, just tap the H key again.
Hiding the markers will help you see any other spots you want to remove or areas you’d like to clone.


4. Adjust Your Brush Size
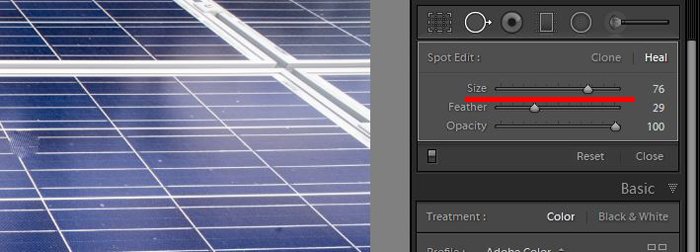
For more precise control you can make adjustments to the brush size. Four easy ways to do this are:
- Using the slider in the right-hand side panel
- Type in a number next to the slider
- Use the [ and ] keys to decrease or increase the size
- Scroll with your mouse wheel
Unlike some other tools, the spot removal pointer does change size when you zoom in and out of your photo.
Careful control over the brush size allows you to click on or paint over the exact parts of your image which need cloning in Lightroom.
3. Adjust the Amount of Brush Feathering
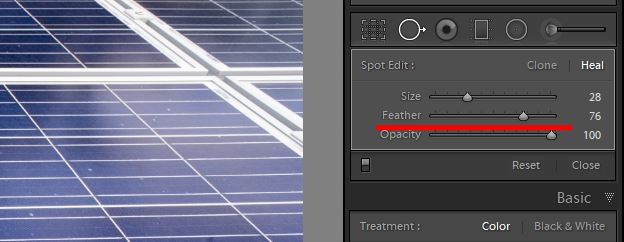
Changing the amount to feather the brush has can help you make more accurate photo editing adjustments. To do this you can:
- Using the slider in the right-hand side panel
- Type in a number next to the slider
- Use the SHIFT + [ and ] keys to decrease or increase the size
- Scroll with your mouse wheel while holding the Shift key
Manipulating the amount of feather softens or hardens the edges of your brush. Sometimes a hard edge will be more helpful than a soft-edged brush.
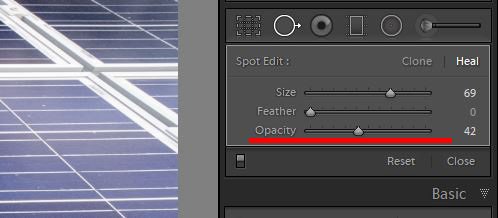
2. Change the Opacity of Your Brush
Altering the opacity of the Lightroom clone tool brush enables you to build up a series of semi-opaque changes. This will be more of an advantage in some situations than in others. By using this technique you can often see the changes and make them more precise than when the brush it at one hundred percent.
To change the opacity of the clone tool brush you can:
- Use the slider in the right-hand side panel
- Type in a number next to the slider
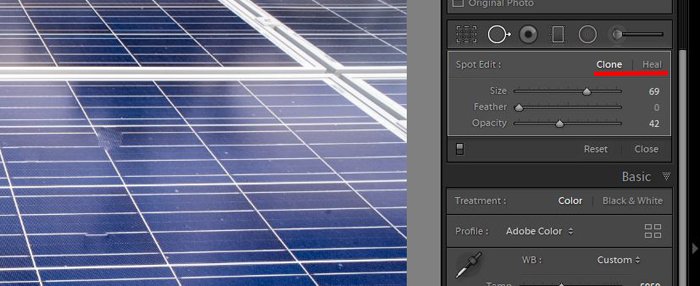
1. Choose Between the Cloning Brush and the Healing Brush
The cloning tool in Lightroom makes an exact copy of the selected area. The healing brush takes into account the color and texture that surround the area.
The healing brush copies the texture from the borrowed source and keeps the color and tone of the original source.
You can select between the Lightroom clone tool and the heal tool in the right-hand side panel. For both tools the brush looks the same, so you need to check and make sure you are using the one you want to.
Getting used to the difference between the two types of brush takes some practice. In some situations, the clone tool will produce better results.
In other situations, the healing brush will work better. If one brush does not give you satisfaction switch and try the other one.
Conclusion
Whenever you are using the Lightroom clone tool you need to carefully watch the results you are getting. Like any automated feature, it is based on software algorithms which will not always provide you with the most accurate results.
Zooming in and using the Lightroom clone tool at one hundred percent is the safest way to work with the brush. This way you see more precisely when you need to change the location the clone sample is being taken from.
If you are more used to working with the clone stamp tool and healing brushes in Photoshop, cloning in Lightroom will take some time to get used to.
It does have the advantage over Photoshop of being non-destructive. You can always go back to your original if you do not like the results.
Why not check out how to create a vignette effect or use develop presets in Lightroom next!

