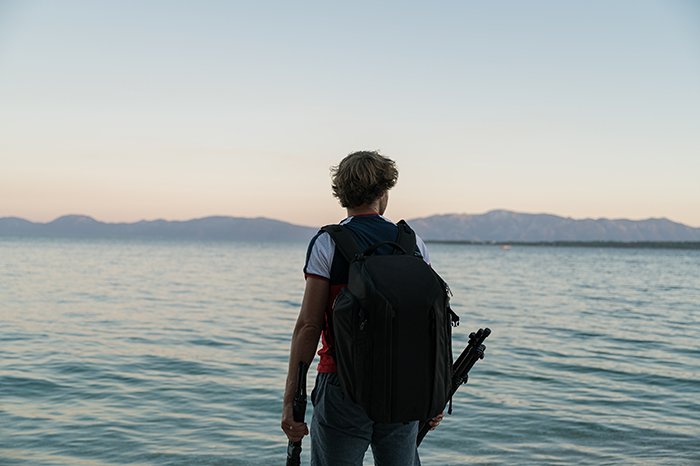
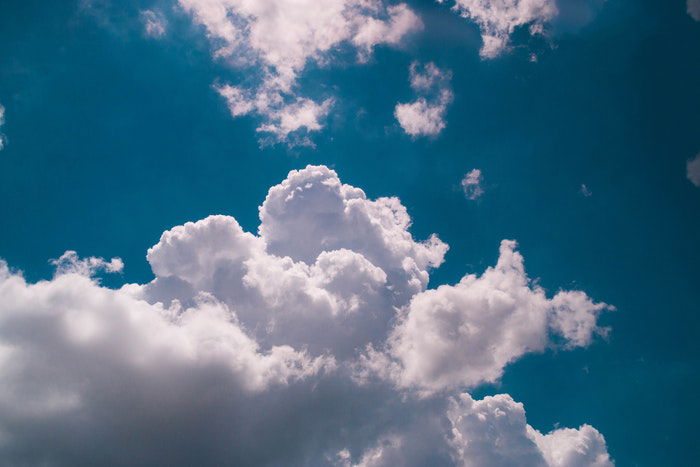
Many have heard of golden hour photography, but fewer have heard of blue hour photography. The blue hour is a wonderful time for photography, especially when photographing cities.
So why do so many photographers pack up and go home after sunset?
What is Blue Hour Photography?
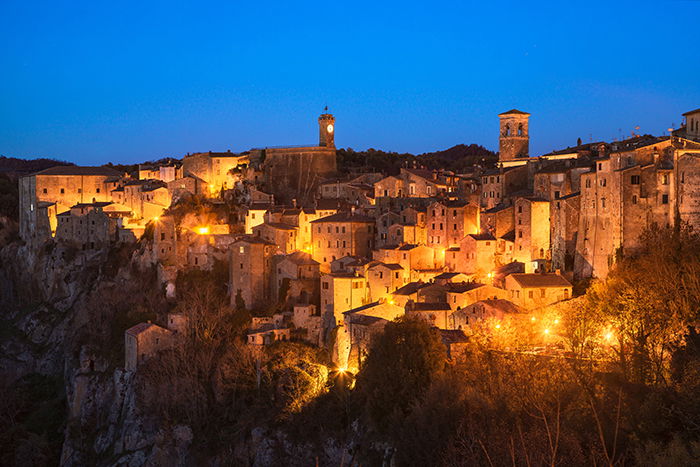
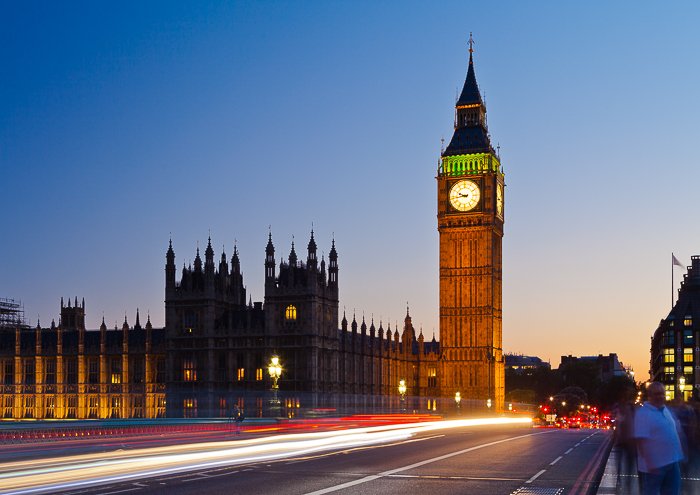
The sun has dipped a certain amount below the horizon. The sky picks up a cool, crisp blue color before it gets too dark or what we refer to as night.
If it is a clear day, it wouldn’t be unusual to also see some pink/red color near the horizon line as well. A night sky is darker and occurs after the blue hour and is very different.
But whilst it’s called the blue hour, it doesn’t actually last an hour. In fact, on average, it lasts around 20 to 40 minutes but can be even shorter.
Exactly how long the blue hour lasts on any given day will vary depending on the season and where you are in the world. The good news is that there are a ton of websites and apps that give you information on blue hour quickly and easily.
Plan Your Blue Hour Photography Shoot
The downside of blue hour photography is that you only have a short window to capture your images. So unless you are prepared, you may end up missing the shot you wanted to take.
As with any photoshoot, planning is vital. Your starting point should be what you are actually going to photograph. Is it a cityscape? Is it a famous landmark?
Once you know what you are going to be photographing, you can begin to plot a few shot locations on a map. Using Google Maps street view, you can check your location to ensure that your view isn’t going to be obstructed.
You can also check that there is actually going to be somewhere for you to be able to take the photo from. It’s disappointing to go to a location only to find when you get there that it involves standing on train lines.
You are not going to have time to travel vast distances, so keep your shot locations to a few around the same place.
Don’t forget to also check and make a note of the time that blue hour will occur on that day. Apps like The Photographer’s Ephemeris give valuable information like the direction of light at different times of the day.

Essential Gear for Blue Hour Photography
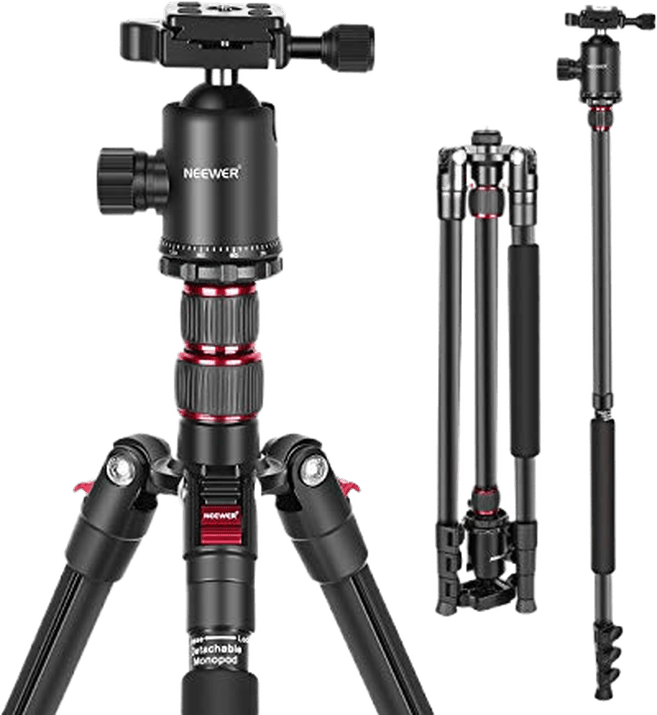
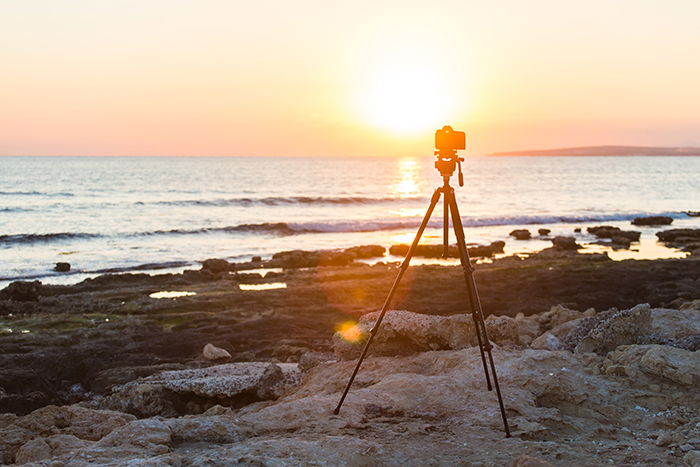
The one vital piece of equipment you will need for blue hour photography will be a tripod. You will not be able to hold the camera steady enough to capture sharp photos at slow shutter speeds.
For anything below 1/100 of a second shutter speed, I will use a tripod if possible. The slowest shutter speed I would try to handhold a camera would be 1/60 of a second At slow shutter speeds, even the smallest movement will cause camera shake. This will make your photo look blurred.
The only way around this will be to raise your ISO setting, which will, in turn, mean more noise in your photos. So if you want to capture the best possible blue hour photograph, make sure you pack your tripod.
Another item which you may find useful for blue hour photography is a remote shutter release. This means that you won’t have to touch the camera when taking a photo. This again reduces the chance of camera shake.
If you don’t have a remote shutter release, fear not as you can set your camera on a timer. When you press the shutter button, it will wait a couple of seconds before a photo is taken.
You can also use different types of filters when shooting during the blue hour. Neutral Density and Polarising filters are great ways to improve your long exposures or enhance the sky.
Other than a tripod and a remote shutter release you won’t need anything else. Remember that long exposure photography uses more battery power, so pack spares.
Arrive Early but Be Patient
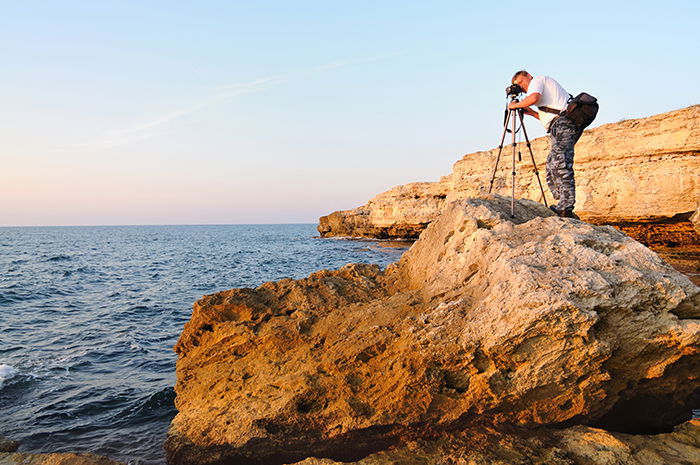
As we have already discussed, you have a short window to capture photos during the blue hour. So make sure you arrive early at your location to give you time to scout the area.
You might have planned your shoot and looked at Google Maps, but things could have changed. For example, there might now be building works which show up in your shot. Or you may actually find a better spot for a photo than the one you had planned.
Once you have a final set of locations in your mind, run through the shots in your head and take some test photos. This will help you work out your composition before the time comes to take the actual photo.
Once you have done this, it is time to wait for the blue hour. You might be waiting a while as the blue hour doesn’t occur straight after sunset. Right now, the blue hour at my location will start approximately 45 minutes after sunset.
So don’t make the mistake of taking a few photos after the sun has gone down and going home. Hopefully, you remembered to check the blue hour times and you are already aware of when it will occur.
Choose Your Settings
Blue hour photography gives you some flexibility in what settings you choose. They will depend on what type of photo you are taking.
When photographing a city skyline, you’ll want both the foreground and background sharp. In other words, your depth of field (f-number) will determine your settings.
You should start at around f/8 and work your way up depending on what you need. The higher the f-number, the slower the shutter speed you will need. It’s at slow shutter speeds that you will also begin to see things like light trails from cars. However, don’t go crazy with a narrow aperture as you’ll encounter lens diffraction (over f/22 in most case).
If you want to freeze the action and make sure people and or cars are sharp, you will need a faster shutter speed. Depending on how fast the movement is, you may need to set your shutter speed as fast as 1/200 of a second or even faster.
The low light during the blue hour means you will have a lower f-number such as f/4 but even that might not be enough. Also, you might need to raise your ISO to be able to have a fast enough shutter speed to freeze the action.
As you can see there are many options for you for blue hour photography. It all depends on what your vision for the final blue hour photo is.
Lock-up the Mirror to Reduce Blur
If you are using a DSLR camera, you’ll need to lock-up the mirror. If you are using a mirrorless camera, you can skip this step.
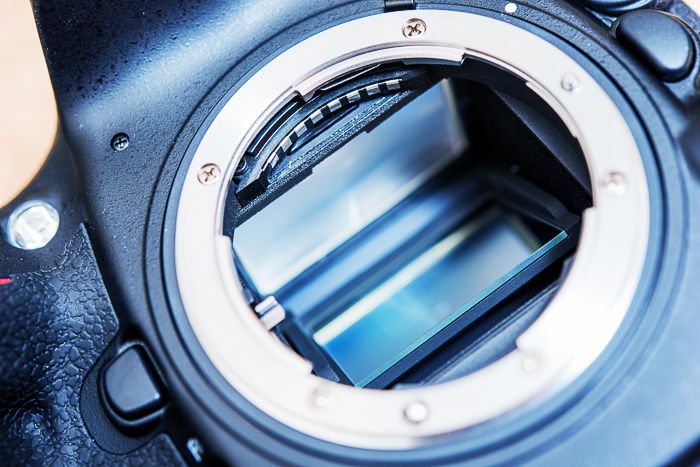
You may not know that when you press the shutter button on your camera, a mechanical process takes place. The shutter opens and a small mirror in the back of the camera flips over. This mechanical process is so fast that when you are photographing using a fast shutter speed it is not noticed by the camera.
But in low light photography, this process can cause a small vibration. This movement can make your image look blurred. This is a common rookie mistake when photographing in low light and blue hour conditions.
The good news is that you can avoid it with a simple solution.
In all DSLR cameras, there will be an option in the menu to “lock mirror”. This flips the mirror and holds it in place until you change it again in the settings. This eliminates the camera shake from the mirror and means your photos won’t be blurred.
Another option is to set your camera to “live view” mode which also flips and locks the mirror.
Experiment to Capture Unique Photos
It’s important to work quickly due to the limited time of the blue hour. But you should still try to experiment as well. Blue hour photography gives you the opportunity to capture some unique photos. But to do so, you have to be willing to look beyond the obvious scene in front of you.
Experiment with different angles, like setting your camera very low on the ground. Try different shutter speeds. See how that affects the composition by introducing light trails and movement. You could even try zooming in or out whilst the photo is being taken for a surreal effect.
If you work quickly and have planned well, you should have time to experiment.
Don’t Forget Post-Production
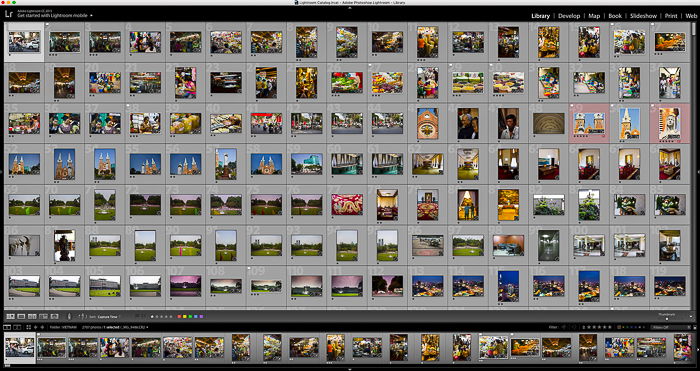
Blue hour photos benefit from at least some level of post-production.
It could be as little as just straightening and cropping. Or more extensive elements such as boosting contrast, saturation, vibrancy. Even retouching can help enhance the photo.
Ensure that your photos are straight, with correct white balance and blemish or dust-free. How much post-production you do depends on your preference and the photograph.
Always remember that the key to good post-production is subtlety. Too much, and it will look fake and negatively impact the photo.
To learn all about post-production in Lightroom, try our Effortless Editing course.
Conclusion: Blue Hour Photography
Beautiful blue hour photographs are captivating in color and light.
A good blue hour photograph wouldn’t look amiss hanging on a living room wall or as a double-page spread in a magazine.
The great thing about blue hour photography is that it is also one of the easier scenarios to photograph. Composing and taking the photo is easier without harsh shadows or bright sunshine.
But as with all types of photography, you have to ensure you plan well and are willing to put the effort in. If you’re willing to get out there and capture this magical blue hour, you will no doubt be pleased with the results.

