A starburst effect (or sunburst) is a simple but very useful technique to give your photos that something extra.
The great thing about a starburst effect is that it’s very simple to achieve. So here is our guide on how to make a starburst effect.
The Starburst Effect: How Are Starbursts Created?
You don’t need to understand the science behind a starburst effect. But it is useful to know what actually happens.
To capture a starburst effect in your photos, the first thing you need is a small aperture. Anything from f/11 to f/22 will close the blades inside your lens to create a small opening.
When light passes through this small gap it creates slight diffraction. In other words, the light bends. This starburst originates from the source of the light (i.e. the sun).
This is the process that allows the camera’s sensor to capture a starburst effect around a light.
So to be able to create this effect you will need a small, intense source of light.
For example, the sun on a clear day will work. But a hazy or overcast sky diffuses the source of light and makes it impossible to create this effect.
In the same way, a bright light bulb will allow you to create a starburst effect. Whereas a fluorescent tube will not.
Day or Night?
Before getting your starburst shot right, you need to understand the difference between shooting during the day or at night. This is because creating that starburst effect will differ for the two.
One thing that is consistent between the two is that you will need a small aperture (high f-number). Sometimes (for example in low light conditions) this will mean that you will end up with slower shutter speeds.
To avoid having to raise your ISO, try to ensure that you use a tripod.
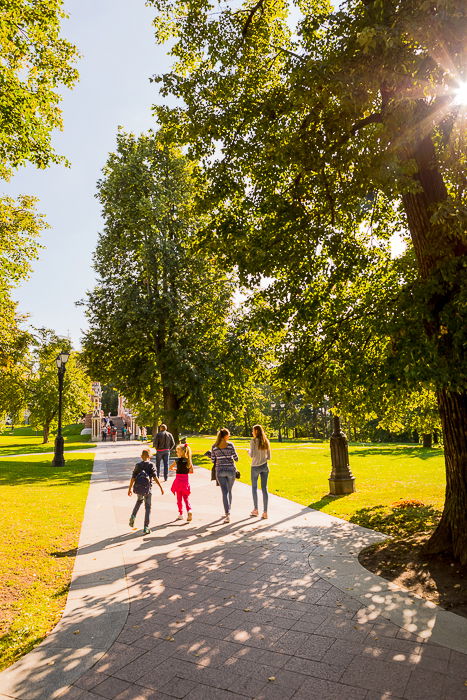
How to Create a Starburst Effect During the Day
The first thing you should do when trying to capture a starburst effect during the day is to protect your camera’s sensor. As you will be shooting into the sun, you should use a UV filter.
Your main challenge during the day is that the sun is usually too bright for the scene. Even early morning and late afternoon when the sun is low in the sky and there is a softer light, it will be too bright.
This will leave you with blown out highlights otherwise known as clipping. So to be able to control the amount of light in a scene you need to partially cover the sun with another object.
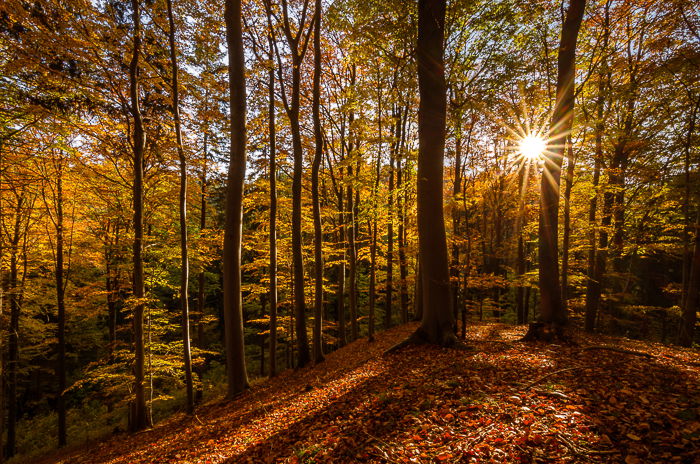
A tree, a building, monument or even mountains will limit the amount of light in the scene. But they also further amplify the effect of a narrow aperture giving you a starburst effect.
The technique for using this method is simple. Set your camera up as if you are photographing the sun but with an object in front of it.
Don’t focus or point your camera into the sun or look directly at it. It can damage your camera and your eyes.
Once you have set up, then move your position slightly so that the sun is peeking out of the side of the object.
If you use this technique correctly you will usually find that you will have a good distribution of light in your image.
If there are areas that are overexposed or underexposed, you should be able to recover them in post-production.
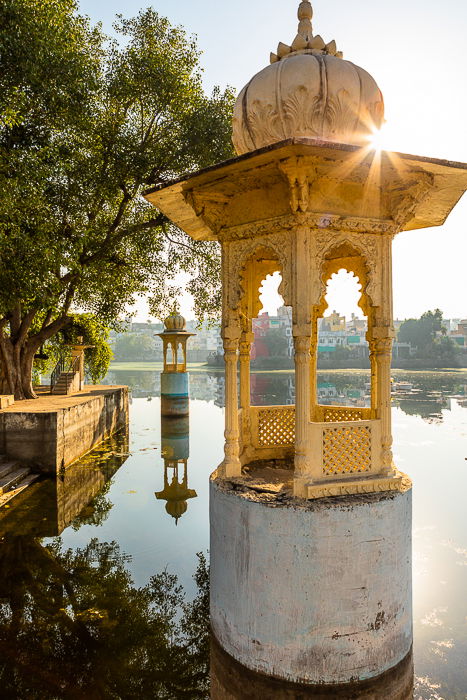
How to Create a Starburst Effect at Night
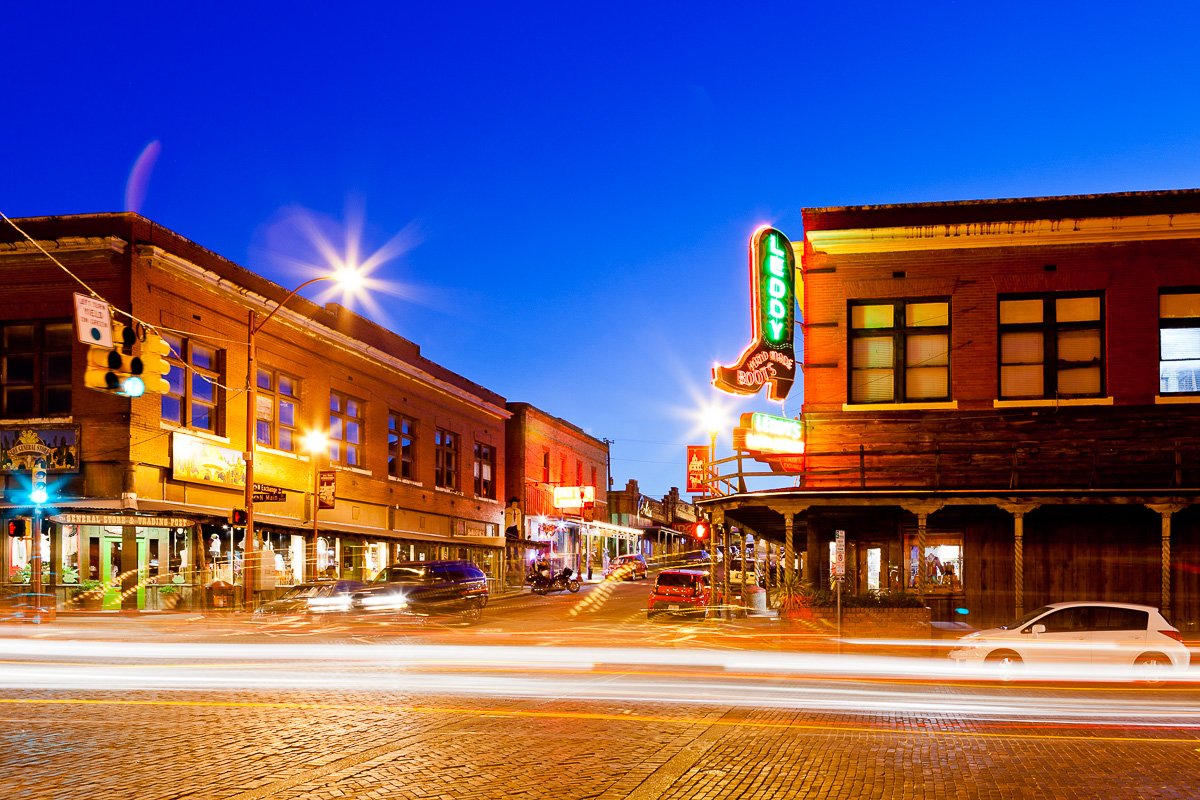
Starburst around lights at night is far easier to achieve than starbursts during the day. The principle is still the same. In that, you will need to select a small aperture and have a bright intense source of light.
Light sources at night such as street lamps are not as intense as the sun. You don’t need to partially cover them. Set your camera on a tripod and select a small aperture. Set your ISO as low as you can.
This will stop too much noise appearing in your shot. Your shutter speed can be determined by your aperture and ISO. Because you will be using a tripod, long exposures will not be an issue.
The other great thing about photographing at night is that you can have many starbursts in the same shot. A row of street lamps will all have a starburst effect.
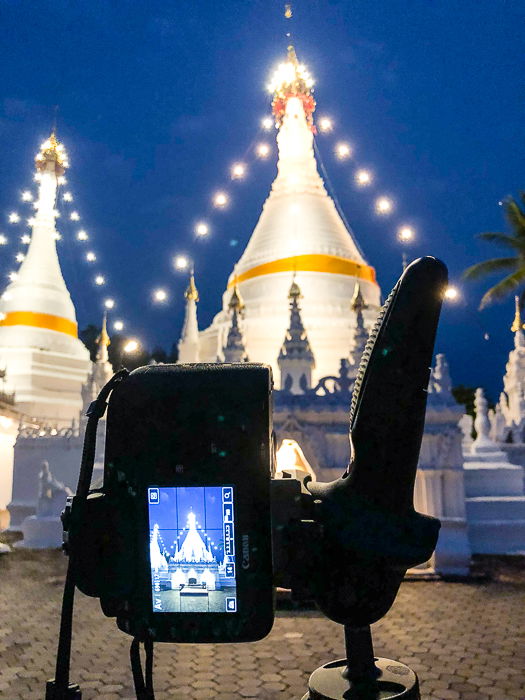
Wide Aperture vs Narrow Aperture
Let’s be honest, a starburst sun by itself is not going to make a photo interesting. Starburst effects should be used as an extra composition tool.
Look at the entire photo and incorporate the starburst into it. At night you can combine starburst effects with things like light trails.
The thing about starbursts is that a small tweak can make a huge difference.
Take a step to the side when photographing the sun from behind an object and you will get a much bigger sunburst. Or change your aperture from a wider one to a small aperture. This will also affect the size of the starburst.
It’s important to experiment and tweak your shots until you have the desired result.
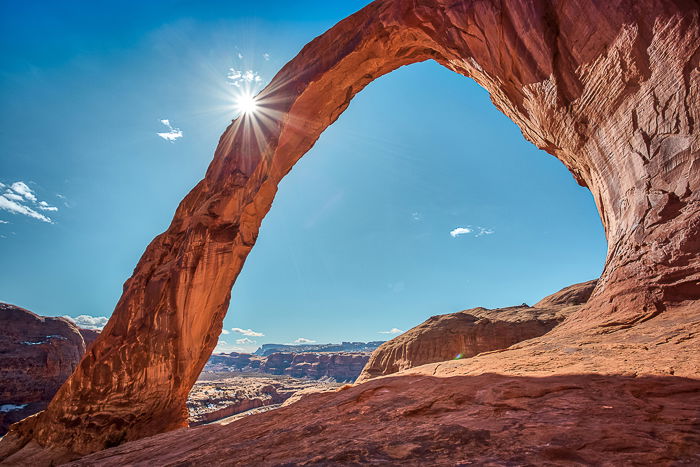
Editing Starburst Photos to Bring Out the Effects
Even if you are not an advocate of post-production you will usually need to make some small adjustments. As I mentioned earlier, one of the key challenges in capturing starburst photos is your highlights not being clipped.
These are areas that are so bright that they are white and contain no pixel detail. You will find that when you photograph anything where you are looking at a light source, you will end up with clipped areas.
Sometimes this will be a small area like the center of a light bulb in a photo. At other times it will be a bigger area like around the sun in your sky.
If you do nothing else in post-production you should at the very least look to recover the detail in these areas. Lightroom has a very effective “whites” (or “recovery” slider depending on your version) slider.
By moving the slider it can help solve this issue and recover some detail most of the time. It is important to remember that in extreme cases this won’t be possible.
You will be better off slightly underexposing your photo when taking it. You can then brighten up your shadows to combat them being too dark.
Conclusion
Starburst effects can look great in photos and if used well they can transform a mundane image to a great one.
As photography techniques go, it is one of the easier ones to master and execute. With a bit of practice and trial and error, you will be able to use a starburst effect in your photos.
