Today we show you how to take photos in manual mode with Android camera settings… Switching to your Android’s manual camera is the best way to get the image you want. There’s not much to it. So we take you through the basics in this post.
Smartphone cameras have come a long way in the last decade or so. From dark, pixelated images to near-professional standard photos. The image quality is getting close to DSLR and mirrorless cameras.
But phone cameras can be frustrating. You’ll be framing the perfect shot, and then the auto mode takes over. So your photo isn’t what you expected. This is one reason why you should change to manual mode.
Why Switch to Manual Mode in Android Camera Settings?
The image quality from smartphone cameras these days is staggering. It’s like having a DSLR in your pocket all the time.
As mentioned, the problem is the auto mode on your camera has a lot of creative control. So switching to manual mode, or using a camera app, gives you complete control.
Manual camera mode allows you to adjust the settings for different effects. You can play with ISO and shutter speed. The white balance can be adjusted. And you can even change the focal length.
Manual modes broaden the horizons of smartphone photography. You can go for stunning landscapes with an infinite focus. Or you can try close-up macro photography with a shallow depth of field.
Portraits give you excellent scope to practice. And you can turn your selfies into self-portraits.
All these creative opportunities are on your Android phone. Manual camera apps for Android phones put the power in your pocket. And you can share your fab images on social media in a matter of seconds.
How to Shoot in Manual Mode with Android Camera Settings
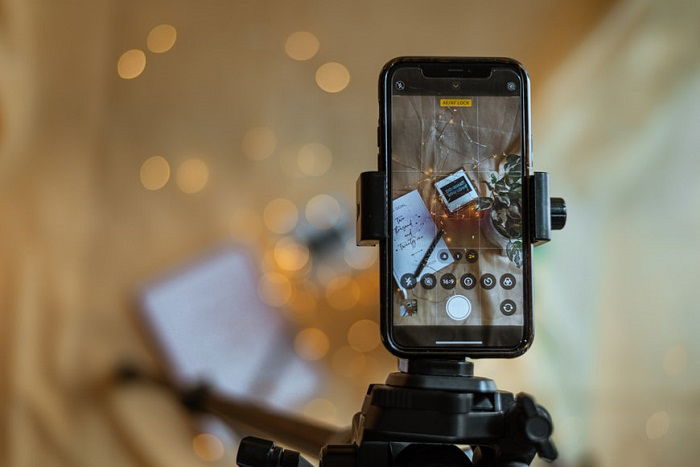
Smartphone photography isn’t just about selfies and brunch. People are now producing some stunning images using their smartphone cameras. But even so, many are still stuck in autofocus mode. Follow these steps to start shooting in manual mode with your Android camera.
Step 1: Switch to Manual Mode on Your Android
Switching to manual mode is easy. Open your stock camera app, then scroll left or right to get to manual mode. That’s it. It might be called “pro” or “professional mode” on some phones.
Not all Android phones have manual camera controls. The Google Pixel 5 has a great camera but no manual mode. Some smartphones do have very basic manual camera controls.
Several camera apps put you in the driver’s seat if your phone doesn’t have a manual camera. Camera FV-5 and Proshot have excellent manual controls. But neither is free.
Open Camera is one of the best camera apps for Android. It’s free, and it gives you excellent manual camera controls.
Step 2: Find and Use Manual Focus
The autofocus on modern camera apps is fast and reliable. But there is a problem with the autofocus mode. The camera usually focuses on whatever is in the center of your shot.
Changing to manual focus mode gives you control over your focal point. You can have a subject off-center and still have it in focus. The focal point doesn’t have to be in the middle of your shot in manual mode.
To manually focus on a camera app, you can often use your finger to select the subject you want in focus. Or you can hold down the shutter button as the app takes you through the focus range. Then pull your finger away when your subject is in focus.
Many camera apps also have manual focus options. You might get an infinity option, which is ideal for landscapes. It’s also good if you have lots of movement in your shot. And you might get portrait or macro focus presets.
Step 3: Adjust Camera Settings in Manual Mode
You might be new to photography. Or maybe you’re using your Android camera as an entryway into photography. If so, you might not be familiar with some of the settings in manual camera mode.
We’ll help you get acquainted with some basic terms and settings. Then you can take your mobile photography to the next level. These are some of the main features of your camera app’s manual mode.
Shutter Speed
In digital photography, shutter speed determines how long the sensor is exposed to light. The longer the shutter speed, the more light reaches the sensor.
A slower shutter speed is preferable if you’re in a low-light environment. But if the shutter speed is too slow, you might experience motion blur. This can also happen when your subject is moving quickly.
Not all phone apps have a shutter speed selection in manual mode. But if that option is available, consider your lighting and the amount of movement in your scene.
Shutter speed is divided into fractions of a second. So the larger the number, the quicker the shutter opens and closes. (1/1000 s is a faster shutter speed than 1/125th of a second.)
You might also get a manual shutter option, which allows you to keep the shutter open as long as you like. This option might be labeled “B,” as it would be on a regular camera.
Aperture
The aperture is the hole through which light reaches the sensor. It can be made bigger or smaller by changing the f-stop. Usually, f-stops range from f/22 to f/1.4.
The narrowest aperture is f/22 and allows the least amount of light through. The widest aperture is f/1.4 and allows the most light through.
Your Android camera app allows you to select the f-stop. Or some have a picture of a camera aperture, which you can make bigger or smaller.
ISO
Traditionally, ISO refers to how sensitive the film is to light. In digital photography, it refers to the sensitivity of the sensor.
A lower ISO, such as 100, needs more light but gives you more detail. A higher ISO needs less light, but the image might have noise.
Manual mode on your camera app lets you select the ISO. As a general rule, the darker your scene, the higher ISO you need to select.
Exposure Triangle
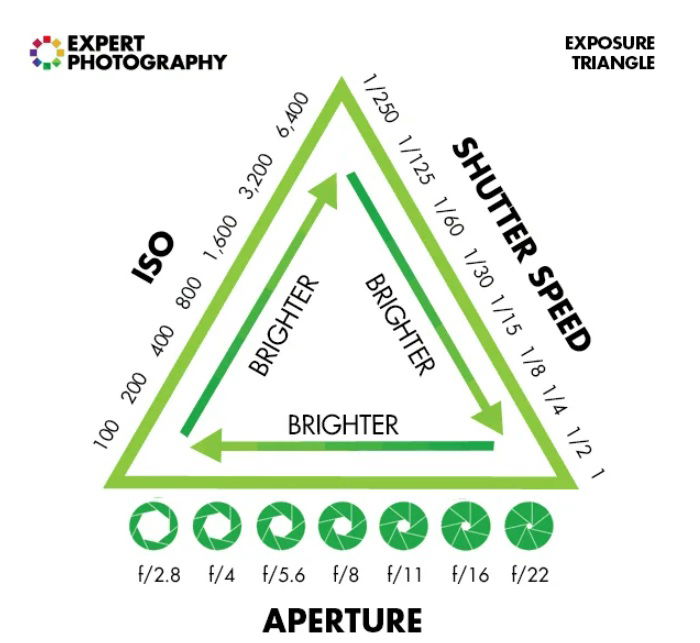
The shutter speed, aperture, and ISO are the three elements of the exposure triangle. The exposure triangle is one of the most fundamental elements in photography.
You adjust each setting in relation to the others to achieve the perfect exposure. The lighting situation can determine the settings you choose. Or it might be down to the effect you want.
Exposure Compensation
Some camera apps include exposure compensation. This allows you to change the exposure value of your shot.
The default exposure value is set at 0. But exposure compensation allows you to change the exposure value if your scene is too dark or too light.
Changing to EV-1 modifies the shutter speed and aperture to suit a lighter scene. If you change to EV+1, the settings are adjusted for a darker scene.
If your camera app has exposure compensation, it can help you get a grip on manual exposures. And it’s quicker and easier than adjusting the shutter speed and f-stop.
White Balance
The white balance keeps your whites white. Usually, the automatic white balance should do the trick. But if you find your whites turning blue or yellow, you can change your camera’s white balance.
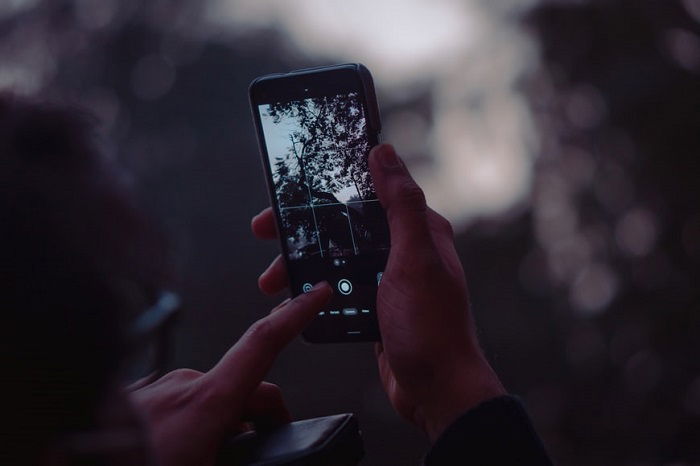
Step 4: Play With Depth of Field
The freedom of manual controls on your camera means you can play with depth of field. The depth of field is how much of your shot is in focus.
A shallow depth of field means your subject is in focus and everything in front and behind is out of focus. A deeper depth of field means much more of your shot is in focus.
The focus presets might give you some pointers. But if you go completely manual, you need a wide aperture (f/1.4 is ideal) for a shallow depth of field. And on a phone camera, this is no different.
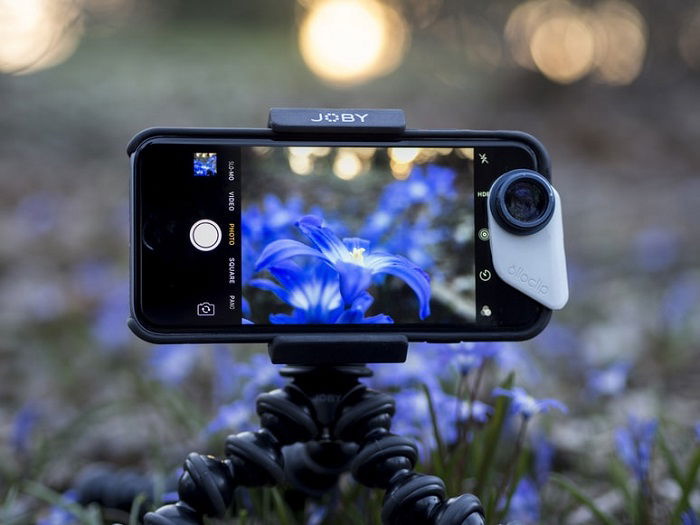
You can manually adjust the settings to get a soft bokeh effect on portraits or macro shots. You need to select the widest aperture your phone app has. You can then have a faster shutter speed. And a lower ISO gives you more detail.
Step 5: Save Your Phone Camera Photos as RAW Files
When you take a photo on your phone camera, it usually saves it as a JPEG file.
JPEGs aren’t a problem. And they are easily uploaded to social media. But if you want to edit your photos, it’s best to save them as RAW files.
You can load RAW files into editing software such as Adobe Lightroom. And this file format gives you more freedom when editing.
Stock camera apps may not give you the option to save as RAW. So if you want to edit your photos, you might need to download a more advanced manual camera app.
Start Shooting in Manual Mode
Going manual on your smartphone camera is a great way to learn about photography. It turns your smartphone into a mirrorless camera.
You may find it frustrating at first, but practice does make perfect. Try out new things and play with the settings. Give yourself new projects and experiment with different types of photography.
One of the great things about shooting with a phone camera is that it gives you a preview before you snap the shot. When you change the settings, you can see the result on the screen. You can change it without wasting a shot if you don’t like it.
All the knowledge you gain shooting in manual mode transfers over to a DSLR or mirrorless camera. From f-stops to ISO, the theory is all the same.
But you can learn as much theory as you like. The best way to learn is to start shooting with manual controls. So take off the training wheels and go for a ride.
Conclusion
Using your Android manual camera is the perfect gateway into photography. Phone camera apps are easy to use. And going manual gives you the power to create stunning photos.
If your phone doesn’t have a manual mode, download one of the excellent camera apps for Android. It’s a great way to develop your photography knowledge and hone your skills.
Take your time and play around with different settings. You may be frustrated at first. But shooting in manual mode makes you a better photographer. Check out our Photography for Beginners course to take your manual mode skills to the next level!

