If you’ve ever taken a picture with your phone or camera and it turned out blurry, you know the frustration of not being able to capture the moment the way you wanted. You might ask yourself, “Why are my photos blurry?”
What causes photos to turn out blurry in the first place? And is there anything you can do about it? In this article, we’ll explore some of the reasons why photos might be blurry. And we’ll offer some tips on how to prevent it from happening in the future.
12 Tips to Avoid Blurry Photos
Here are 12 tips to help you avoid the question, “Why are my photos blurry?”
1. Select a Faster Shutter Speed to Avoid Camera Shake
The most common reason for a blurry photo is the incorrect use of shutter speed. The faster your shutter speed is, the less chance there is for camera shake. This is particularly true when shooting handheld.
There is no way that anyone will be able to handhold a camera steady enough at slow shutter speeds. For most people, this limit will be around 1/60th of a second.
How slow you can go with your shutter speed handheld depends on how steady your hand is. The best way to know for sure is to test it out. Take several photos of the same scene, reducing your shutter speed each time. Check the results to get an idea of the lowest shutter speed before you see camera shake.
A general rule is to set your shutter speed to at least your lens’ focal length. If you are using a 200mm lens, then your shutter speed should be at 1/200 s or faster. For 20mm focal length, use at least 1/20 sec. If your lens has image stabilization, you can reduce your shutter speed slightly.
Keep in mind that your choice of subject also affects the minimum shutter speed. If you are photographing a moving subject, you might need a faster shutter speed.

2. Use a Wider Aperture for Greater Depth of Field
Depth of field is also an important element of capturing sharp photos. It is a predictable combination of your aperture and focal length.
The wider your aperture is (smaller f-number), the shallower your depth of field will be. This means that if you are using a wide aperture, only a small part of your image will be sharp.
If you take a portrait, you can keep the person’s face sharp while the background is blurred. But if you photograph a landscape scene with a wide aperture, you’ll find that a huge part of the photo is blurry.
Start with an aperture of around f/8 and go smaller if you want a greater depth of field.
Be aware of using small apertures without testing your lens first. You may discover a very narrow aperture (over f/16) has a detrimental effect on the sharpness of your photos. This is called the diffraction effect.
You also need to be aware that using a smaller aperture will mean having to use a slower shutter speed.
3. Don’t Raise Your ISO Too High
The third component of the exposure triangle is ISO. It might seem tempting to raise your ISO so you can use a faster shutter speed. But don’t forget that this will mean more noise in your image.
New DSLRs have improved the amount of noise that it produces at high ISOs. But if you want the sharpest photos possible, keep your ISO as low as you can.
A good way to test your camera’s ISO is to take a series of images of the same scene at different ISOs. You can examine the results on your computer by zooming in to determine how high you can set your ISO.

4. Keep Your Camera Steady
If you are shooting handheld, you should ensure that you are using the correct posture. The goal is to hold the camera as steady as possible.
Start by making sure that you’re supporting your camera. Hold the lens from below with your non-dominant hand. Tuck your elbows into your sides and avoid extending them.
You should try to either hold your breath or exhale very slowly to reduce vibration as much as possible. It is even better if you exhale halfway before pressing the shutter.
If you have a solid surface nearby, you can try to use it to steady yourself. Propping up your elbows on a ledge or leaning against a wall will help you minimize camera shake.

5. Use a Tripod for Added Stability
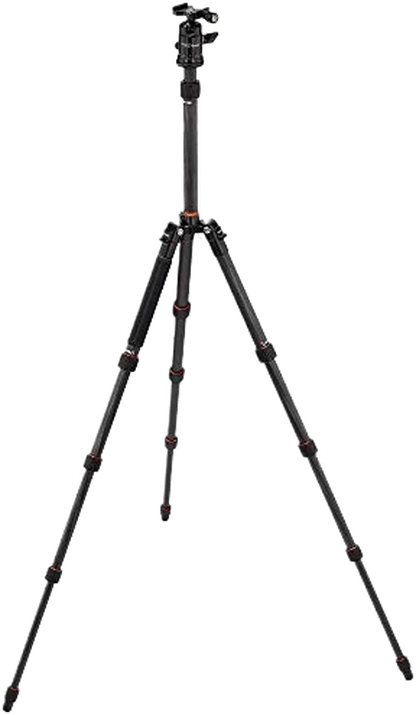
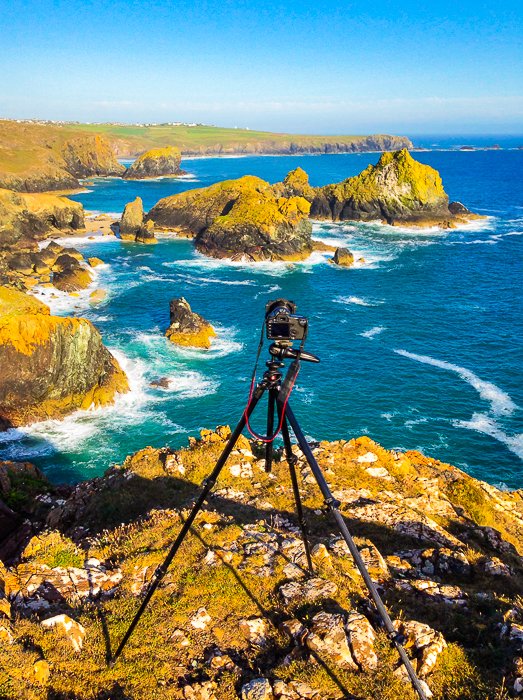
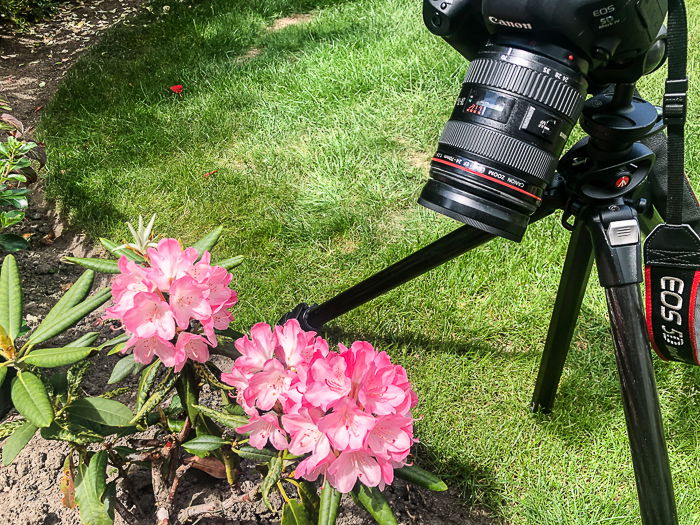
If you want to capture the sharpest images, a tripod is essential. Using a tripod allows you to shoot using a small aperture and a low ISO, as the shutter speed will not be an issue. It will also help you get your focus right.
Make sure to secure your tripod on a surface that will not move. Be careful when taking long exposure shots on places like bridges, for example. It might come as an unpleasant surprise when your camera starts shaking because of passing traffic.
Ensure that you use a good-quality tripod. It should be sturdy enough to withstand the weight of your camera. Cheap tripods will suffer from vibrations that can result in blurred photos.
Remember to turn off your image stabilization when using a tripod. Keeping it on makes the camera look for movement when there isn’t any. This generates movement itself, which, ironically, might mean you end up with a blurred image.
6. Lock Up Your Mirror to Minimize Vibration
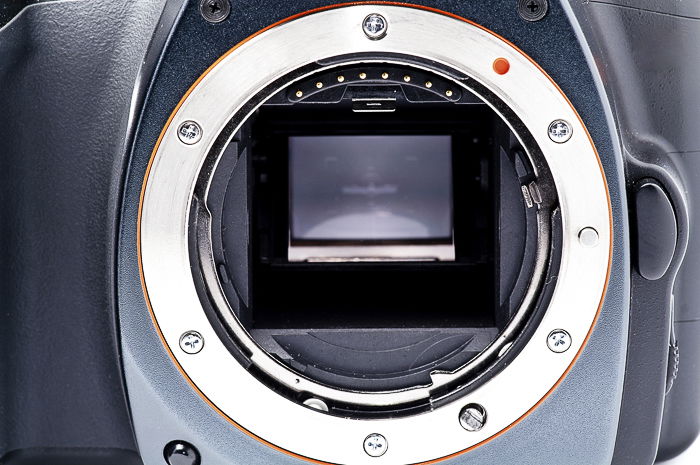
Every time you take a photo, your camera’s mirror flips over to allow light to hit your sensor. This causes an inevitable movement that results in a slight camera shake.
At fast shutter speeds, this movement doesn’t disturb your images. At a slower shutter speed, it causes small vibrations, affecting the sharpness of your photos. When using a tripod for long exposure photography, you need to lock your camera’s mirror.
The mirror lock—which is only in DSLR cameras—has the same function as your shutter button. It flips the mirror up for the camera to take the photo. But instead of doing it right before the shot is taken, it does it in advance. That is how this feature gives you a chance to eliminate the vibration caused by the mirror flipping.
An alternative option is to use the live view mode on your camera, which also locks your camera’s mirror.
7. Use a Remote or Timer to Avoid Touching Your Camera
When aiming for perfect sharpness, it is important to avoid touching your camera. Even pressing the shutter button will cause a slight movement.
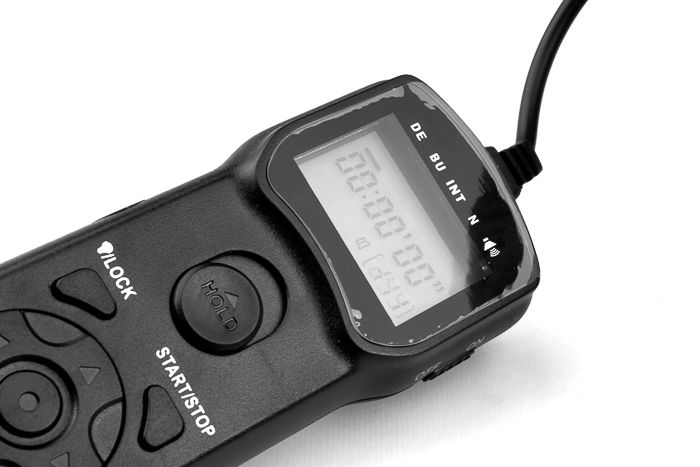
This means that you can get everything else right, and your photo still might get somewhat blurry. A remote release or using the self-timer on your camera will ensure that it won’t be an issue.
Nowadays, you can even use your smartphone as a remote if your camera has built-in Wi-Fi.
Be aware of your camera strap flapping in the wind, it could also cause small amounts of camera shake.
8. Pay Attention to the Focus for Sharp Results
Another reason that your photos could be blurry is that you haven’t focused on the correct part of the image.
It’s important to check that your focus point is aimed at the right element in the photo. If you are taking a portrait but point at the background by accident, the camera will focus there. Aim at your subject and press the shutter button halfway down to focus before taking the photo.
To ensure that your photos are sharp, you must use the correct focus mode on your camera. Cameras usually have three main autofocus modes.
- One shot—the camera will focus on what you’re pointing at. As long as you keep the button held down, it will not refocus elsewhere.
- Continuous focus—this is a good option when you are photographing something in motion. Once the focus is set, the camera will continue to track the subject.
- Autofocus—this focus mode switches between single and continuous modes based on the subject. Keep in mind that this isn’t always reliable, as the camera may make a mistake and focus on the wrong part of the image.

9. Shoot in Burst Mode to Capture the Moment
Another good tip for capturing sharp photos is to use burst mode.
It is especially useful when shooting a moving subject. Not only does it increase the chances of a sharp photo, but it also means you can choose the perfect frame in the action sequence. This is the reason burst mode is most commonly used by sport and wildlife photographers.
You may sometimes find that the first and last shots in a burst of photos are blurry. This is due to the movement of actually pressing and releasing the shutter button. You can avoid this problem by picking the shots from the middle of the burst sequence.

10. Use Manual Focus for Complete Control
The autofocus on cameras these days is superb, but sometimes you want to use the human eye. Manual focus can ensure you focus on exactly what you want.
Manual focus is especially useful when you are using a tripod, such as photographing a landscape scene or a close-up of a flower. To find the exact focus spot, use the camera’s Live View mode and zoom in 5x or 10x. Then focus manually and make small adjustments to ensure the best sharpness.
Always remember to switch back to autofocus when you finish using manual mode. Otherwise, you may find yourself missing a shot.
11. Clean Your Lens Glass to Avoid Smears
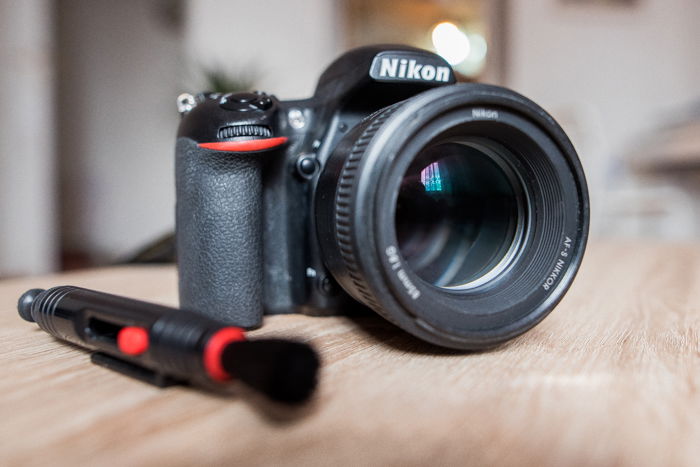
Even if you follow everything written above, a dirty lens glass can still ruin your pictures.
You should get into the habit of cleaning your lens glass regularly. The same also applies to your viewfinder. Make sure that the glass is clean, and adjust the diopter for your eye.
12. Check Image Quality Before Posting
Many photographers find that photo quality decreases when uploading or downloading images. This common problem is caused by the sites’ automatic photo cropping.
Social media web pages resize photos as a default, which results in low-quality uploads and downloads. Sometimes it’s possible to upload photos in higher resolution, but I don’t suggest counting on that.
However, there are plenty of cloud storage sites where you can share your photographs in full quality. In most cases, registration is free, and you can immediately start uploading your work.
Conclusion: Why Are My Photos Blurry?
It’s important to embrace your failures, as frustrating as they might be. If you find yourself asking, “Why are my photos blurry?” try to examine the reasons behind it.
But with a bit of practice and using the tips above, you will be on your way to capturing pin-sharp photos in no time!


