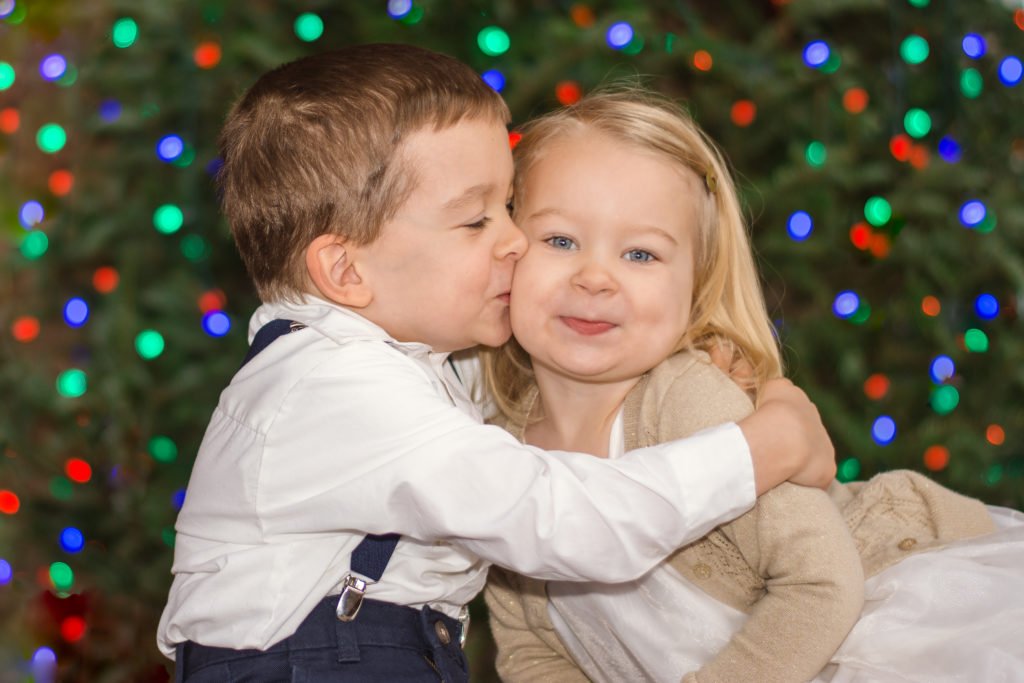
Natural light is notoriously difficult to control. And if you’re shooting somewhere outdoorsy like a park or a forest, you’ll most likely encounter dappled light.
But you can use this type of lighting to your advantage!
Here’s how to photograph in dappled light for amazing images.
What Is Dappled Light?
Dappled light happens you have small pockets of light coming through onto your subject. Think of sunlight coming through trees. This leads to a combination of light and shade.
Another example of dappled lighting would be light coming in through window shades. Or through an open breezeway in an urban setting.
Dappled light causes shadows and bright hotspots at the same time. This can be difficult to pose and expose your shot.
But dappled lighting can be fun to photograph in. It will push your creativity to create something new and unique.
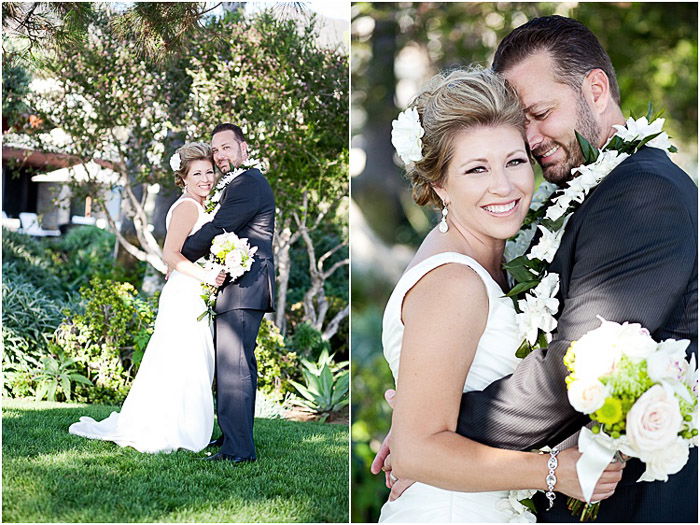
You can also create your own dappled light using a screen with open spots. Or kitchen utensils like a mesh strainer or strainer with holes.
Anything that will cause light to be filtered through causing that pattern of light and shadow.
How to Get a Correct Exposure With Dappled Light
Depending on your style, try exposing between both the light and shadow. If you expose for the light, you’ll often end up with shadows that are very dark.
On the contrary, exposing for the shadows can leave you with really bright hotspots. And it will leave out detail in the lit portions of the photo.
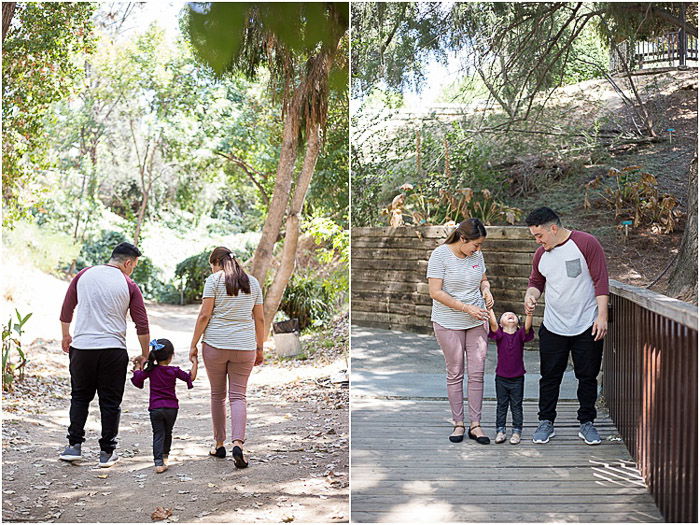
Try to expose somewhere in between both light and shadow. Keep in mind that shadows are easier to bring up than editing bright hotspots.
Try to expose so that your photo is a little dark, yet you are still able to see the details in the photo. You can then bring the shadows up when editing using curves or a preset.
It all depends on the style that you’re going for. Expose for that. You can fill in light using an external flash.
That way you can expose for the light and keep shadows filled in with that extra pop of light.
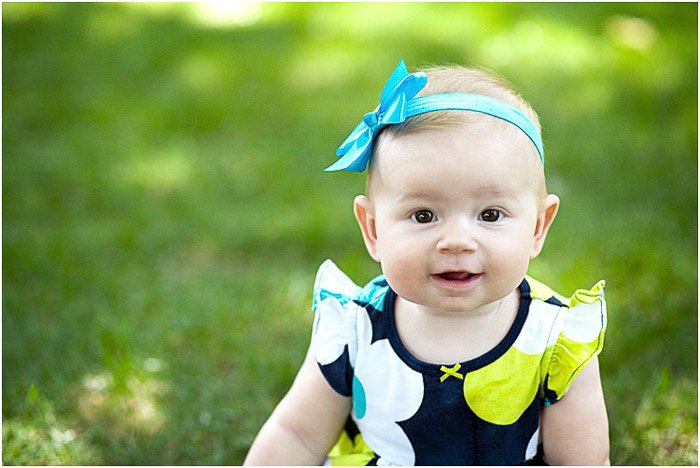
A reflector also helps to fill in light. It can bounce light back on your subject so you can expose for their skin. It’ll keep the pattern of dappled light as an effect in the photo.
Make sure to check your histogram on the camera to get the correct exposure.
If you’re thinking with editing in mind, you can also take a photo exposed for the bright light and another photo exposed for the shadow. You can then edit the two photos into one.
Make sure to use a tripod in order to keep the angle, distance, and height all the same. It’ll be easier to merge the two photos together.
How to Photograph in Dappled Light On Location
On location can offer a lot of different types of dappled light.
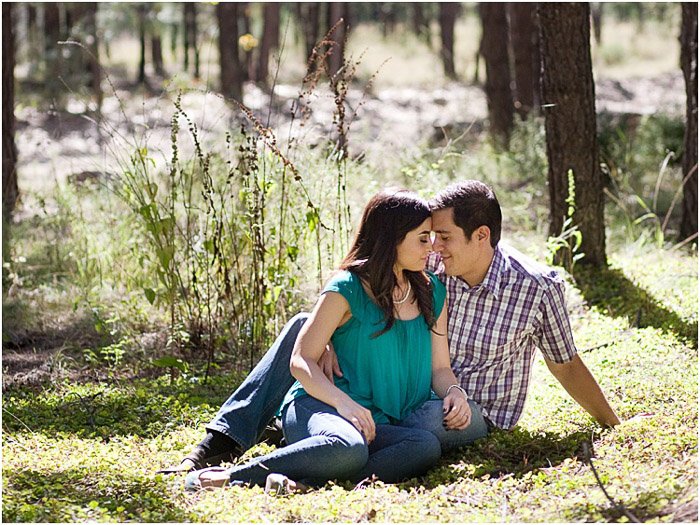
The most common would be underneath trees. The light filters through the branches and leaves causing the pattern of light and shadow.
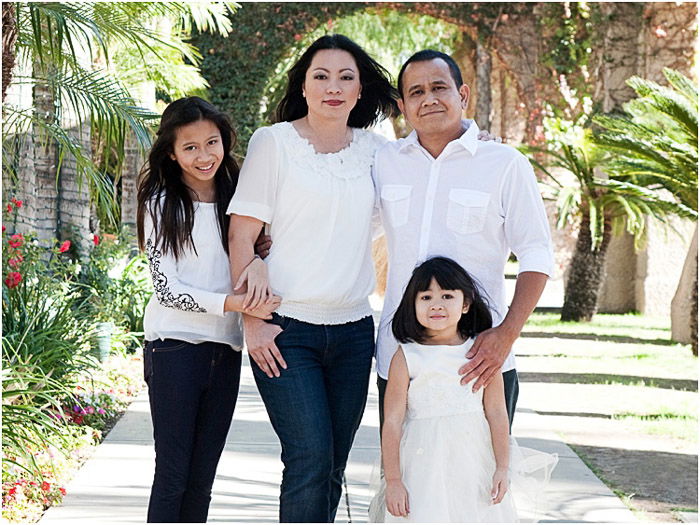
If you find yourself in a dappled light situation on-location, try positioning your client so that the sun is behind them.
You won’t get the bright light directly on their face and you can expose for the light. Later on you can bring up the shadows in an editing program. That way you won’t get too many overexposed hotspots on your photo.
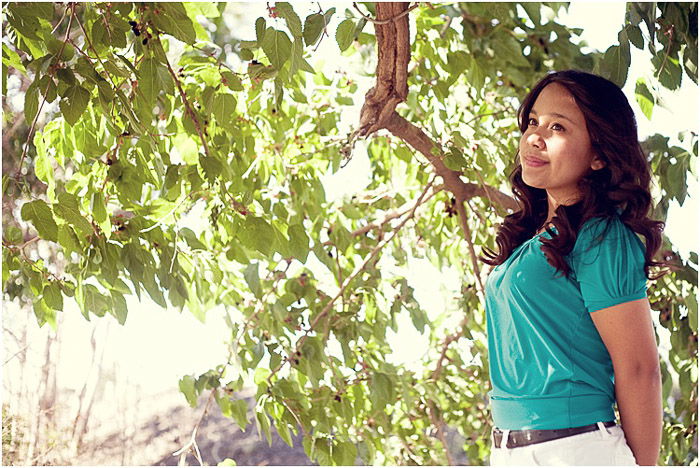
Ask your subject to pull their chin down. This can help keep the light off their forehead and nose. That can cause issues when you’re exposing for their face.
To put a creative spin, you can put your subject with their face towards the light. You can then create a high contrasted photo using the pattern of dappled light.
How to Create Your Own Dappled Light
You can get really creative with dappled light by creating it yourself!
Use household items like a strainer with holes, or a mesh strainer, even the window blinds create dappled light.
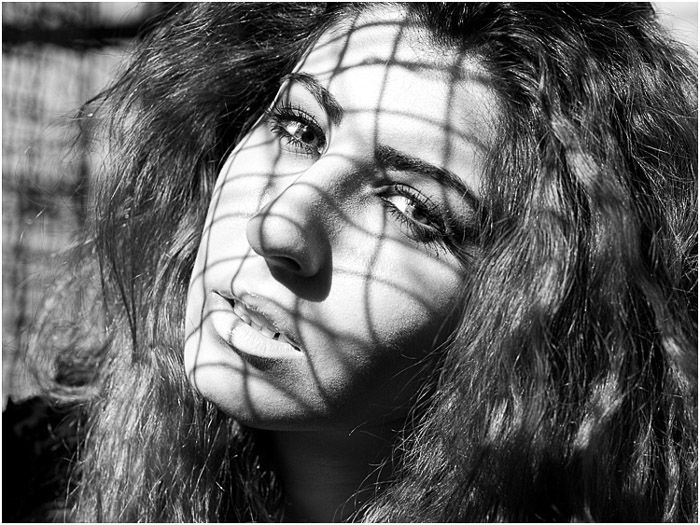
You can use sunlight to create the dappled lighting or an external light source like an external flash, flashlight, or a speedlight.
Any of these options will give you the light and shadow pattern of dappled lighting.
The great thing about creating dappled light yourself is that you don’t necessarily need sunlight. This means you can create dappled lighting even at night, indoors, or on location on a gloomy or cloudy day.
You can also use different colored lights to filter through your tool. This will give the photo a more interesting feel!
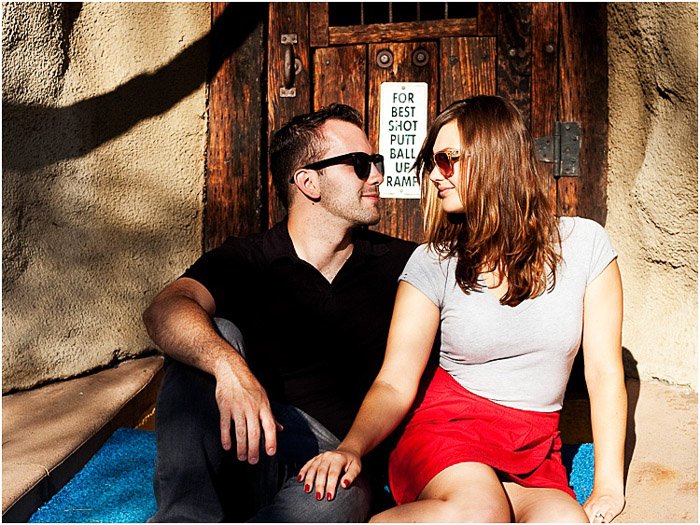
Using a board with holes punched through, or a pattern of your choice can also be a great tool to create your own dappled lighting.
How to Get Rid of Unwanted Dappled Light
What if you find yourself in an area that has dappled lighting and you don’t necessarily want that look in your photograph?
Creating or buying a translucent screen can minimize the light and shadow pattern that happens with dappled lighting.
Make your own translucent screen by using a sheer white fabric, like a curtain. Attach it to a hula-hoop or large frame of some kind.
This way you can hold it up over your subject. Better yet, have your assistant hold it to diffuse the dappled light.
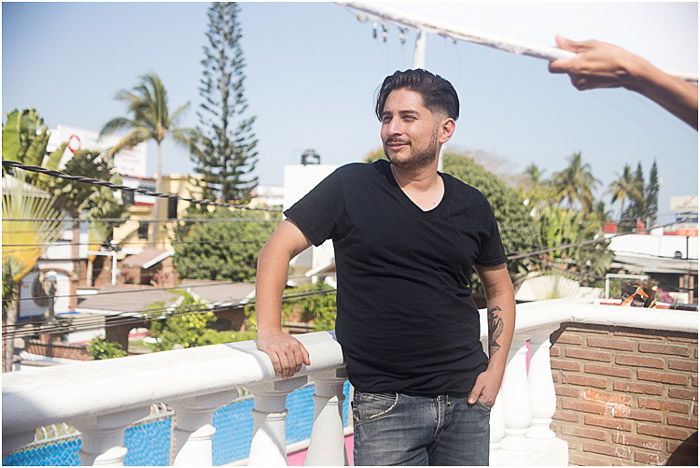
If you’re photographing indoors and find a translucent curtain, you can pull the curtain in front of the windows. This will diffuse the light greatly so that you can get a more evenly lit and exposed photo.
A reflector also helps, as mentioned above, to fill in the shadows. It will make it easier to expose for the bright portions of the photo.
The reflector can be used either with the white side or silver side. It depends on how harsh the lighting is.
Keep in mind that reflectors work when there is sunlight available so that you can effectively bounce light back onto your subject.
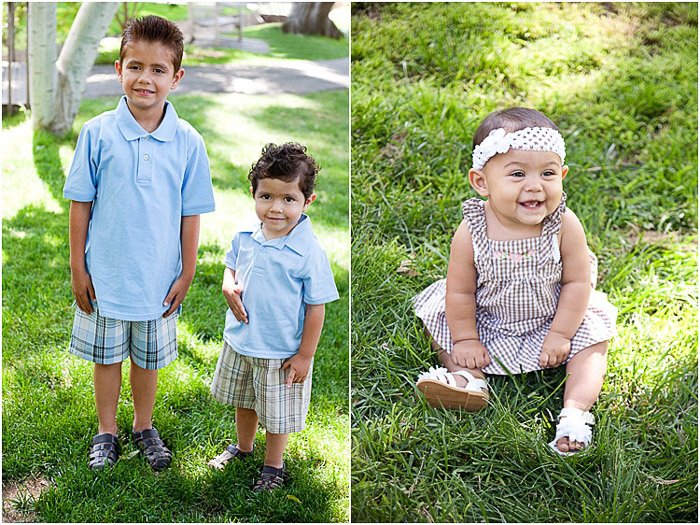
Flashes can help even more to fill in light and minimize the dappled light pattern. Use the flash on camera directly at your subjects to fill in the light.
Using your flash in manual mode will help to control the amount of light that will be directed at your subject.
You can also use a diffuser on your flash so that the light spreads more evenly and is a bit softer than traditional flash.
Using off-camera flash can also be an option. You can control the angle of where the light fills in the shadows in the photo.
Conclusion
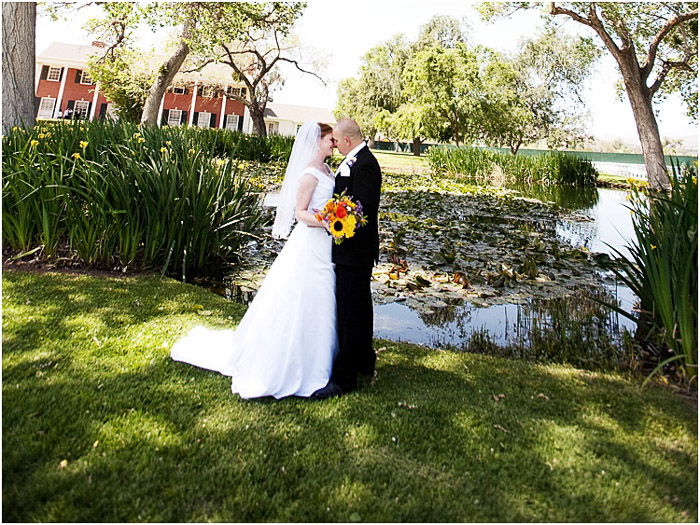
Photographing in dappled light, whether that is the look you’re going for or not, doesn’t have to be difficult.
Exposing between the two extreme lightings of dappled light can help minimize overexposure or underexposure of your final photo.
Use screens to block out the dappled lighting or create your own!
Either way, photographing in dappled light can really push your creativity and give you really unique photos.
