You may think the terms ‘monochrome’ and ‘black and white’ are synonymous. After all, it’s quite common for people to use these terms interchangeably.
They’re not exactly the same, though. There is a distinction which can be helpful to know.
In this article, you will learn the difference between monochrome vs. black and white photography.
What is Monochrome Photography?
Monochrome photos contain variations of only one color and nothing else. This could be different shades of blue, green, or grey, for example.
If you wanted a green monochrome photo using only your camera, you would seek out a scene where the only colors in the frame are variants of green.
You can also decide to post-process a photo as monochrome. This involves taking an image and limiting it to a single color range. These days this is most commonly done using Lightroom or Photoshop, although it is not a new practice.
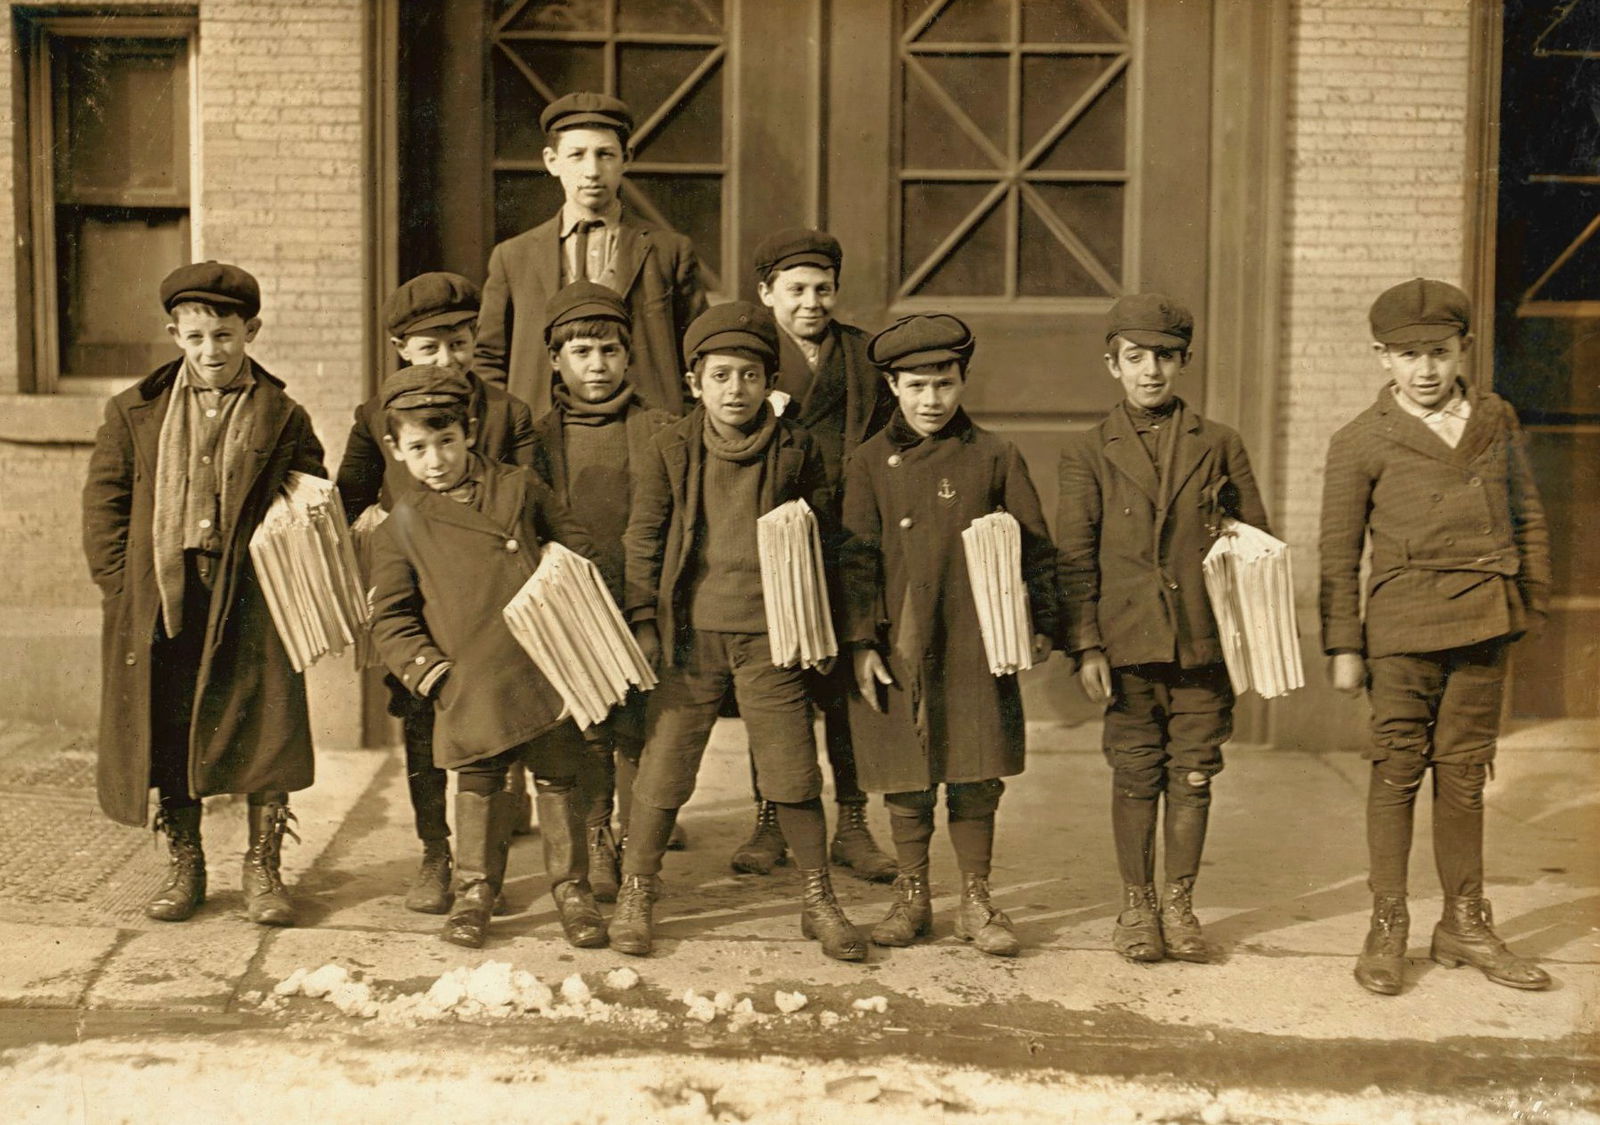
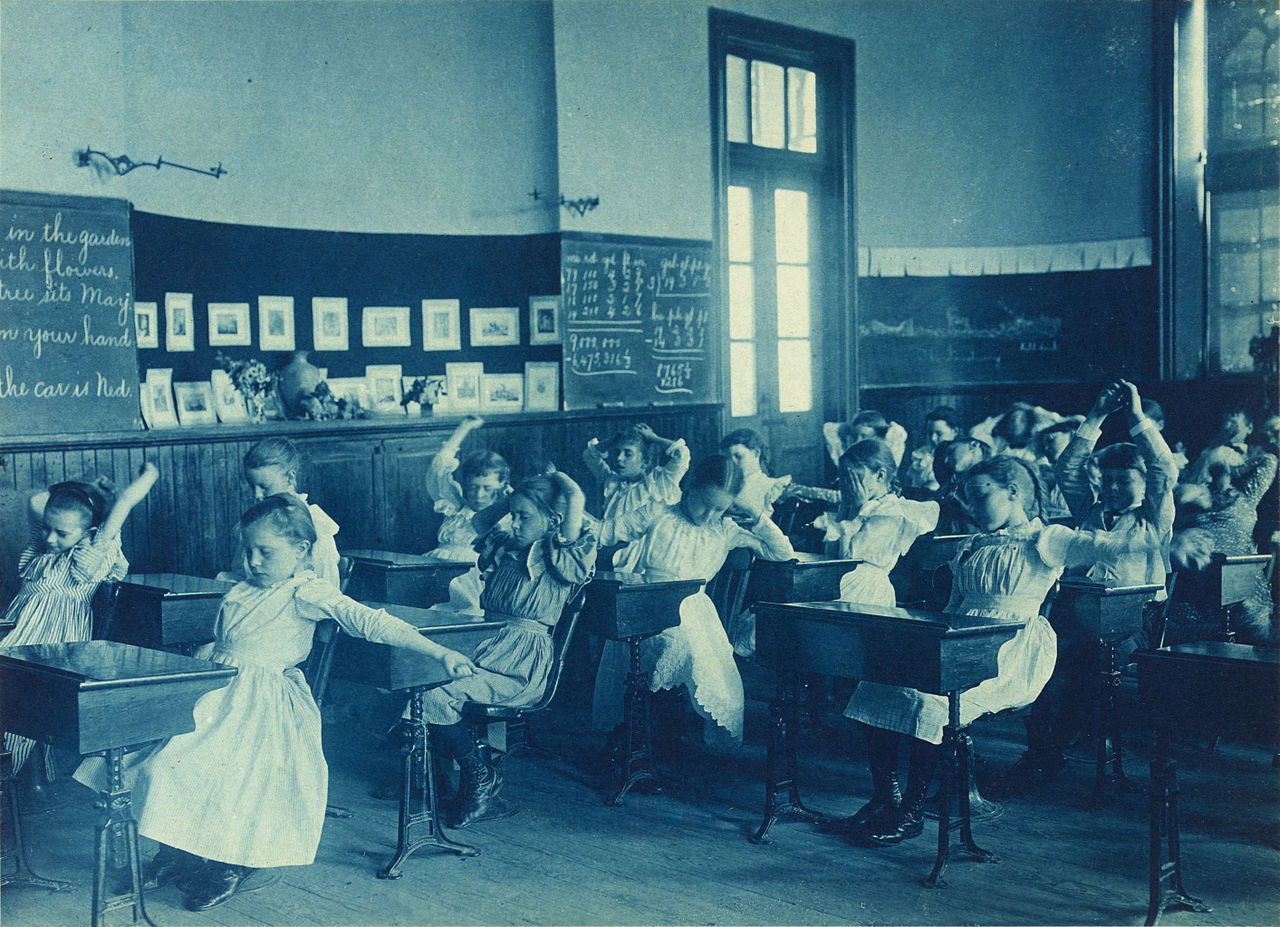
You may have seen vintage sepia or cyanotype photographs. These are the most common examples of monochrome photography. In such photos, the warm and cool tones were the results of specific toning chemicals used in the developing process.
Capturing a Slice of the Color Wheel
Take a look at the color wheel below. You can see that each color is divided into smaller pieces. These show you a rough illustration of variants within a single color.
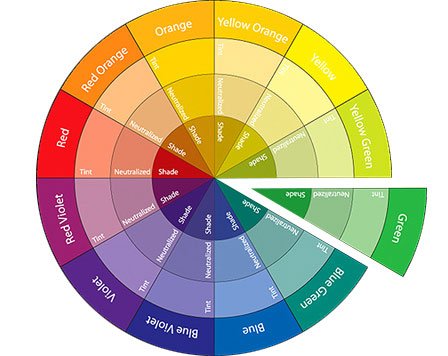
Let’s take the example of green and variants of green. On the outside ring, you have the pure color (sometimes referred to as the ‘hue’), labelled with its name.
Going towards the middle of the color wheel, we next have the ‘tint’, which refers to the green highlights.
Next up you will find the neutral green variants, which is the same as green mid-tones.
Closest to the center of the color wheel, you will find the ‘shades’ or shadow tones of green.
In-Camera Monochrome Photography
To capture a natural monochrome image in-camera, get the brightest and the darkest variants of the color into the frame. This will create more contrast in the photo.
A close-up photo of leaves would be a good example of a natural green monochromatic picture.
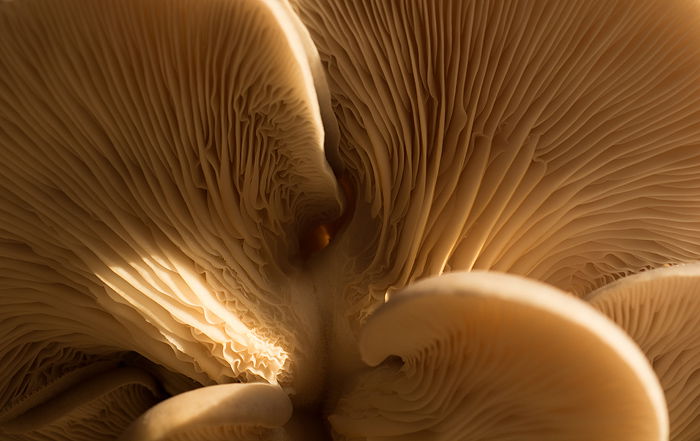
Another example is the photo of the underside of a mushroom below. This only contains variants of yellow-brown colors.
The photo below is not perfect monochrome photography, but it’s close. It was captured in-camera with a long shutter speed.
Because of the time of day, the colors in the water and the sky matched quite well with the bathhouse.
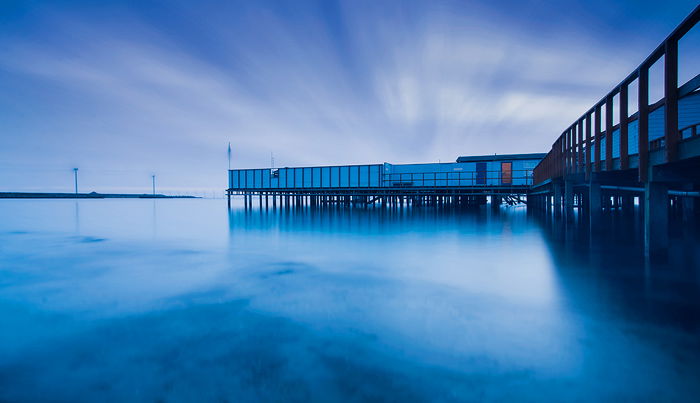
This photo appeared on the Google Nik Collections website with the following comment:
‘This image caught our eye with its cool blue hues and simple composure. This type of colorful image is a great twist on a monochromatic image.’
If you’d like to learn more about the Google Nik Collection, check out our in-depth tutorial.
Using Lightroom to Post-Process a Photo as Monochrome
As mentioned above, you can also post-process a photo to be monochromatic.
To do this in Lightroom, go to the Develop module (press D). Locate the Split Tone panel on the right-hand side of the screen.
In the Split Tone panel, you can set different tones for the highlights and the shadows.
To create a monotone photo, you can set both the shadow tone and the highlight tone to the same color value setting.
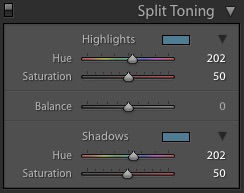
You can use this technique for creative purposes. I have rarely found a photo that benefits from being made monochromatic in post-processing.
You’ll get the best photos and results by looking for naturally monochromatic scenes.
What is Black and White Photography?
Black and white photography contains variants of the color grey ranging from absolute black to absolute white.
This means that all black and white photos are monochrome photos, but not the other way around.
A more accurate (but decidedly less popular) term for this type of image is ‘grayscale’. This is because the image typically comprises grey tones, not just the color black and the color white.
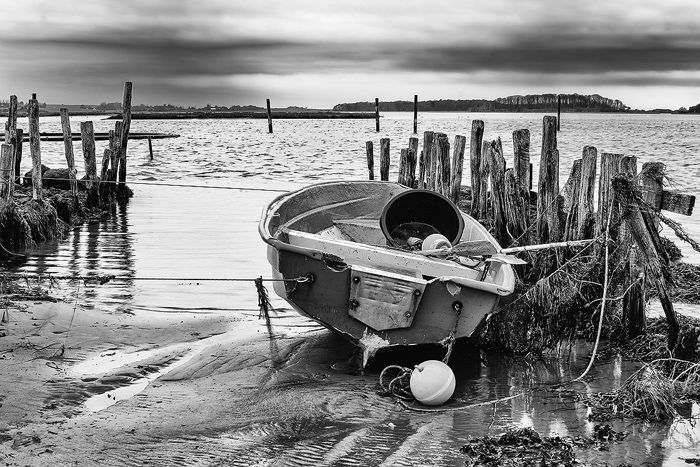
Black and white images as you probably know them are images like the one immediately below. In these images, no color information has been captured or it has been removed. Note the wide variety of grey tones.
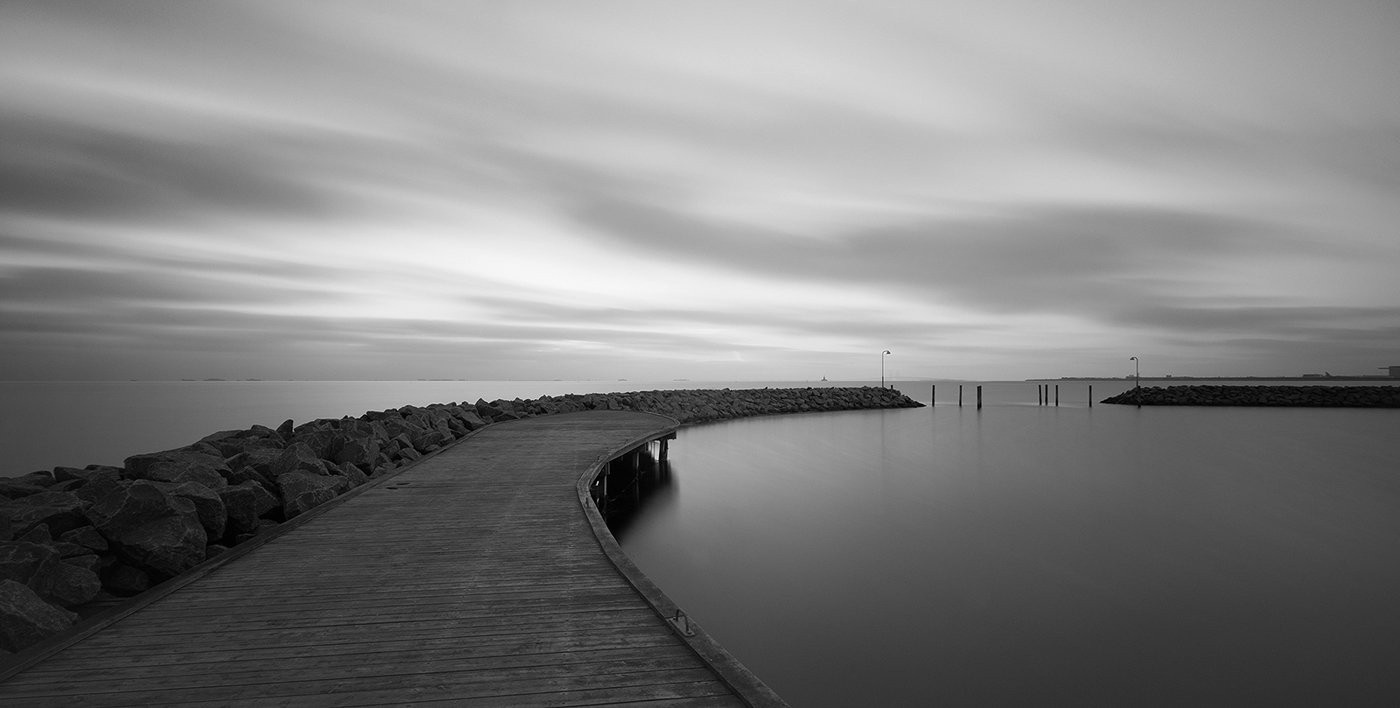 While it’s uncommon, you can also find scenes that only contain strong black and white colors.
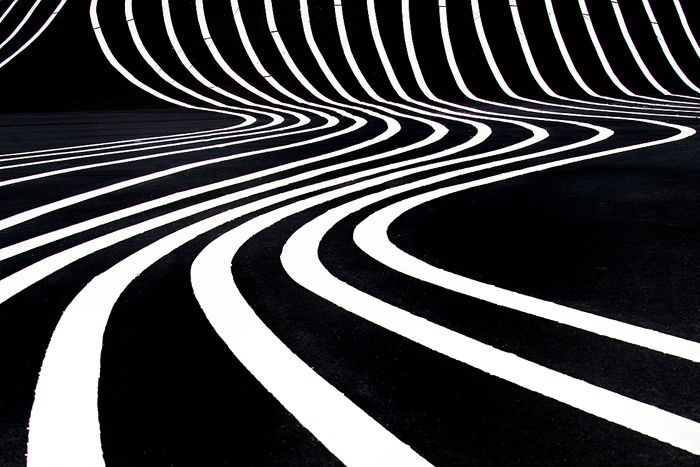
This photo is a high-contrast black and white photo lacking mid-tones. Grey is barely present, if at all.
While the tonal profile of each of these photos differ, both count as black and white photography.
Should You Capture Black and White Images in Camera, or Convert Them in Post?
If you want to set your camera to capture in black and white, be aware that both Canon and Nikon call this Monochrome. Confusing, right?
I suggest that you always shoot your images in color and then convert them to black and white in post-processing. If you force your camera to capture black and white, it will often do so in JPEG format. This doesn’t contain the same amount of data.
If you capture in RAW format, you will capture a color photo and get more image data. This is useful for post-processing.
If you still want to capture your images in black and white you can set this on a Nikon DSLR by using the menu:
Shooting Menu > Set Picture Control > Monochrome.
However, it is better to learn how to identify what makes a good black and white image but still capture it in color, to be converted later.
What Does Grayscale Mean?
Often you’ll hear the term ‘grayscale’ instead of calling a photo black and white. As mentioned above, these two terms are one and the same thing. However, ‘grayscale’ can also have another meaning.
To a photo editing software, grayscale is also a way of storing information about how a photo is presented, just like RGB or CMYK.
In Photoshop, these methods of storing the information are ‘color modes’. RGB and CMYK are color modes which store color information and display it in a certain way. Grayscale, however, does not store color information at all.
If you want to discard color information in Photoshop, you can opt to convert it to grayscale mode. Be aware that this is a destructive way of converting a photo to black and white. This means that once you convert it, you lose the color information in the image forever.
We often use grayscale conversion when we want to print our B&W images without any unwanted color deformation.
Converting photos from color to black and white in Photoshop is a whole topic in itself. There are a lot of different ways to do it.
Conclusion
Now that you’re clear on the difference between monochrome and black and white photography go and experiment with both. You can try taking some black and white portraits or landscape photography.
Look for natural monochromatic scenes to capture or scenes that will look great when converted to black and white.
Explore your camera settings and photo editing software too. This way you’ll learn the options you have when you want to create and work with black and white images.
Looking for some photography inspiration? Why not try a photo walk, photomontage or check our article on great photography quotes!


