When you look at e-commerce images, do you ever wonder why you can’t find where the floor ends and the wall starts in the background? This is because product photography often uses a photographic term called the infinity curve.
In this article, We will show you how to create an infinity curve (or infinity cove) you can use for product photography at home or in the studio.
What is the Infinity Curve?
In simple terms, infinity curves are seamless backgrounds that do not have lines or corners. The main use of an infinity curve is to create a clean photo background with no corners. That way, your main subject is the only element in the image where your audience’s eyes can gravitate.
To help you envision what they do, we’ll compare it with an example of a regular background containing a wall and a floor.
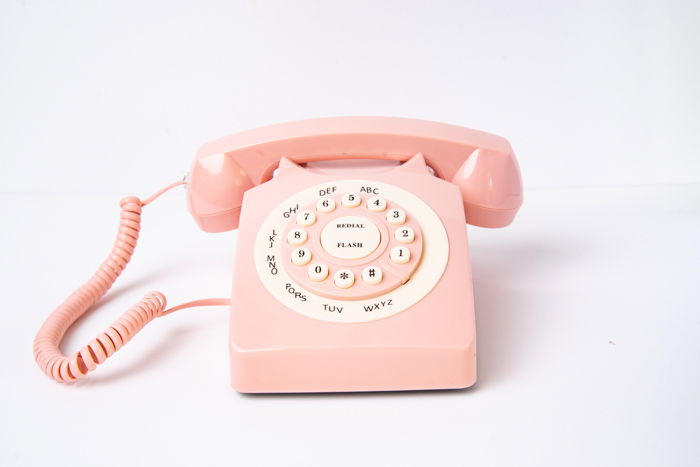
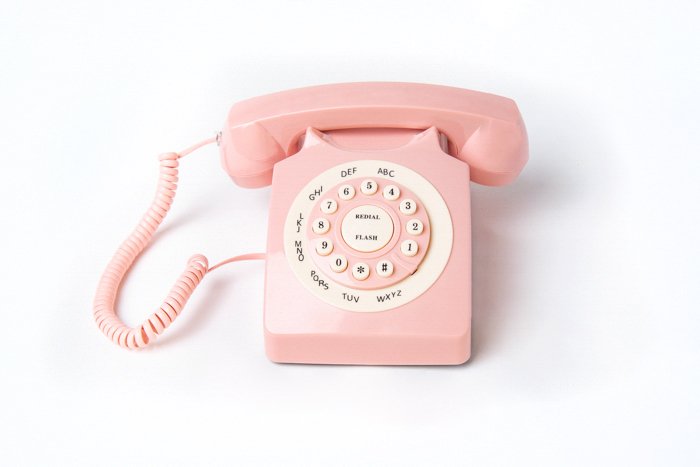
And now, here’s an image with an infinity curve. As you can see, it has a smooth transition that you can’t see where the floor ends and the wall starts.
How Do You Make an Infinity Curve for Product Photography?
It’s common for a photography studio to have what’s called a cyclorama or an infinity cove. It’s usually made of wood, drywall, concrete, or similar construction materials.
Unfortunately, an infinity cove can be difficult to build, even for seasoned DIYers. The entire construction process needs a lot of equipment, not to mention various skills that will most likely require a team of people.
Infinity coves are also notoriously difficult to maintain. Since people step on them all the time, they often get dirty. Consequently, they often need to be repainted to retain their clean appearance.
Thankfully, there are other ways to build infinity coves apart from concrete, drywall, or wood. The best option is to use seamless paper as your background.
When people talk about the infinity curve, they often think about large cycloramas in studios. But product photographers use smaller options that are only as big as a table when taking pictures of small products.
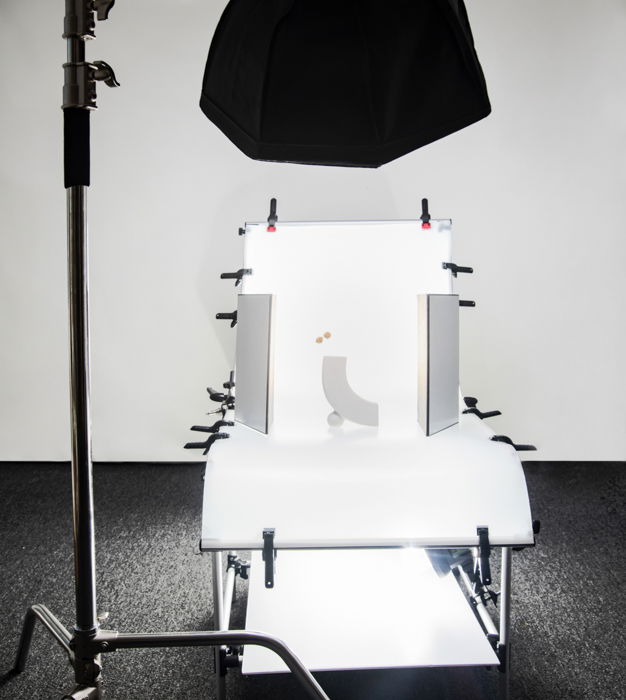
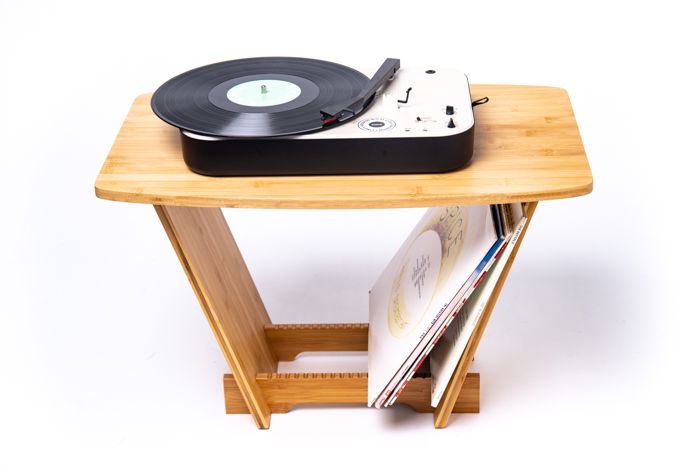
Normally, photographers would often use a still-life table which you see below.
For Small Products
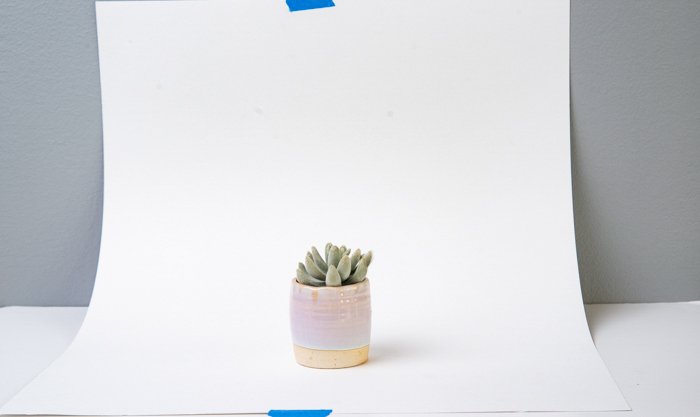
But you don’t have to buy one to create an infinity curve for product photography. All you have to do is set up a small table against the wall. Tape the upper part of the poster board to the wall, let the lower half rest on the table, and tape it so it doesn’t move around.
For Medium Products
The poster board background is perfect for small products, but how about medium-sized ones? This time, the best option is to use a seamless paper background.
Seamless paper backgrounds come in various sizes. For tabletop product photography, the most appropriate size is 4 ft (1.22 m) because it fits most tables.
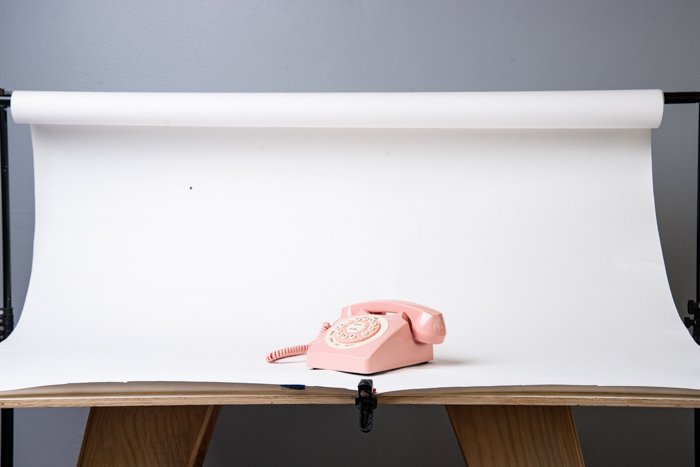
To set up your seamless background for medium-size products, you will need a background stand. The kit often comes with two stands and horizontal rods you can connect depending on the length of your seamless paper.
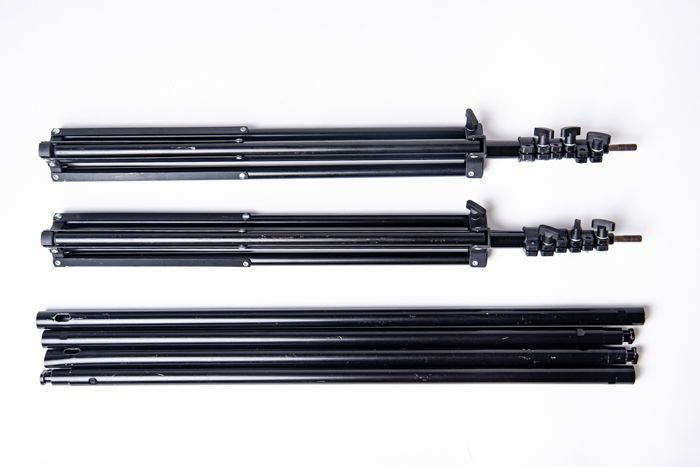
If you have an eight-foot seamless paper, you will need to attach all the rods. But since you are only using a 4 ft option, you only need to connect two to three—just enough to run the length of your background. Once you attach all the rods, insert them into the background tube.
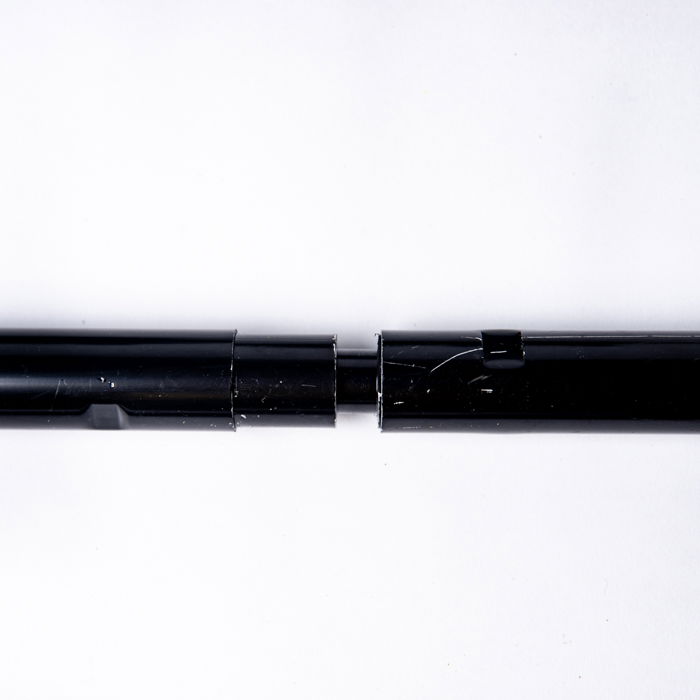
Now, open up your two stands and set them about 4 ft apart. Grab the background and align the holes at the tips of the horizontal rods with the tips of the stands. Once the seamless paper is in position, screw the butterfly nuts to the stands to secure the background.
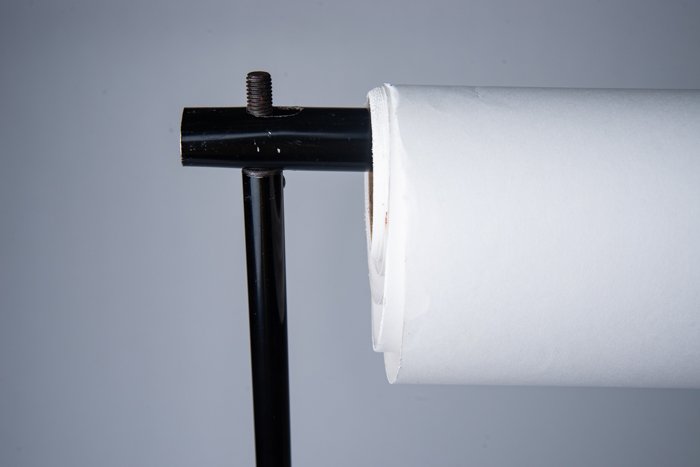
For Large Products
For large products, you will need longer, seamless paper. The best option for you would be an 8 ft (2.4 m) background.
Setting up an 8 ft seamless paper is technically the same as what you would do with a 4 ft version. The only difference is you will need to connect all the rods in your background stand kit to create an 8 ft pole.
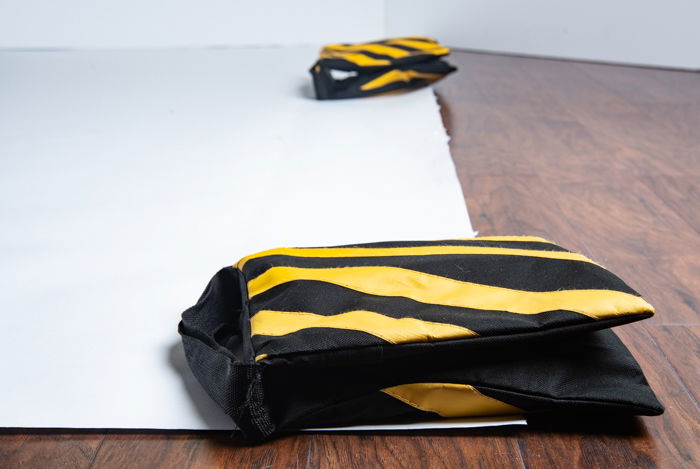
You also do not need to use a table for your large backdrop anymore. Instead, you can let it drape down to the floor. Lay down at least 4 ft length of the seamless paper on the floor. That way, you have enough space to position your product to take photos.
Using a large white seamless paper creates a heavenly space appearance because it bounces a lot of light around. The clean background also ensures that your product stands out.
When using a large seamless paper, consider taking off your shoes and walk on the floor with your socks on. That way, you do not end up with messy shoe prints all over your background.
The corners of the seamless paper also tend to curl. To avoid this issue, you can use sandbags to weigh down the corners and the middle of the background. Alternatively, you can use tape. But we do not recommend it because there is a good chance you might end up tearing the paper.
Care and Storage
Using seamless paper for infinity coves is an affordable option. But since your background is made of paper, you need to be careful with it all the time.
We already mentioned earlier to not step on the background with your shoes on if possible. But you also need to make sure you do not place your products too close to the background curve. Otherwise, there is a good chance you might rip it.
If you need to store your background, make sure to do so vertically. That way, you don’t have to worry about the paper ending up with creases that are difficult to remove in Photoshop.
Conclusion
If you do not need to use infinity coves all the time, then seamless paper backgrounds are your best option. They are not only cheap but also easy to set up, even in a small room.
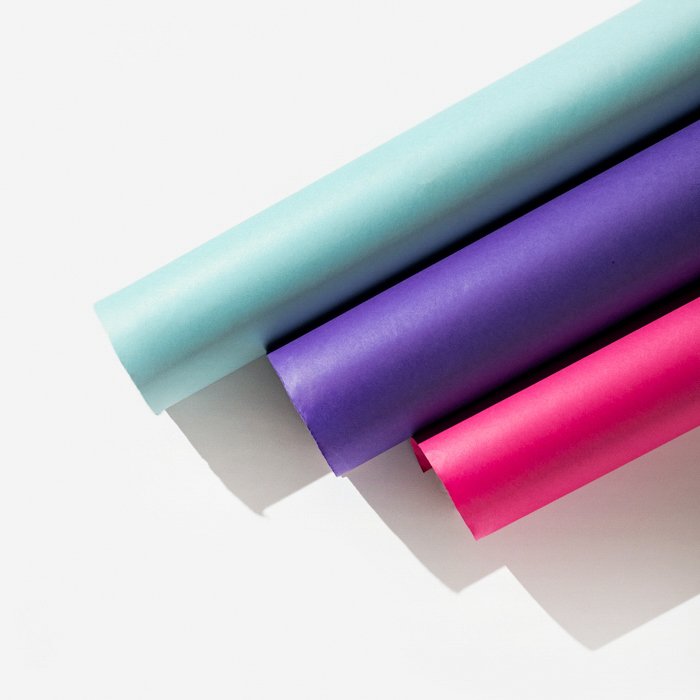
The best reason to use seamless paper is that it does not limit you to single color background. All you have to do is swap out the background, and that’s it! Apart from using white, you can use just about any other color from yellow to black without repainting.
Of course, the seamless paper does have its limitations. But as long as you take care of it, it can last you a long time. And most of all, you do not have to pay a lot of money to use it.
Capture attention-grabbing product photos that stand out and sell with our Products in Focus course!
